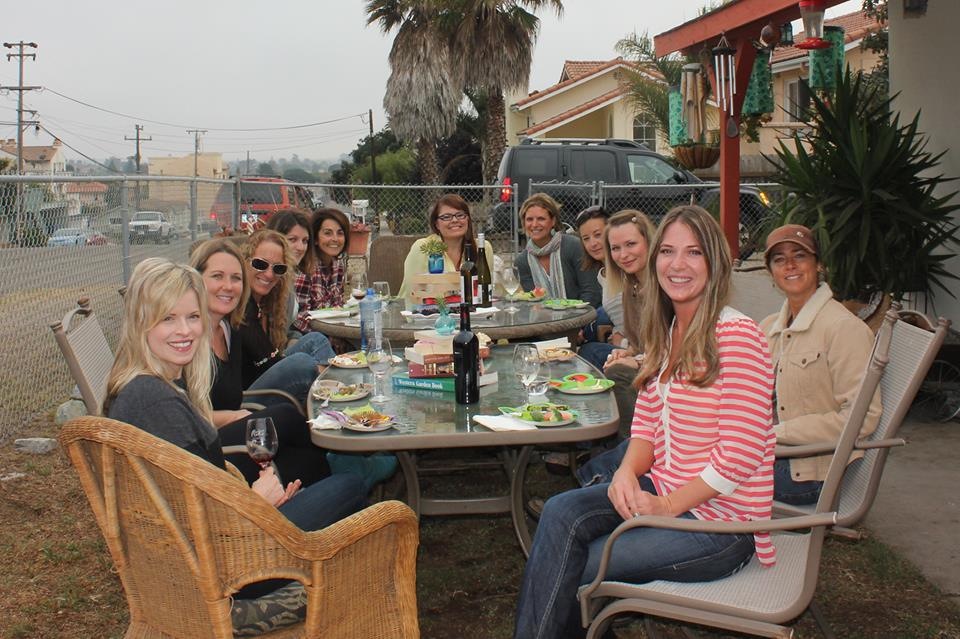
Yesterday’s book club at my house was such a success! I had the pleasure of hosting 10 lovely ladies to discuss the book “Wild,” by Cheryl Strayed, while we snacked on ridiculously good cupcakes that Elizabeth brought and stayed warm outside sipping on yummy red wines. We spent most of the day talking, not about the book, but of where we’ve been, what we’ve done and where we’re going… and I think the ladies all got along fantastically for never having all met before!
We need a good name for our book club! Suggestions?!
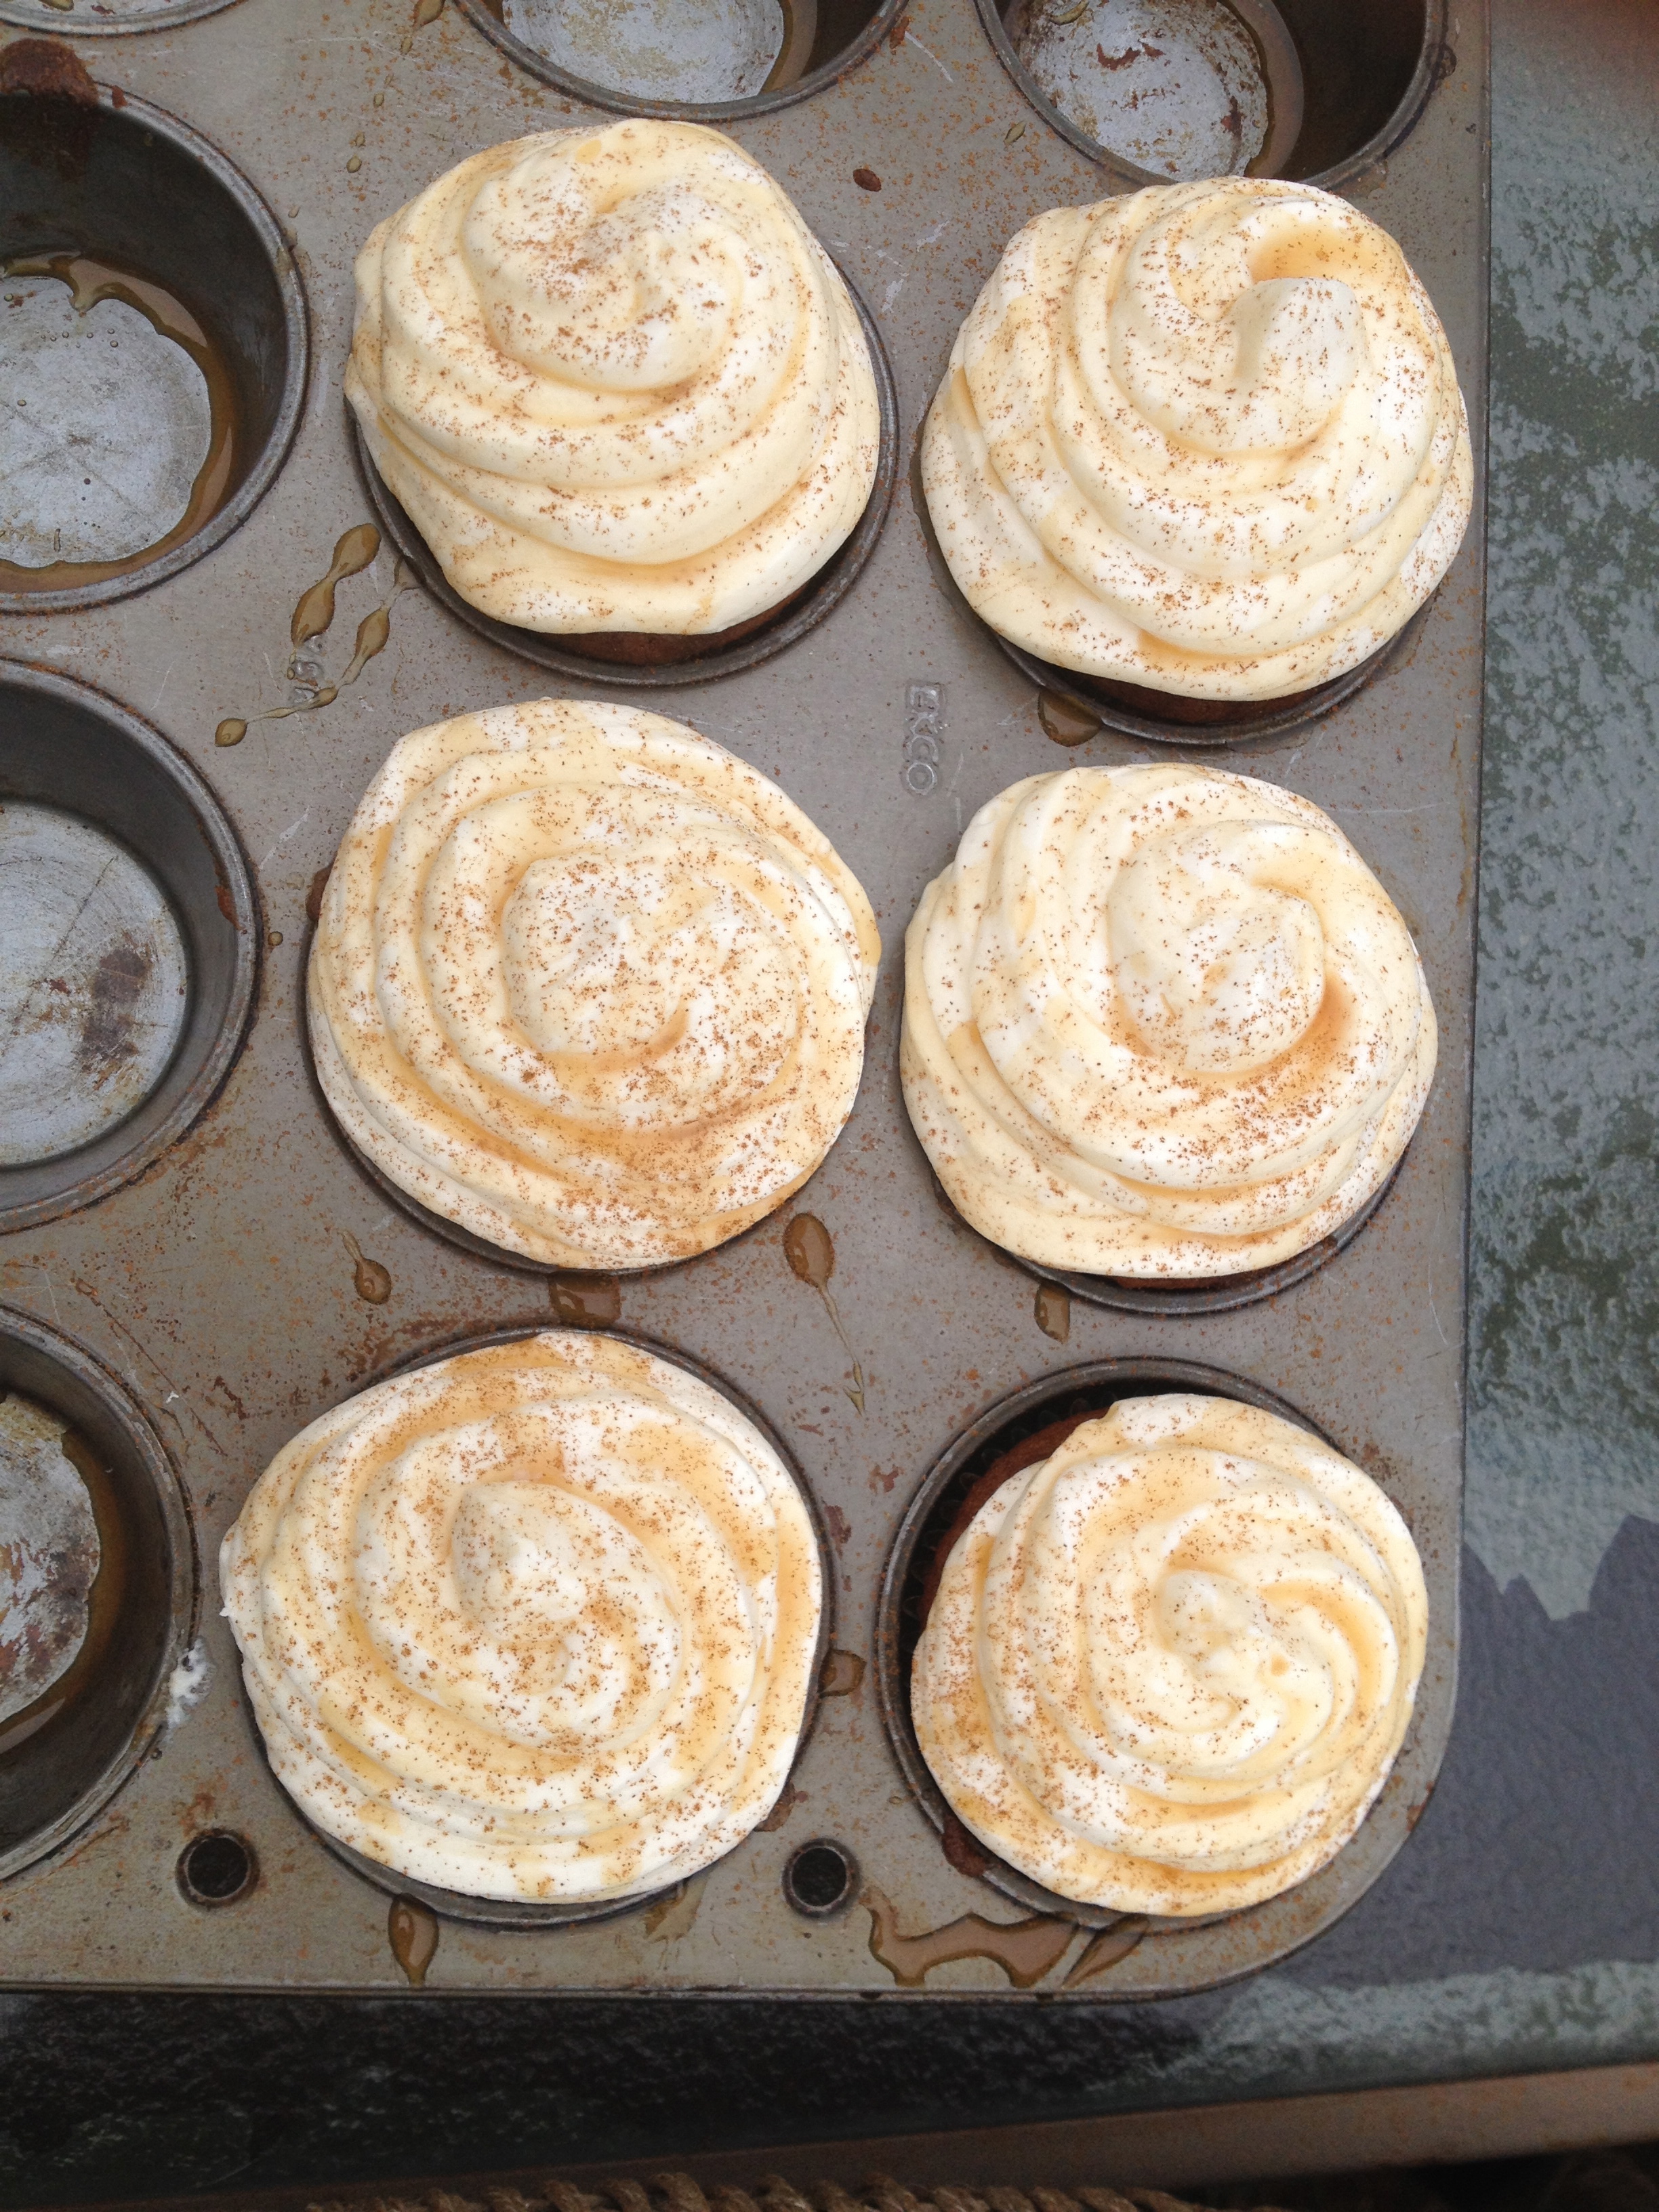
Elizabeth’s pumpkin chai latte cupcakes! I may have had two!

Elizabeth, Lori and me being dorks!
As a yoga teacher, it’s always fun to hang out with the students who you’d like to become better friends with… and to see them in non-yoga wear! And I love having people over! In Chicago, I used to host these huge clothing swaps where roughly 40 ladies would come to my house, dropping off clothing they not longer wanted while picking up “new” stuff to them. Later, I’d donate all the clothing to a local women’s shelter and I know they appreciated it because I would get letters thanking me. I’m thinking of having my first California Clothing Swap in the middle of November. Who’s in??!!
I didn’t have too much time to bake yesterday, so I cheated and picked up a package of the Trader Joe’s Gluten-free Brownie Mix that I’ve been wanting to try anyhow. This mix asks you to at add an egg, water and vegetable oil, that I substituted with my homemade apple sauce. They were SO good, I was really surprised! I added cherries and walnuts to my mix but you can add anything you want really. Pick some up for only $3.99! I cut them into small brownie bites, but otherwise, they yield 12 big guys.
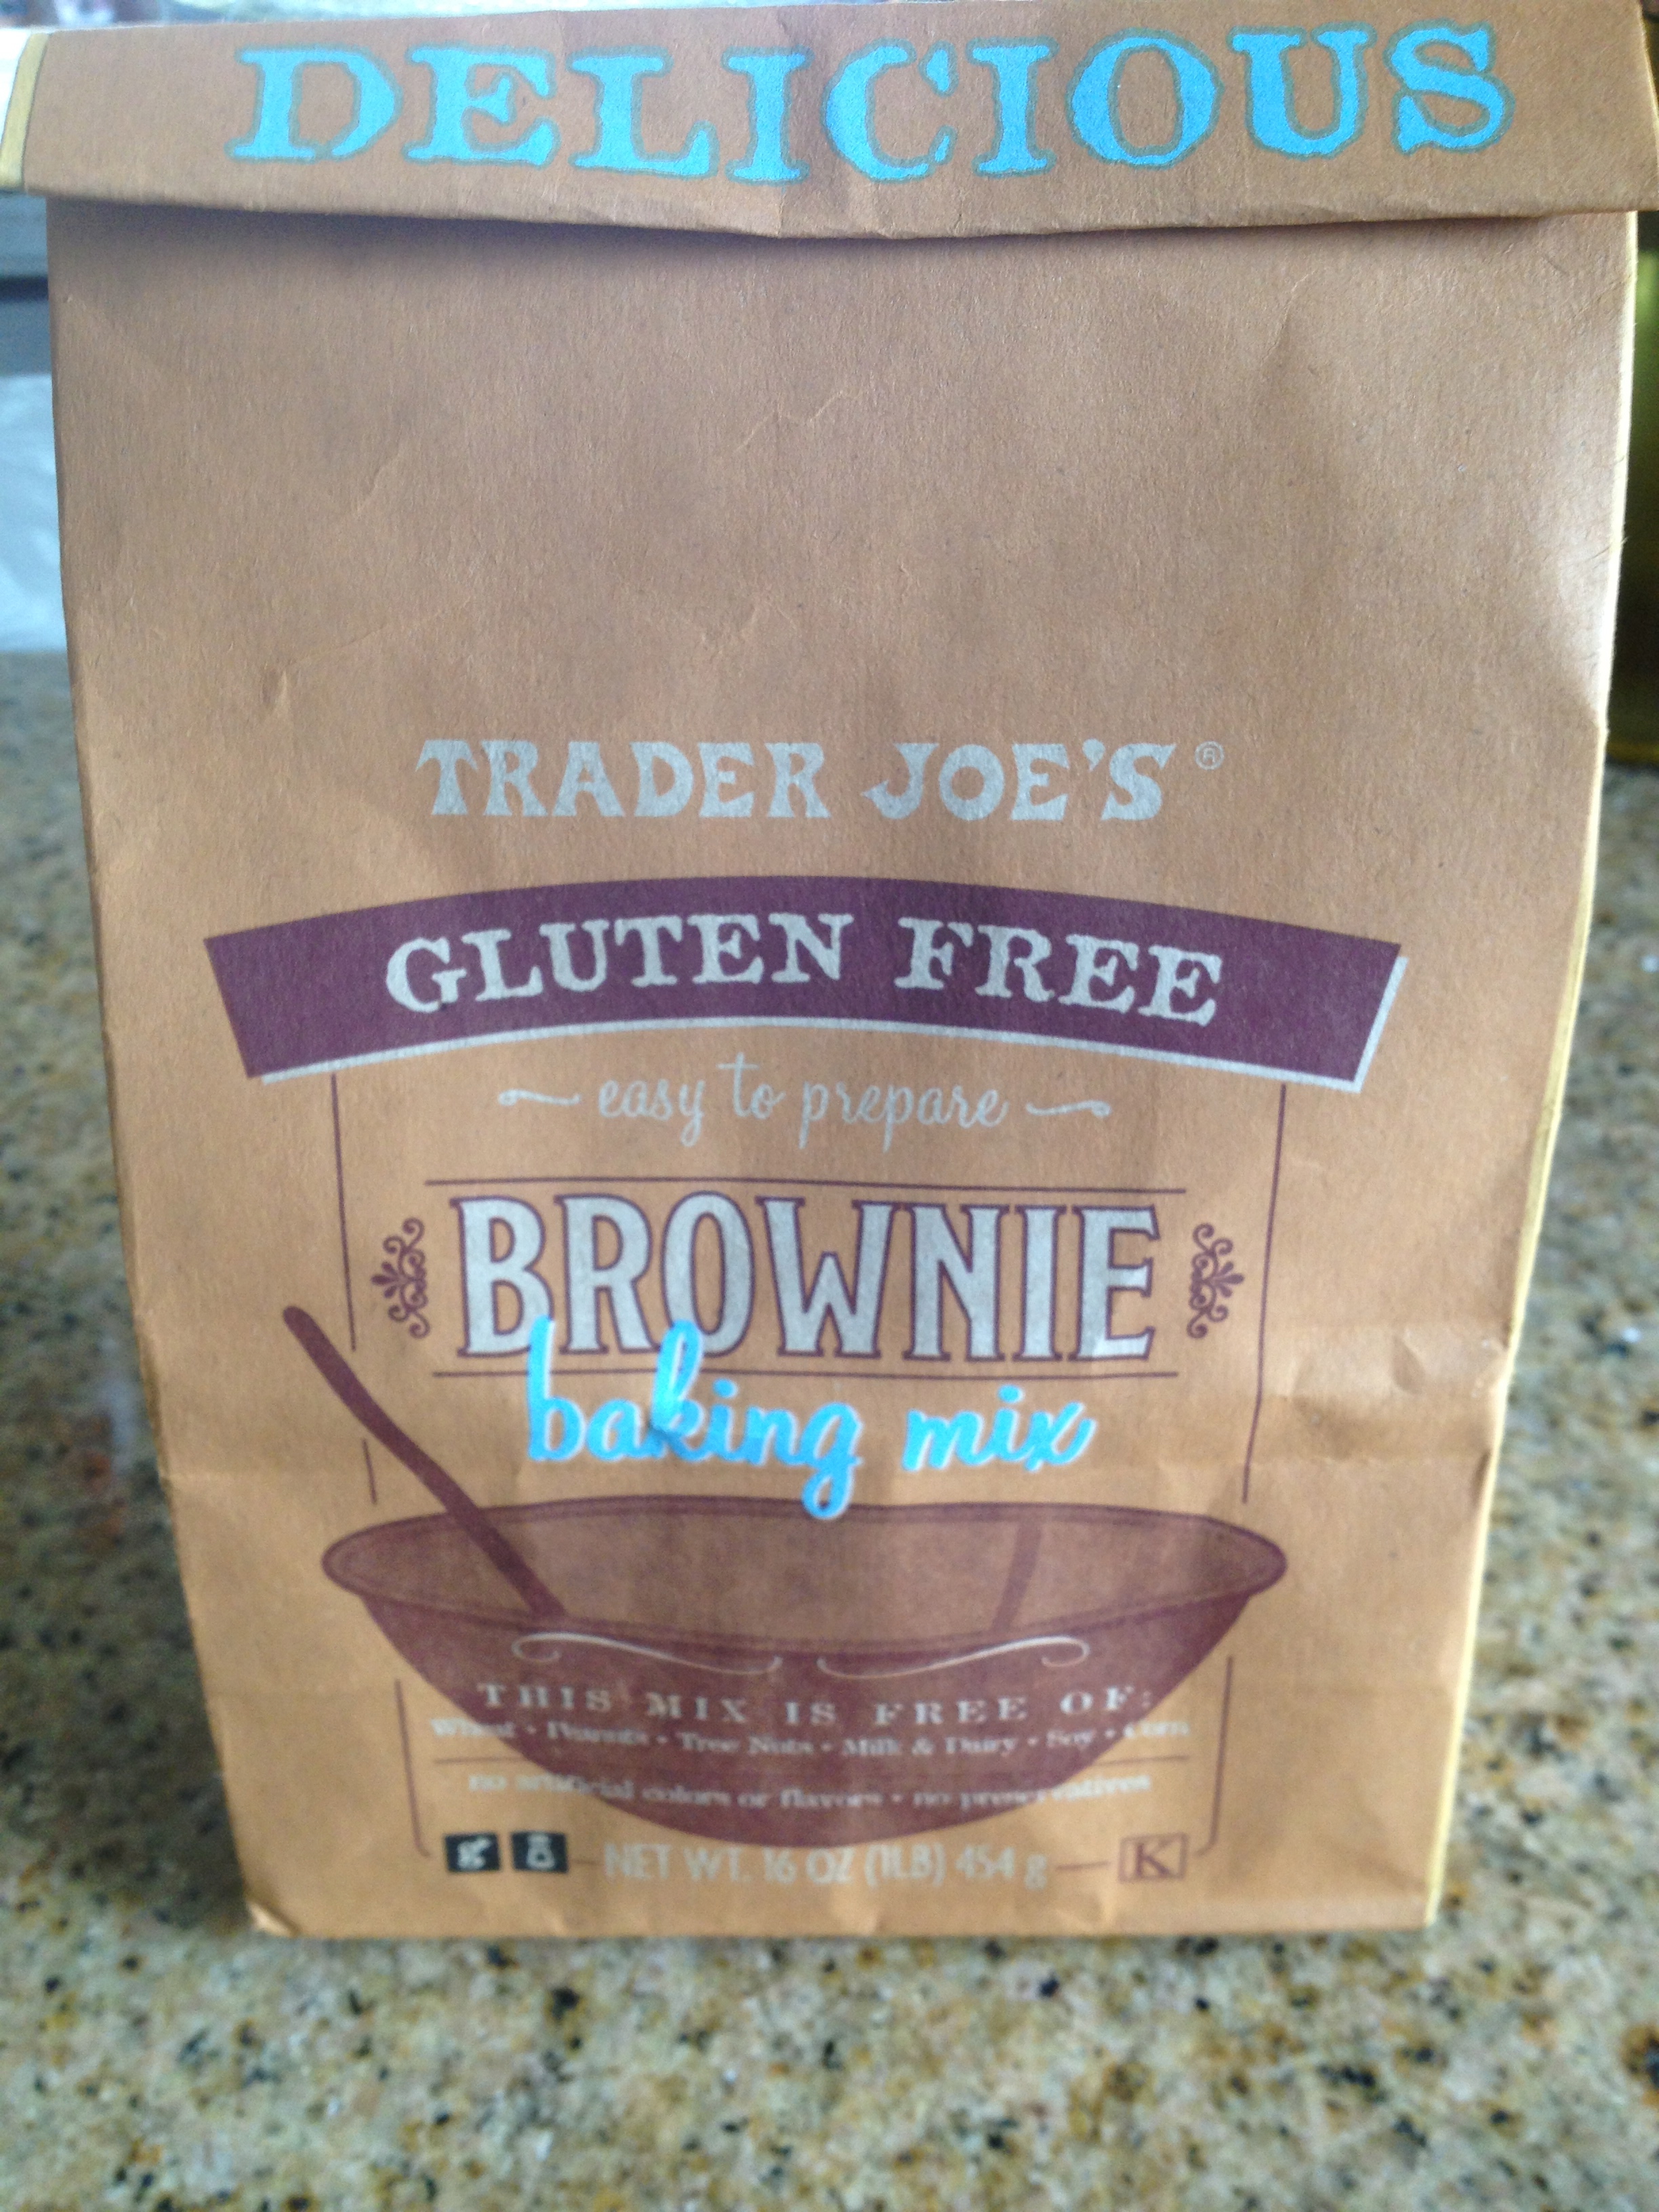


Brownie Bites.

Check out these cute plates I picked up! Everyone got a laugh!
Since I spent most of the day yesterday getting ready for book club- cleaning, baking, wiping down my patio set and choosing something other than yoga pants to wear- I thought today I’d lay low and do some crafting and planting. Oh! And I also made my very first batch of homemade Kombucha today that took hours…. this is my idea of laying low!
When I told my Ma I was making kombucha today she said, “What the heck is that?” and maybe you’re unsure too, so I’ll give a brief explanation of what it is and why I’m making it. Put not-so-simply, kombucha is a food supplement prepared from a symbiotic colony of yeast or SCOBY, and bacteria that is added to tea for its alleged health benefits. Kombucha also consists of organic acids, active enzymes, amino acids, and polyphenols produced by these microbes. Alcohol concentration also plays a role in triggering cellulose production by the bacterial symbionts. I know it’s a mouthful to say, but it’s a yummy and healthy mouthful to drink! The probiotics in these drinks build up your immune system and keep you from getting sick!
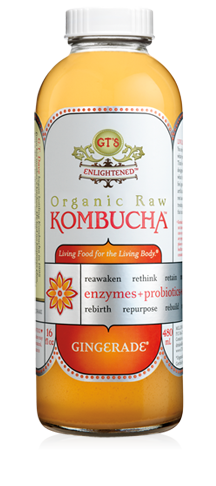
Basically, kombucha tastes a little vinegar-y and is an acquired taste. My husband hates the stuff, and thinks I’m just as crazy for drinking this stuff everyday in addition to my morning glass of Bragg’s apple cider vinegar. But hey, opposites attract! My favorite brand of kombucha to buy is GT’s Organic Raw Kombucha, both the Gingerade and Citrus Flavor. But they are like $2.99 a bottle, hence why I’m making my own! Streeeeetching my budget!
Two of my favorite yoga students/husband-wife teams, Ed and Kyle, have been making their own kombucha for years and they gave me the SCOBY to start this batch. Ed is currently working on fine-tuning his own batch of Apple Cinnamon kombucha that I had the opportunity to taste yesterday, and it was better than GT’s! No joke! So thanks Ed, I want more!!

Kyle and Ed, in non-yoga wear!
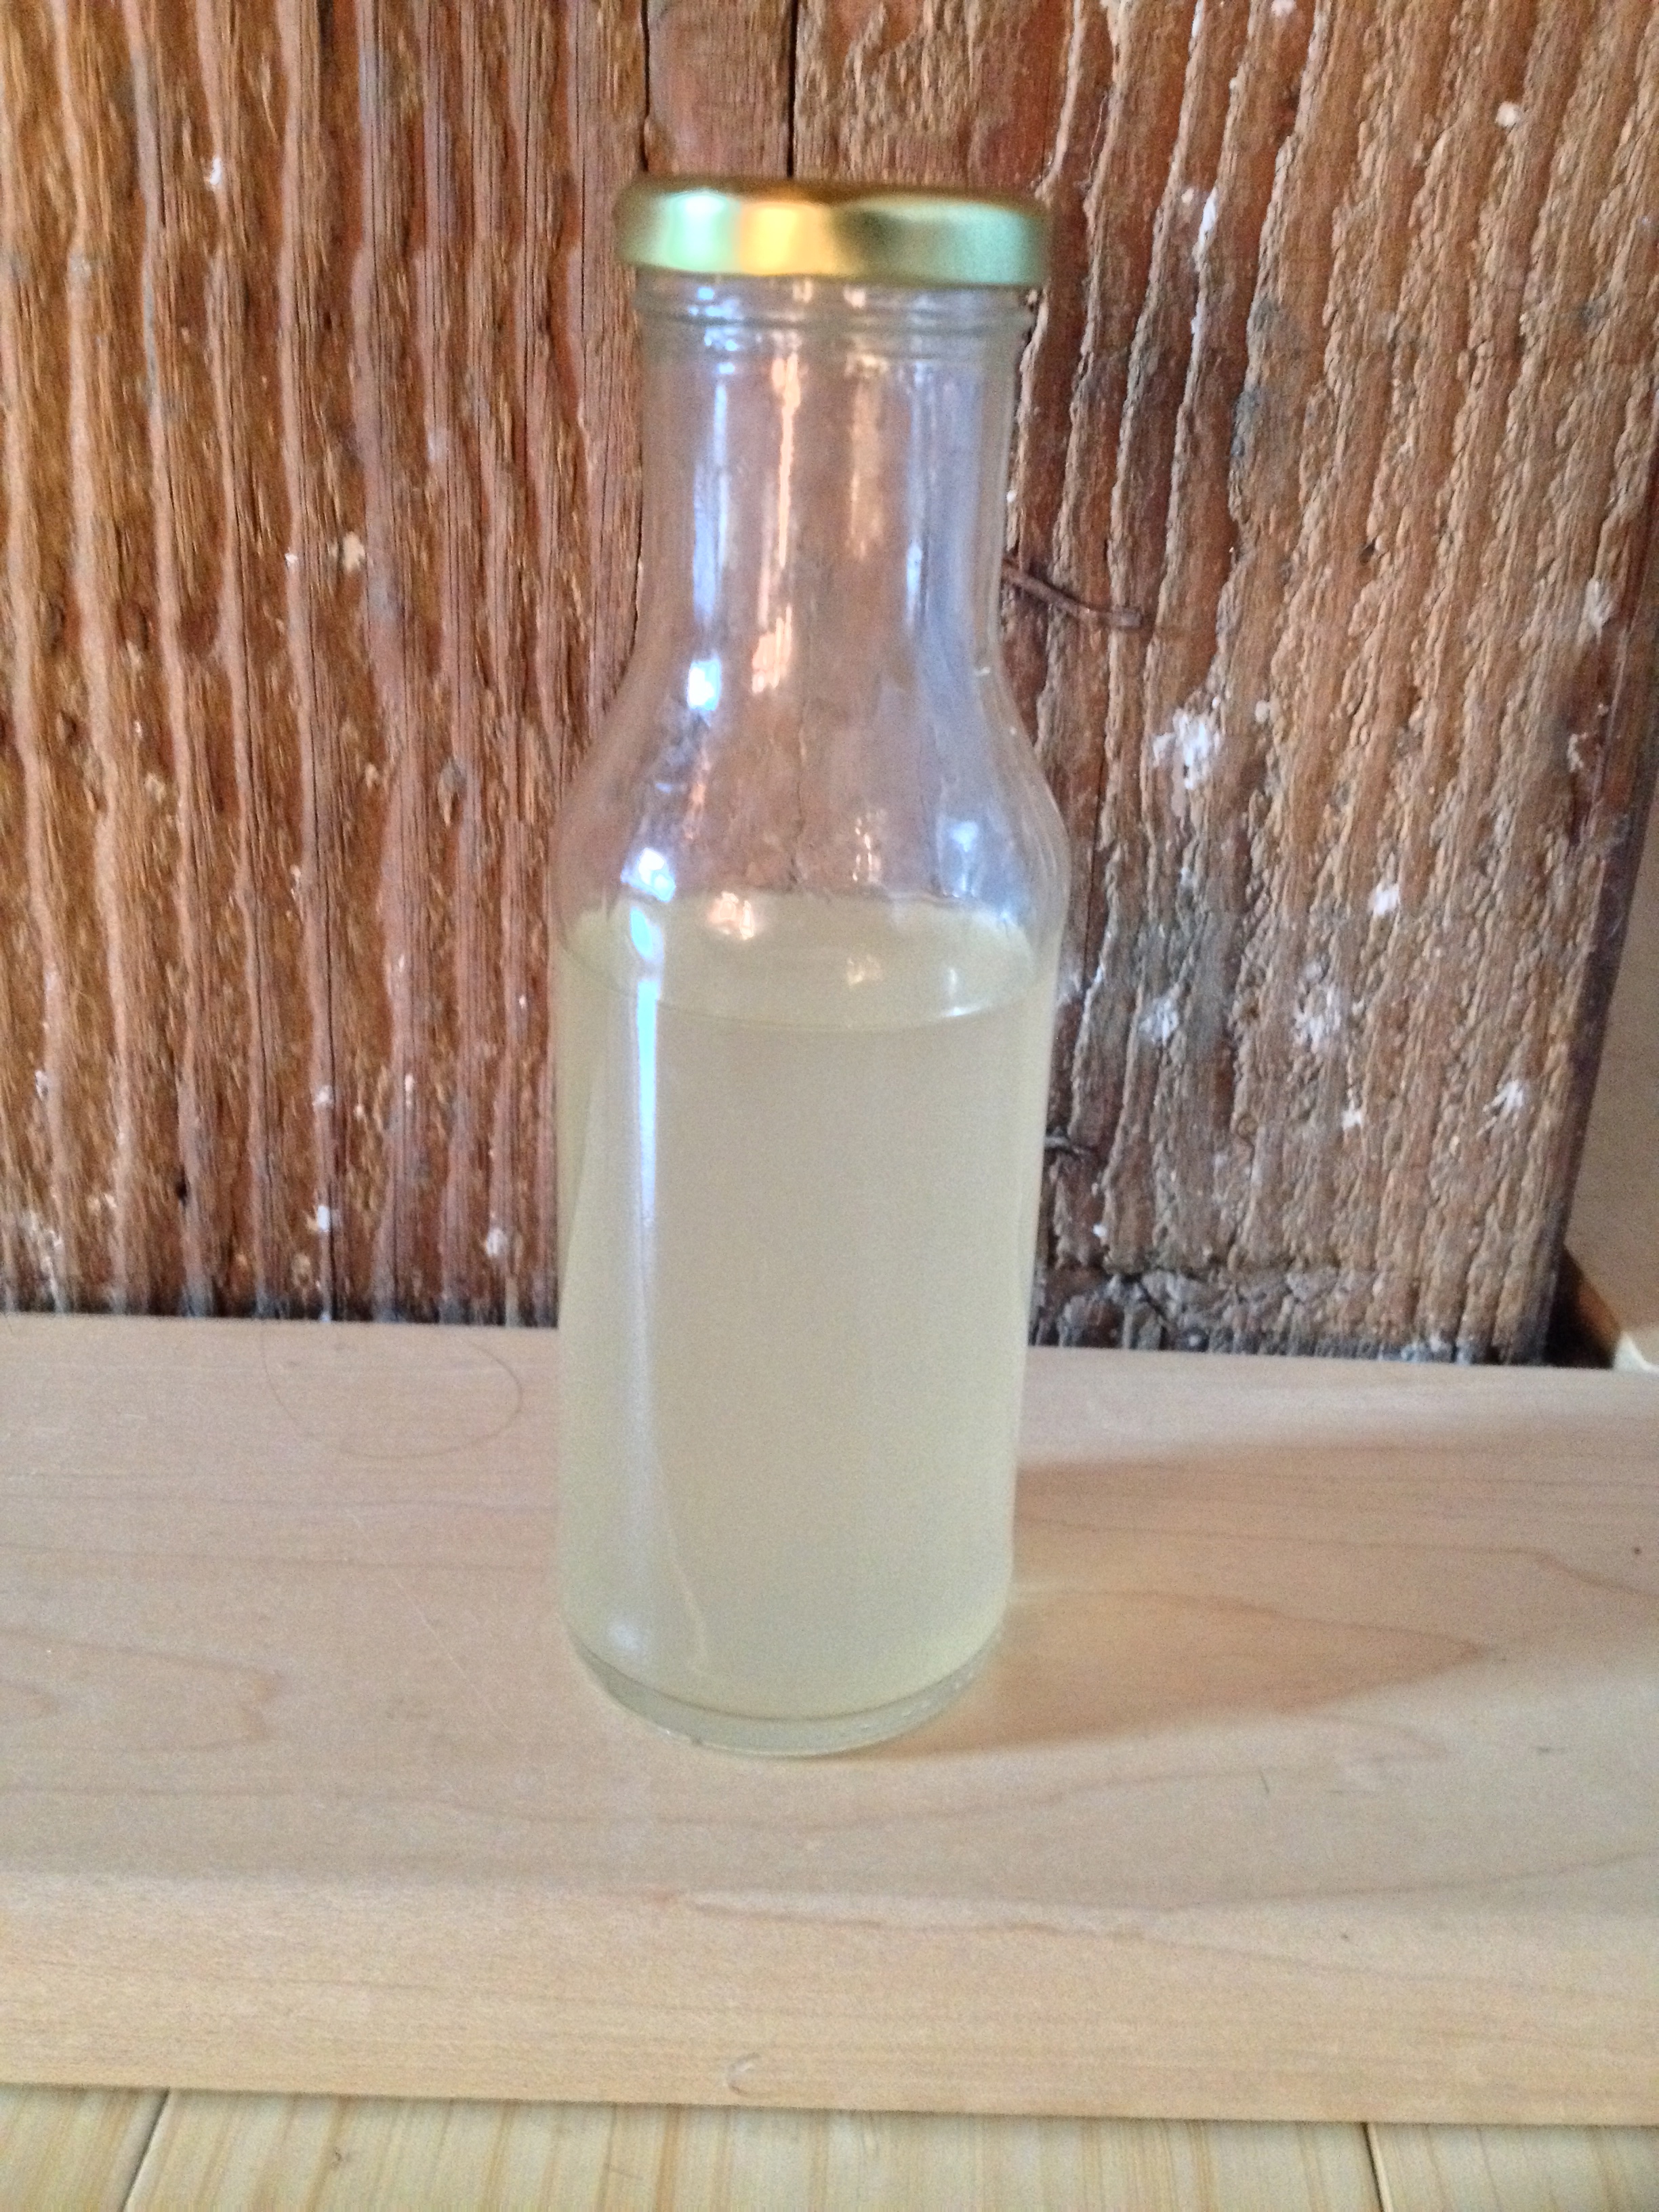
Ed’s Kombucha!
____________________________________

DIY Kombucha- Chai Green Tea Flavored
Things you’ll need:
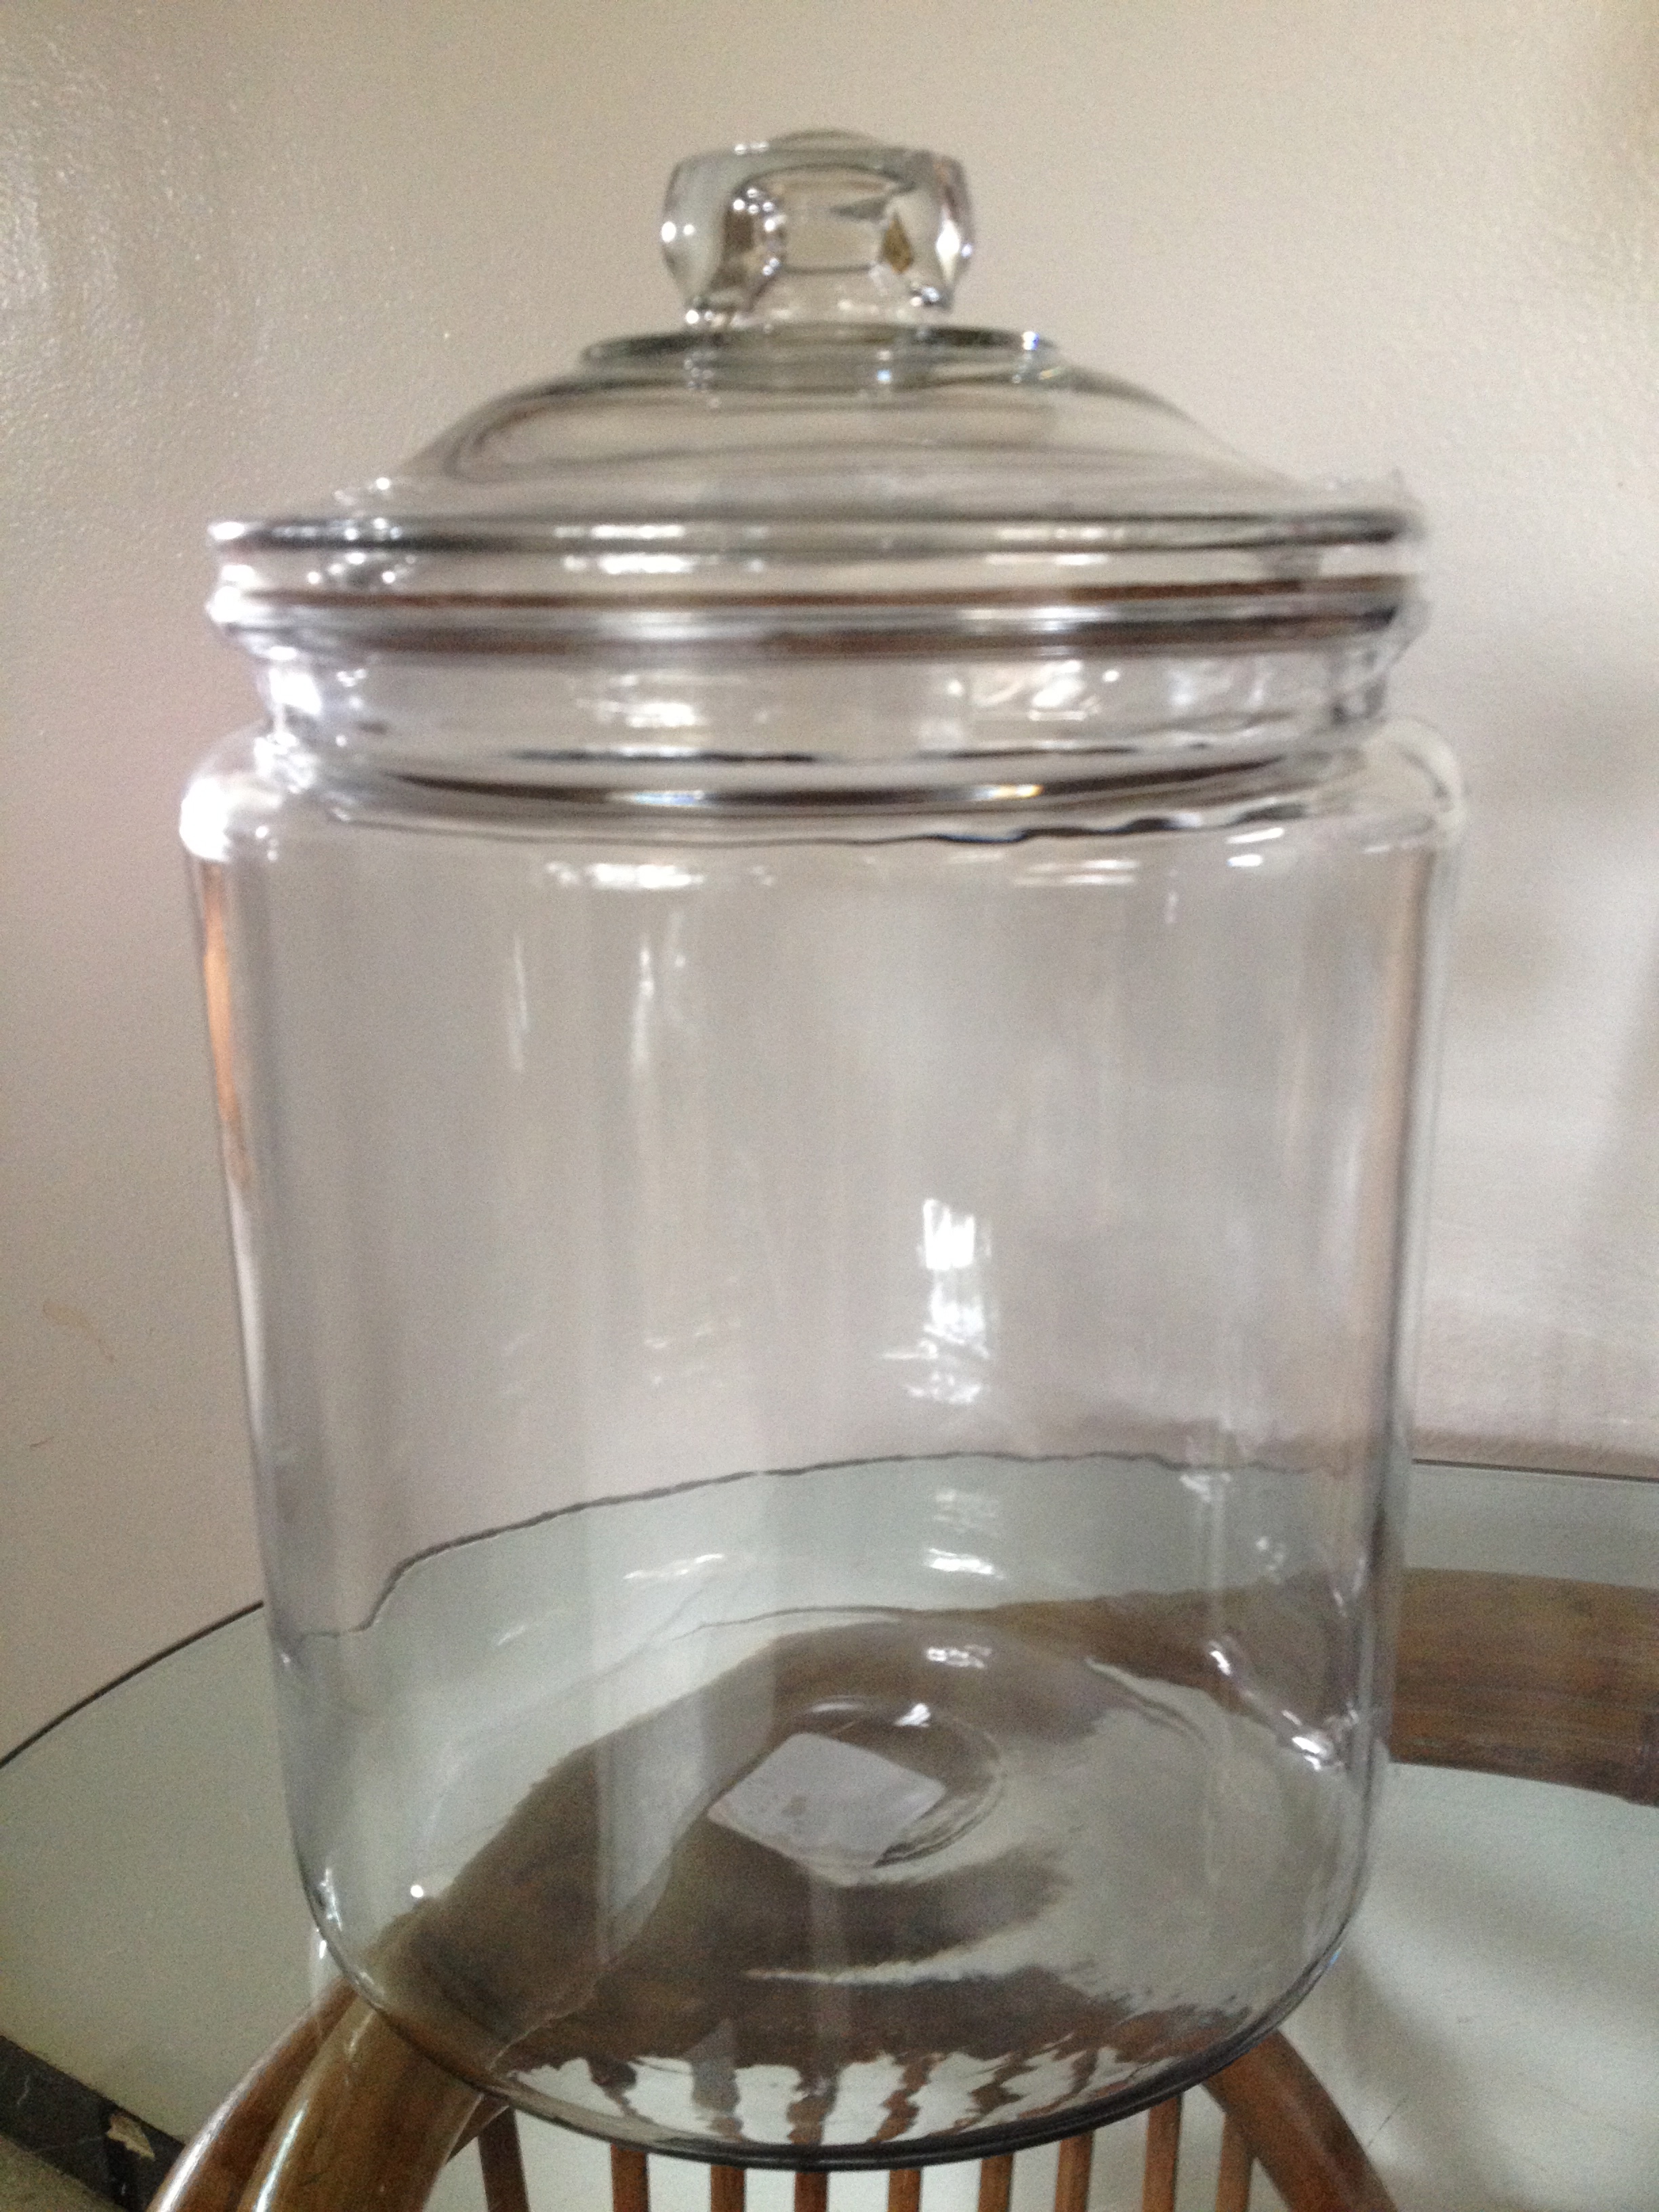
– a 2 gallon glass jar, lid not needed (I got this one at Walmart for $10)
-6 tea bags (I used these Chai Green Tea flavored ones)
-a thermometer
-a stainless steel pot to boil 2 gallons of water in
-a wooden spoon
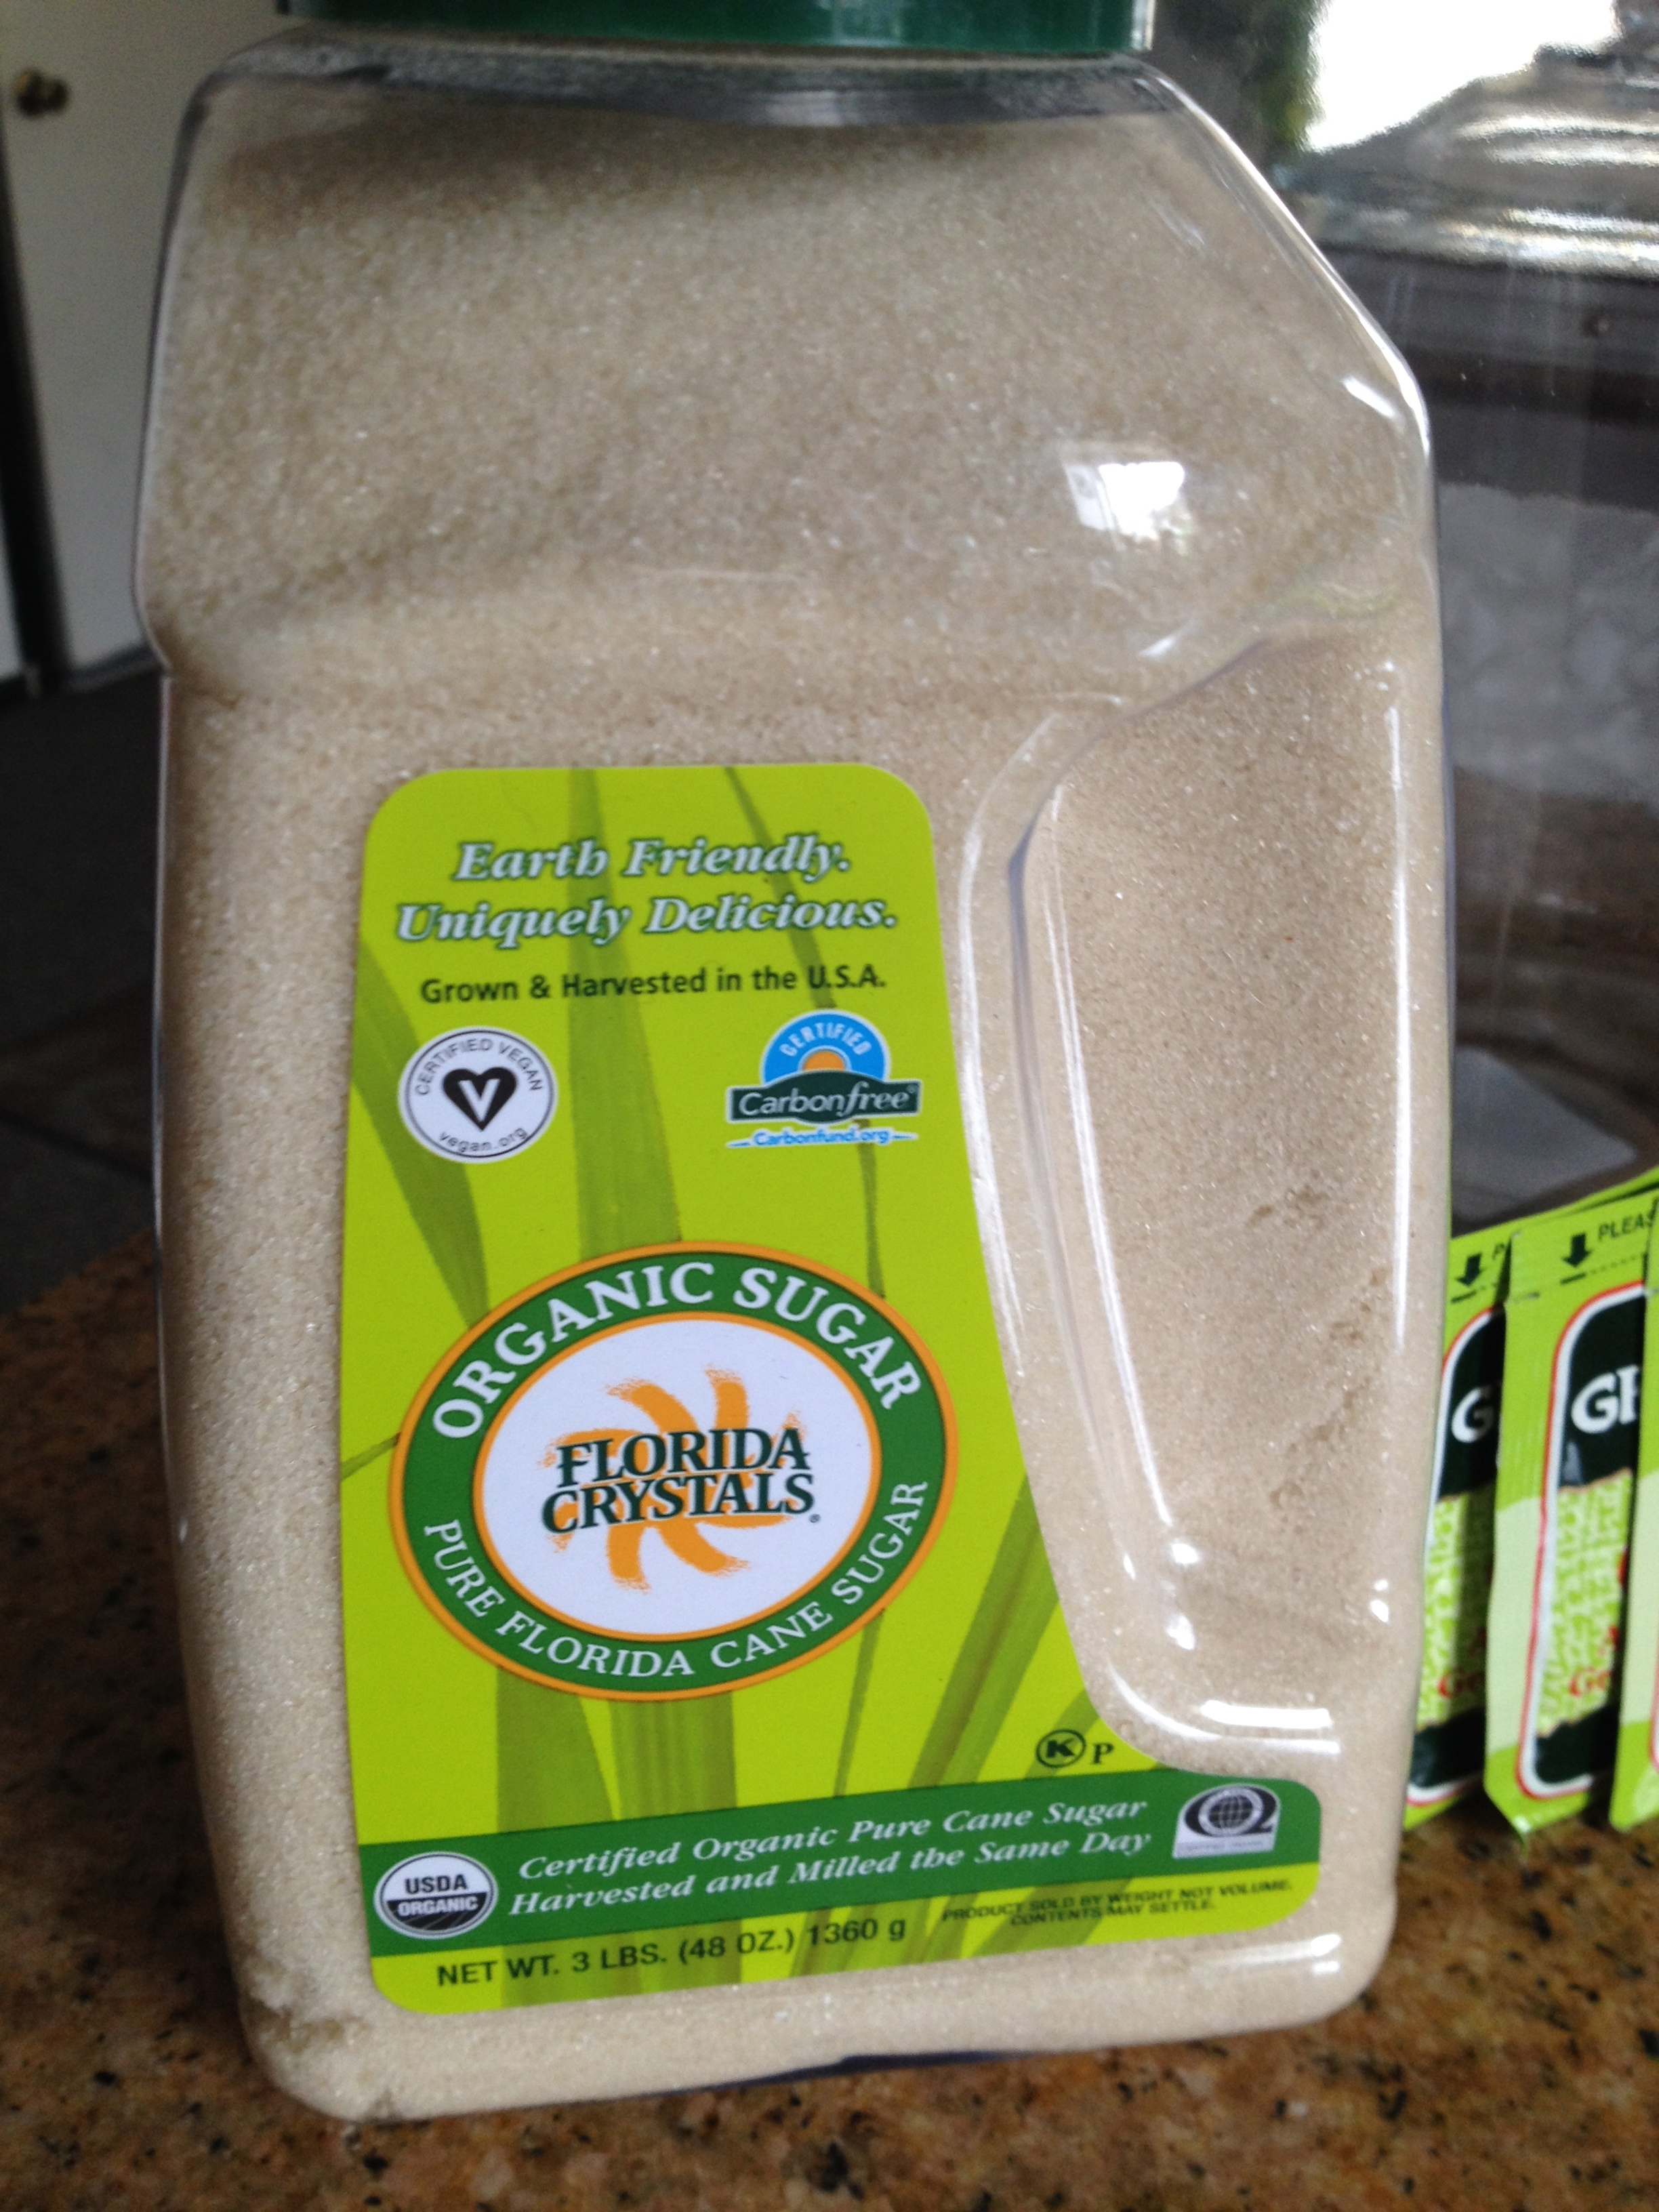
-1 cup of organic cane sugar
-1 bottle of store bought Kombucha (I used GT’s original flavor)
-1 SCOBY (you can buy these off the internet or grow your own)
-1 rubber band
-1 cloth such as a cheesecloth or tee-shirt to avoid contamination
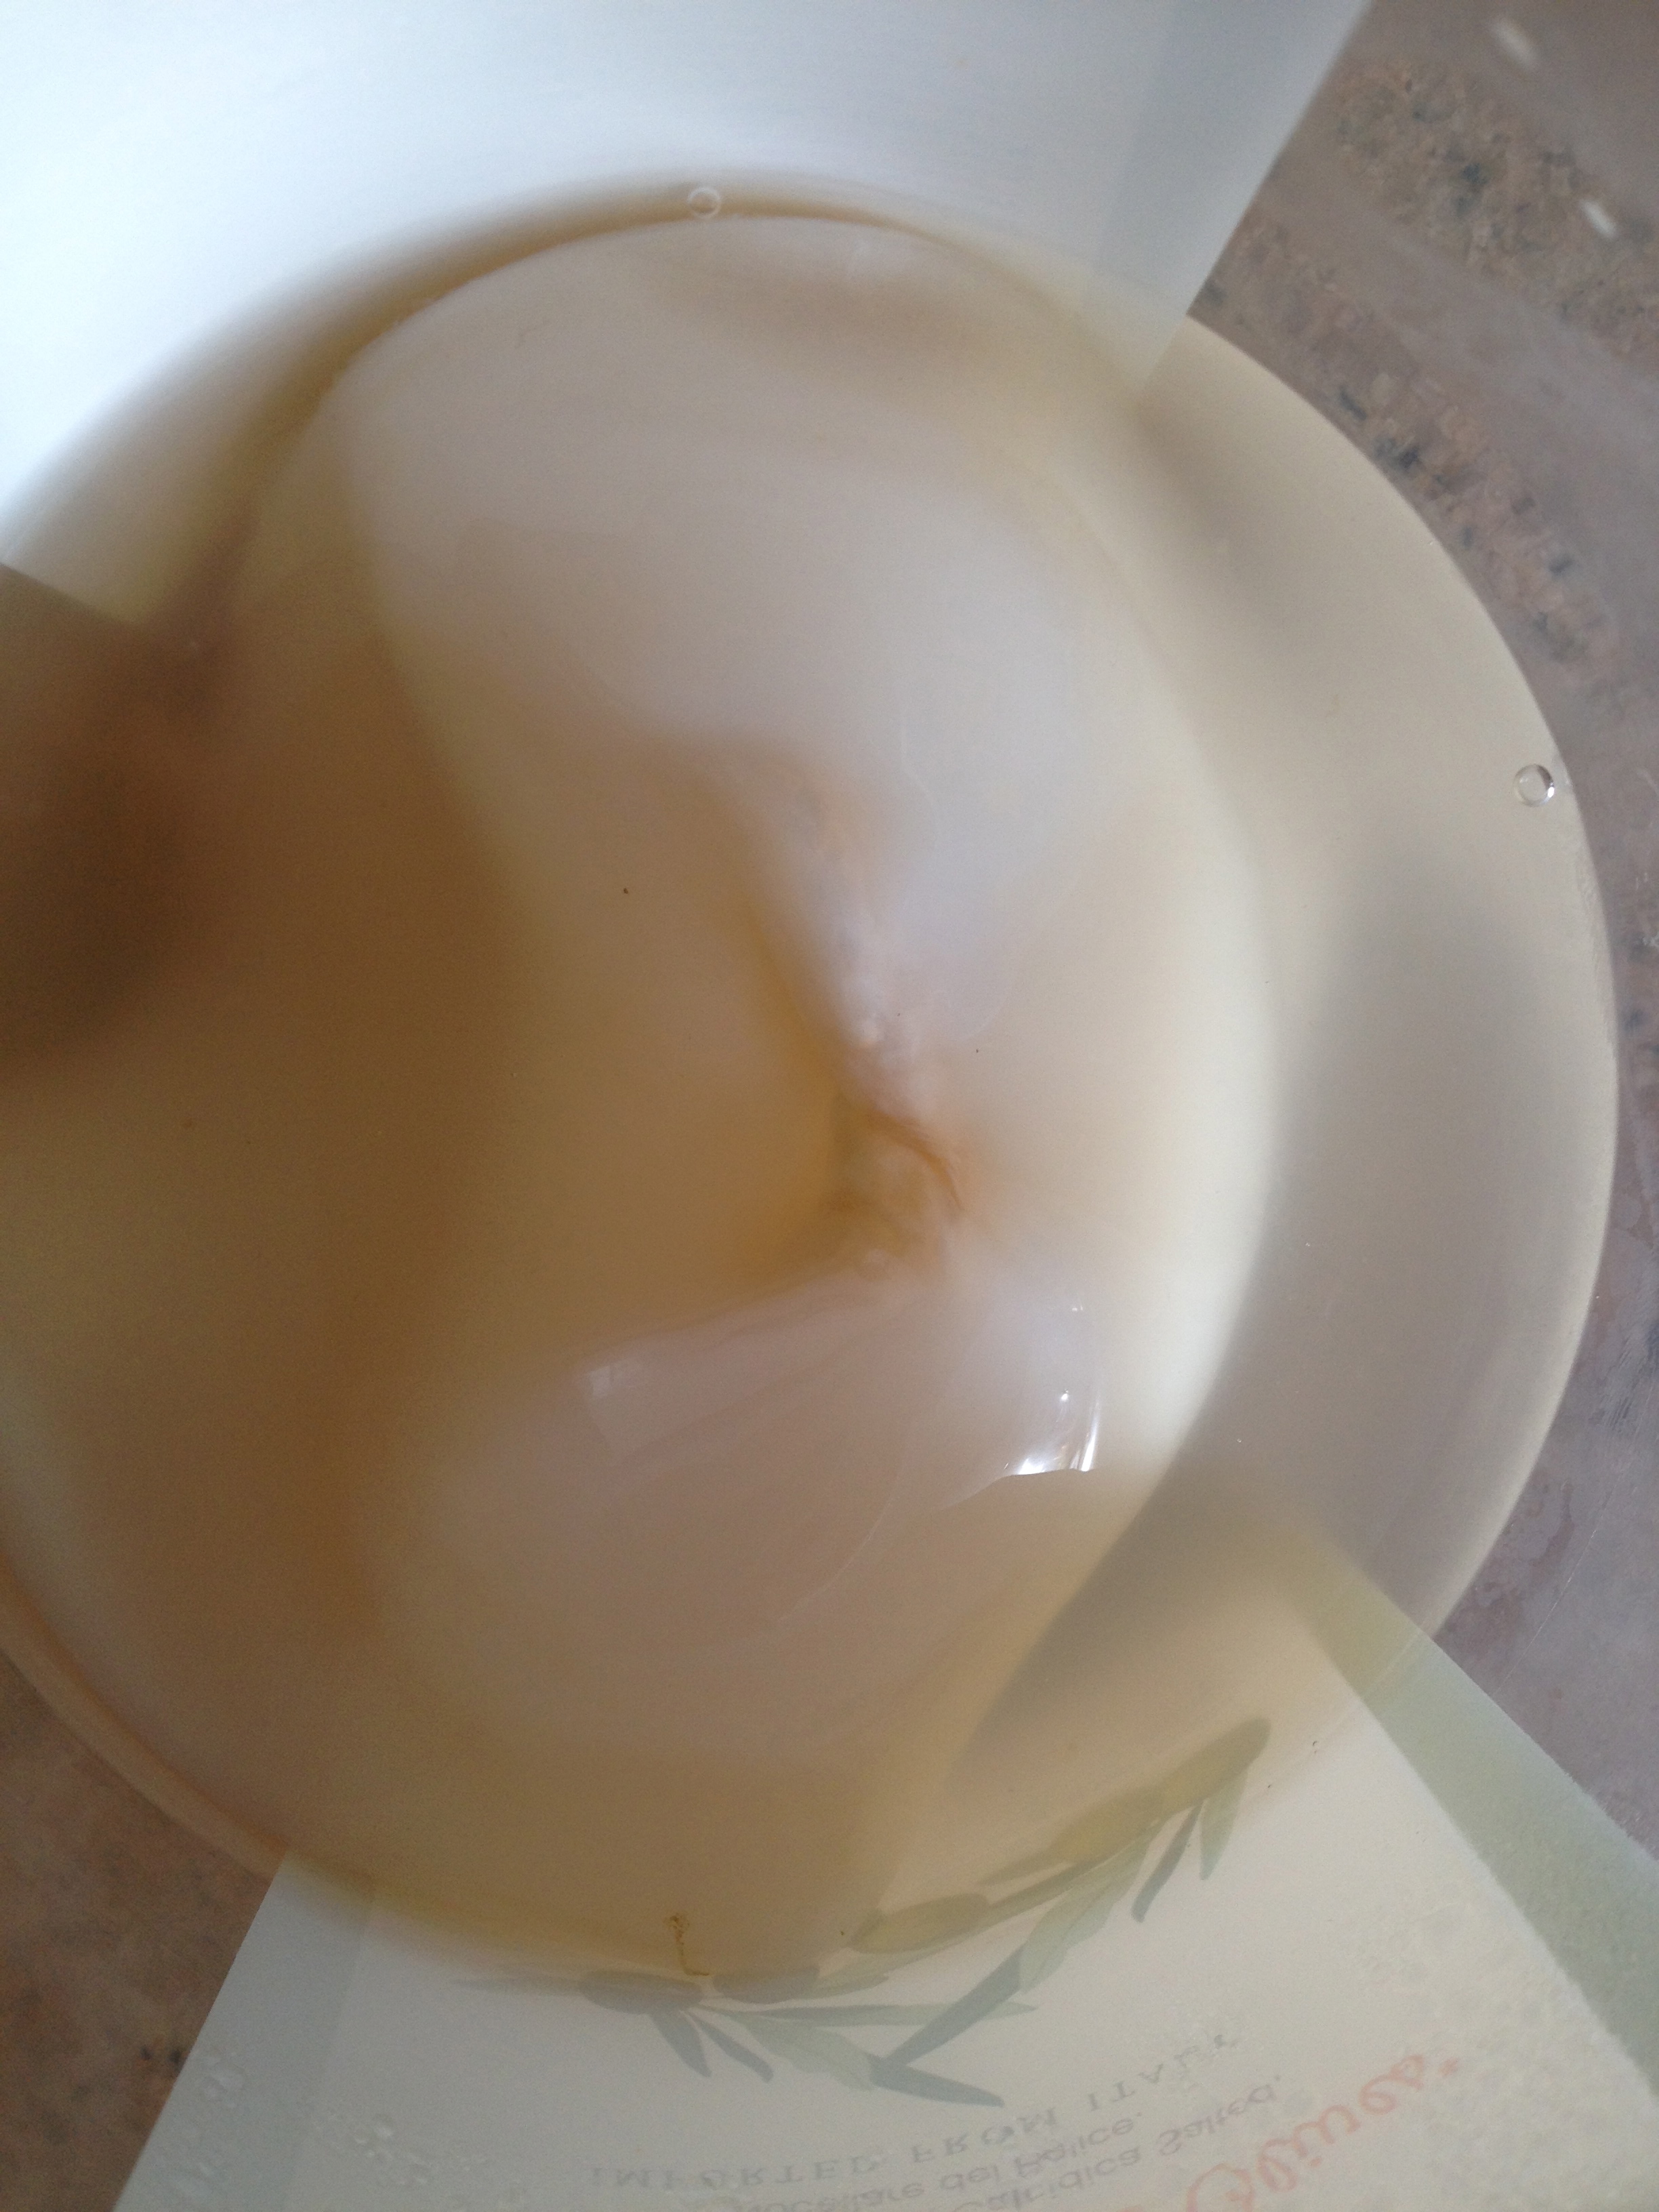
My SCOBY.
Directions:
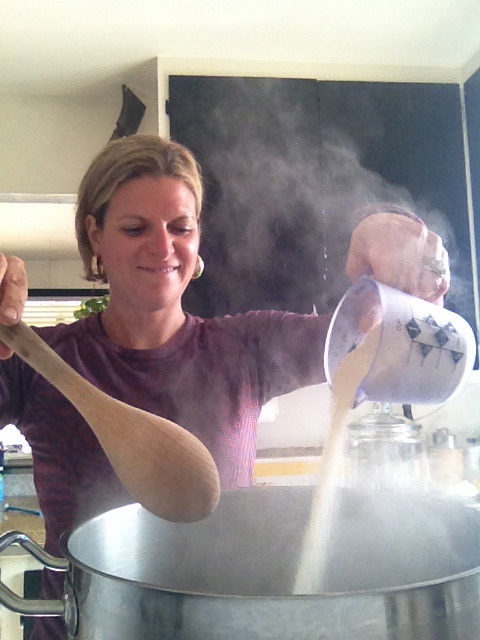
1. Fill a stainless steel pot with 2 gallons of water. Bring to a boil and let boil for 5 minutes to purify it.
2. Add the 6 tea bags to the hot water.
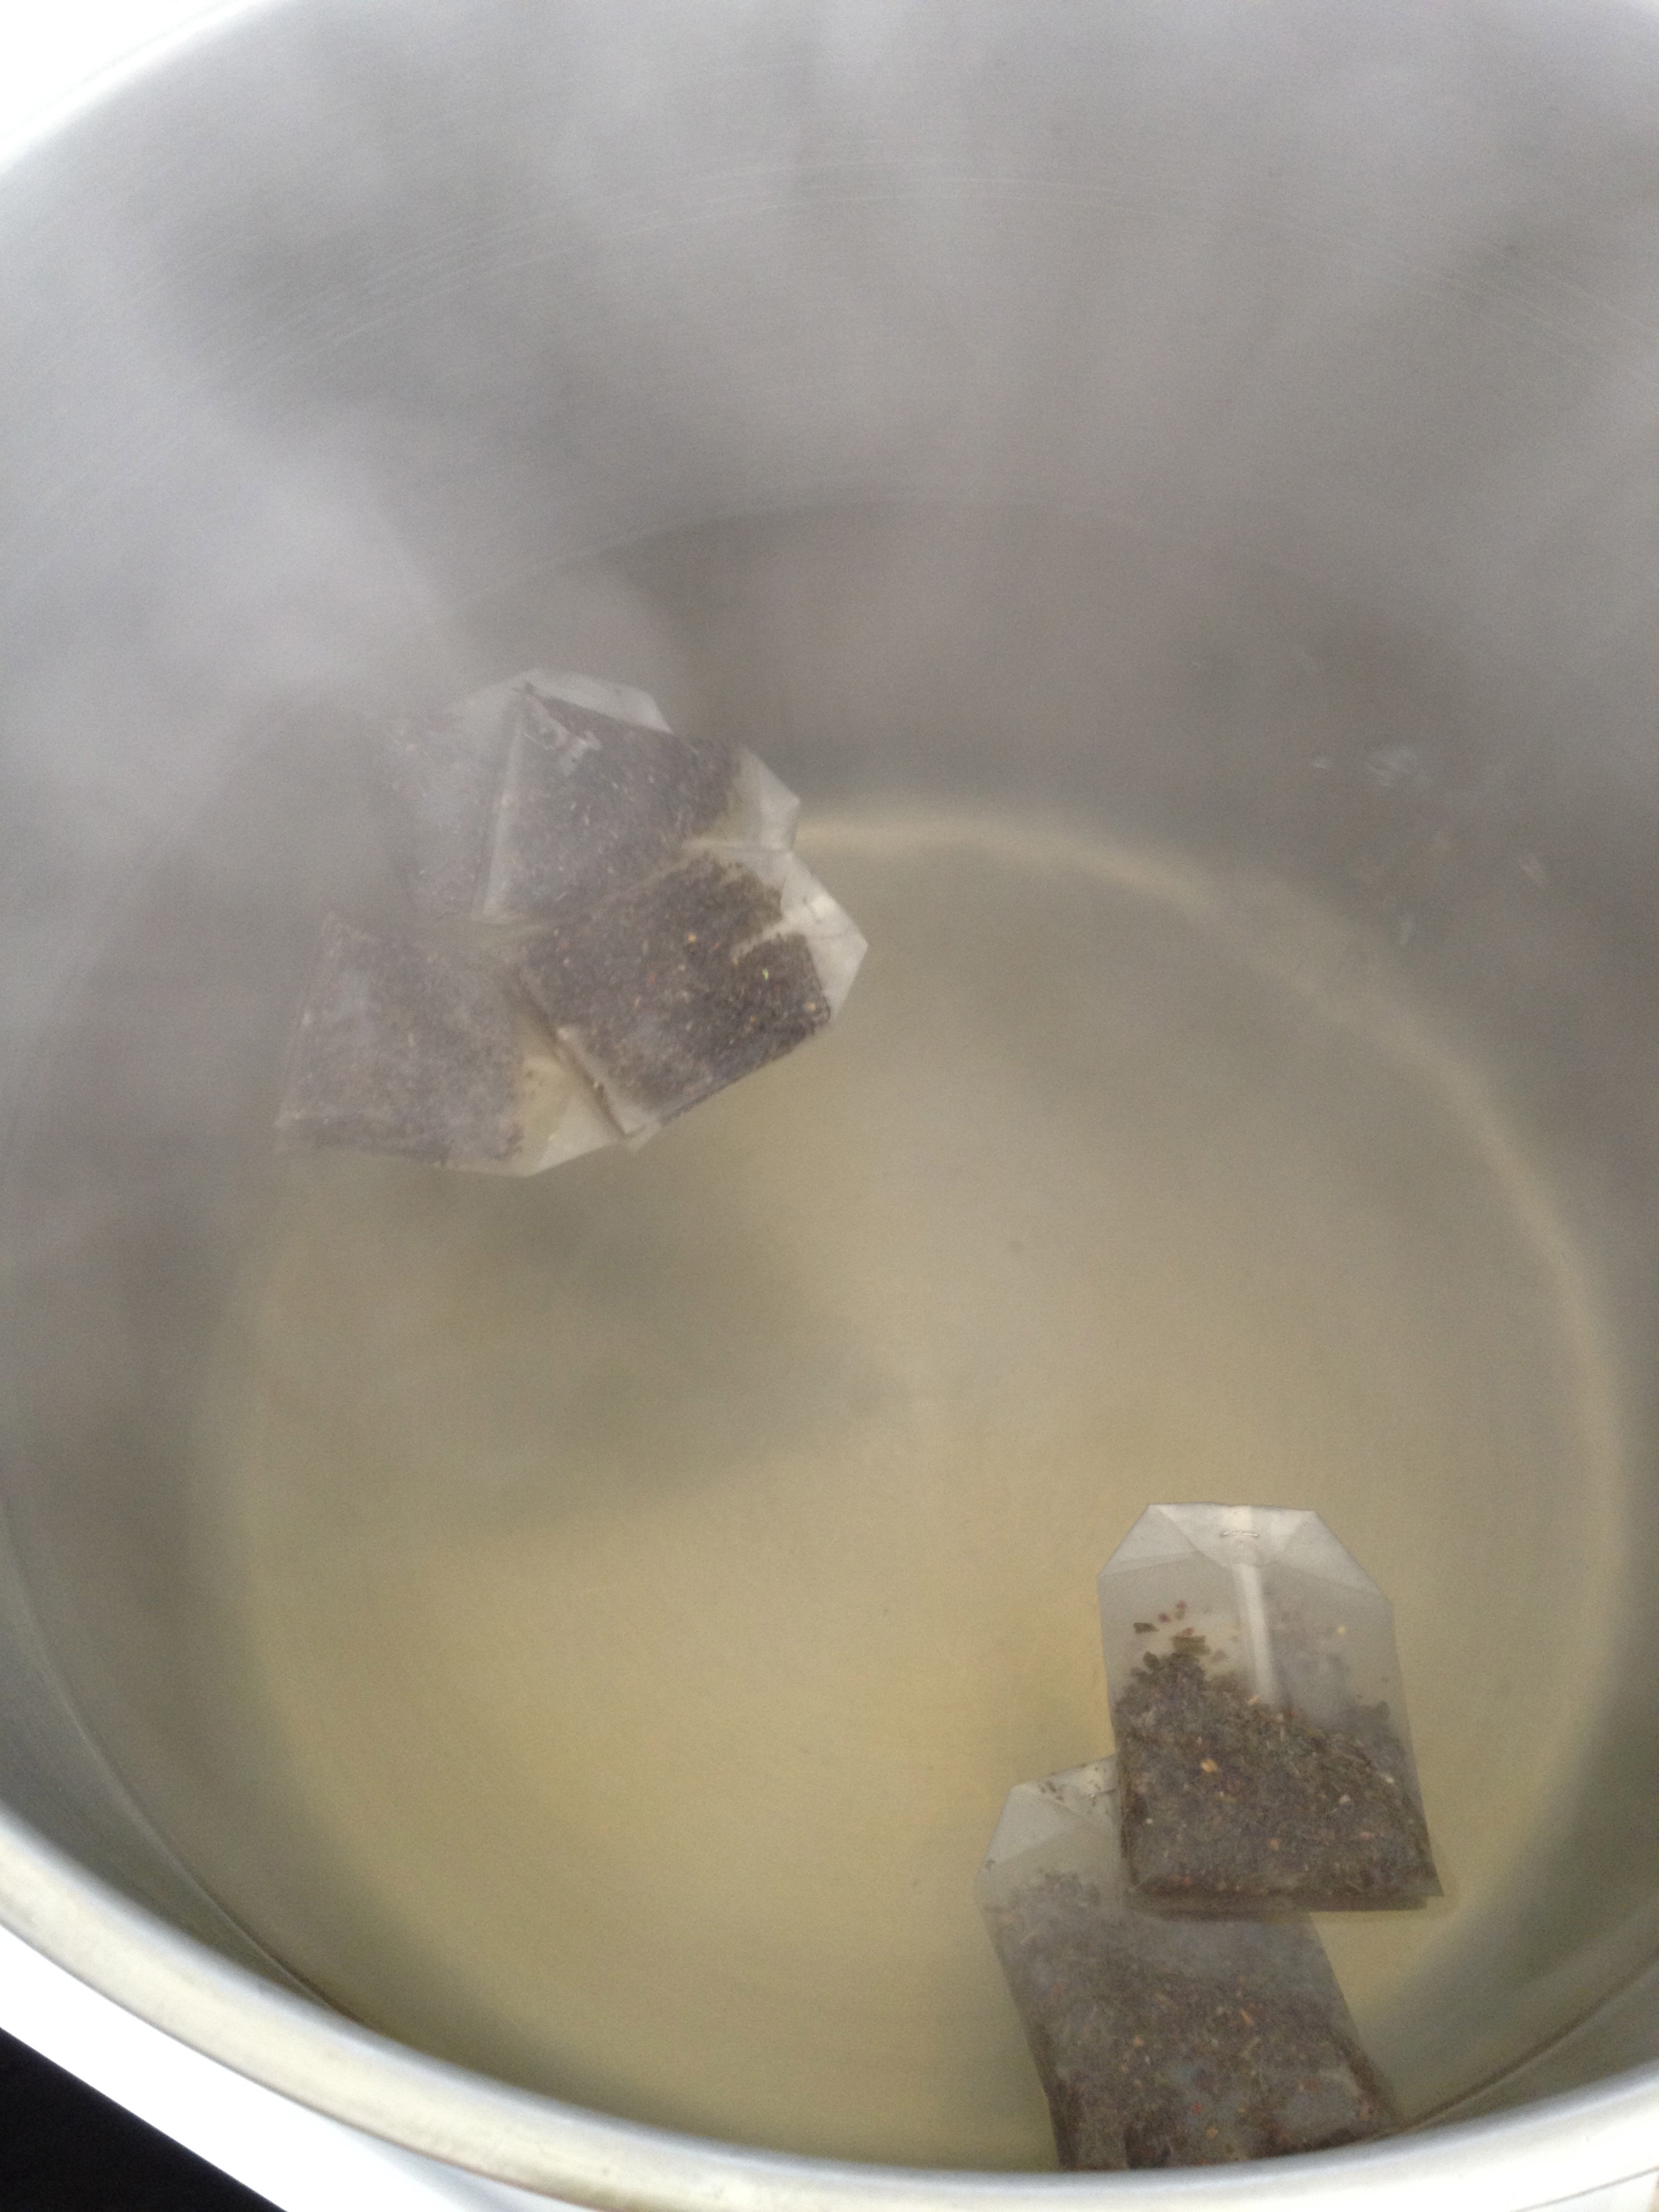
3. Turn off the heat.
4. Stir in the sugar with your wooden spoon. The culture will feed on the sugar, making it a necessary part of the fermentation process. Sugar will start to caramelize if water continues to boil, so that’s why you turn off the heat.
5. Pour the water into your sterilized glass jar. Cover and let tea sit until it is room temperature (around 75ºF/24ºC will do). It will take hours to cool, but adding the culture when the water is too hot will kill it. Use your thermometer to make sure the temp is right.
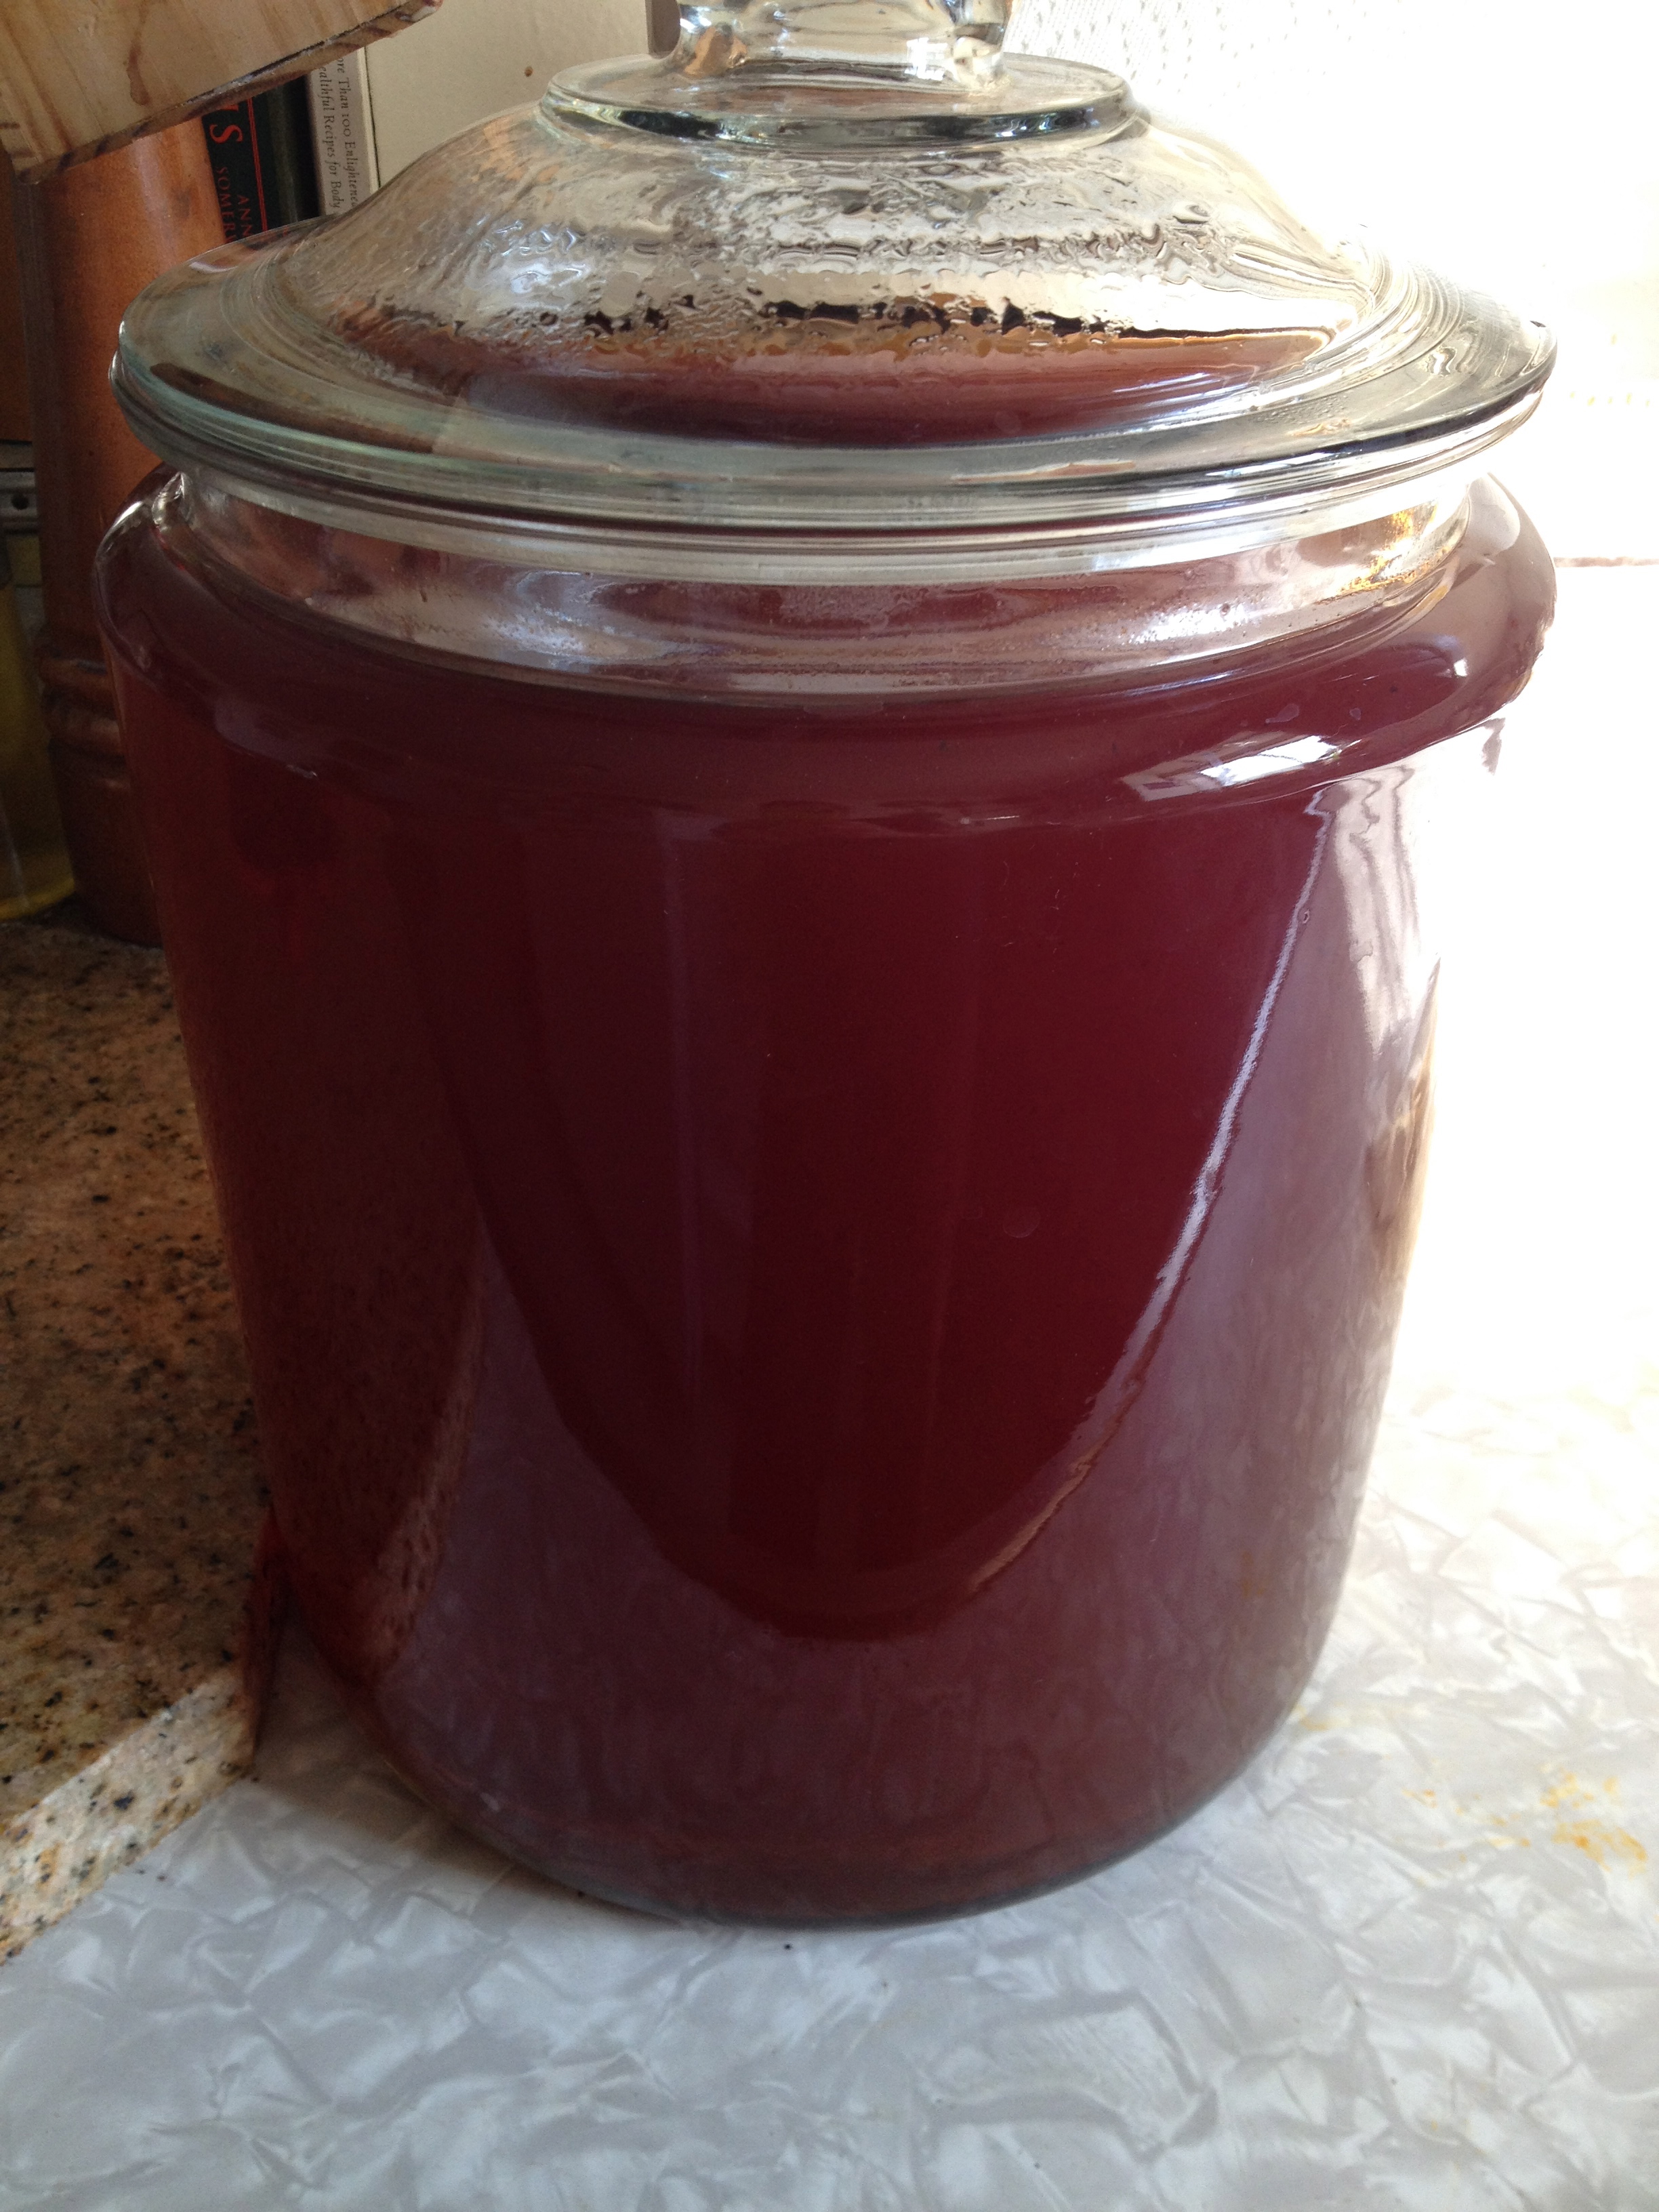
6. When the tea is cool, pour it into the glass jar and add the starter tea, which should constitute about 10% of the liquid.

7. Gently put the SCOBY into the tea, cover the top of the jar with the cloth, and secure it tightly with rubber band.

Placing the SCOBY into my 2 gallon jar.

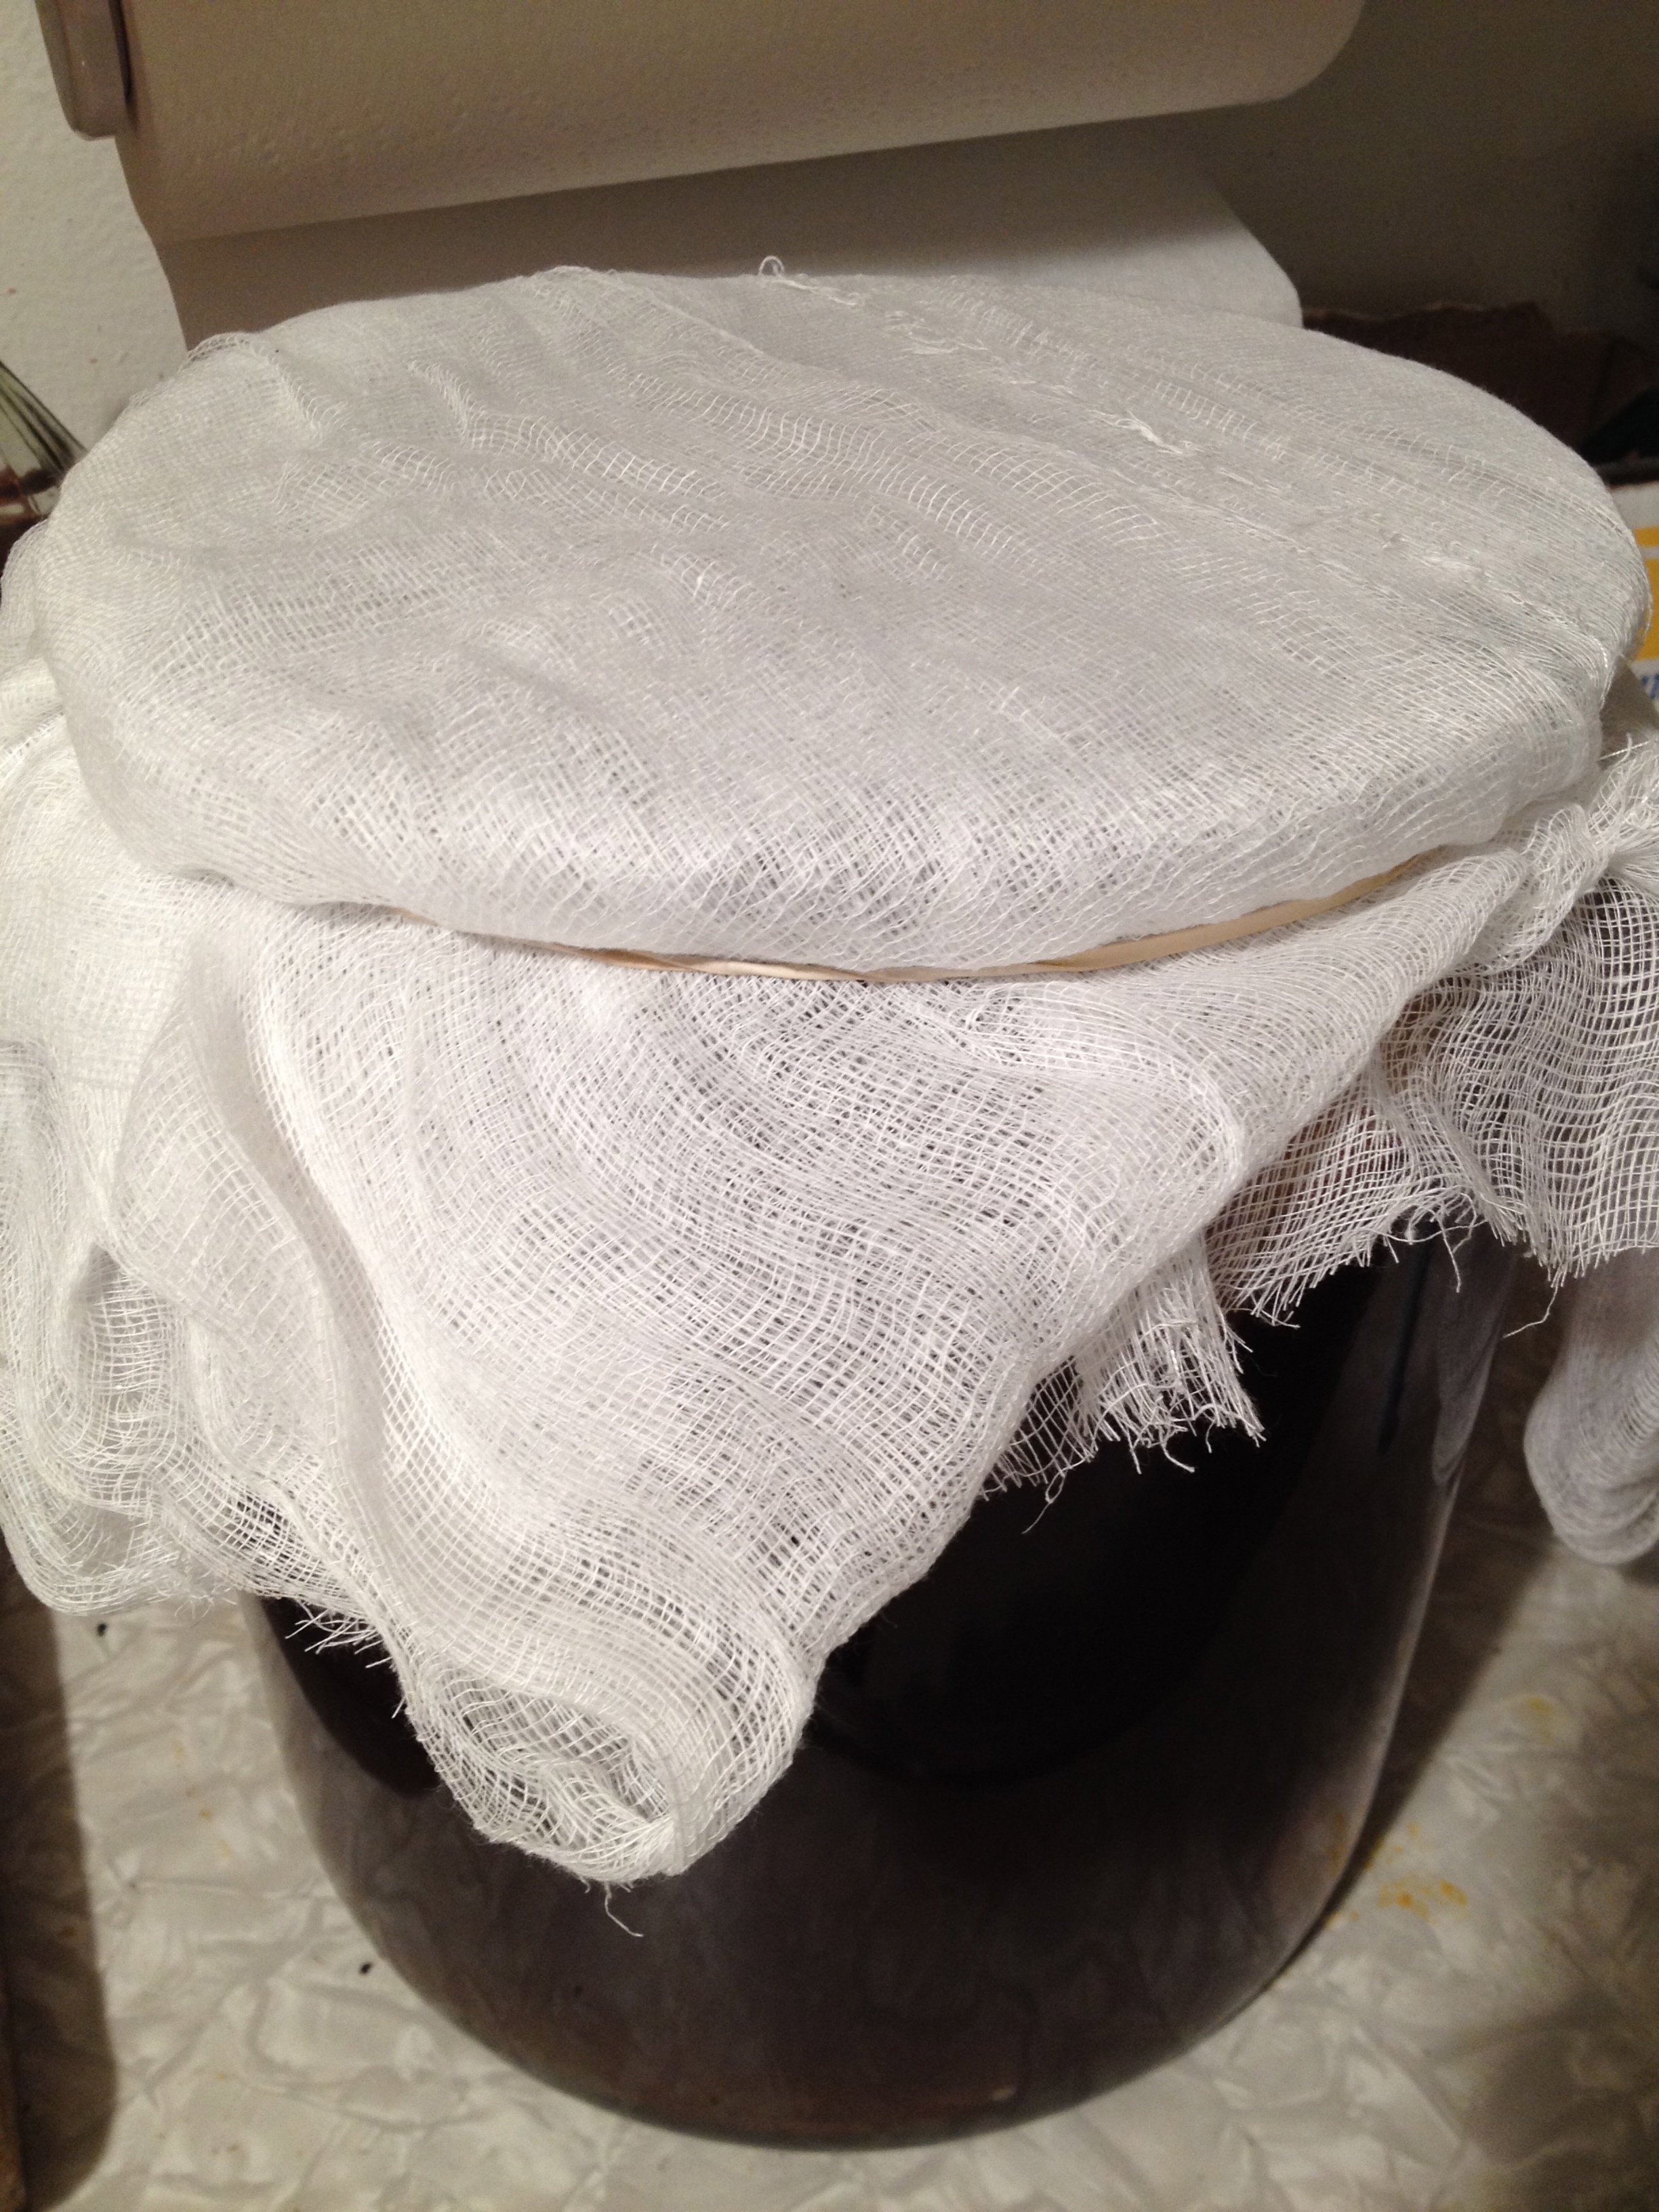

8. Put the jar somewhere warm and dark where it won’t be disturbed. Temperature should be consistently at least 70ºF (21ºC). 86ºF (30ºC) is best if you can manage. Lower temperatures will make it grow slowly, but below 70ºF makes it more likely that unwanted organisms will start growing too.
9. Wait about a week. When the tea starts to get smelly like vinegar, you can start tasting it. The culture will sink or float or do something in between.
- The best way to pull a sample is with a straw. Don’t drink directly from the straw, as backwash may contaminate the tea. Dip the straw about halfway into the tea, cover the end with your finger, pull the straw out and drink the liquid inside or put that liquid on the test strip.
If the kombucha tastes very sweet, it probably needs more time for the culture to consume the sugar.
_________________________
Currently, I’m on step eight. There are more steps that have to do with bottling and how to use the SCOBY’s that I’ll start producing from my own batch of tea. My friend Molly, who owns her own company called Komplete Kombucha, said I should let it ferment for about 20 days, so it can reach an 0.5% alcohol level. I’m excited to taste the concoction in a week so check back and I’ll let you know how it’s going!
_____________________
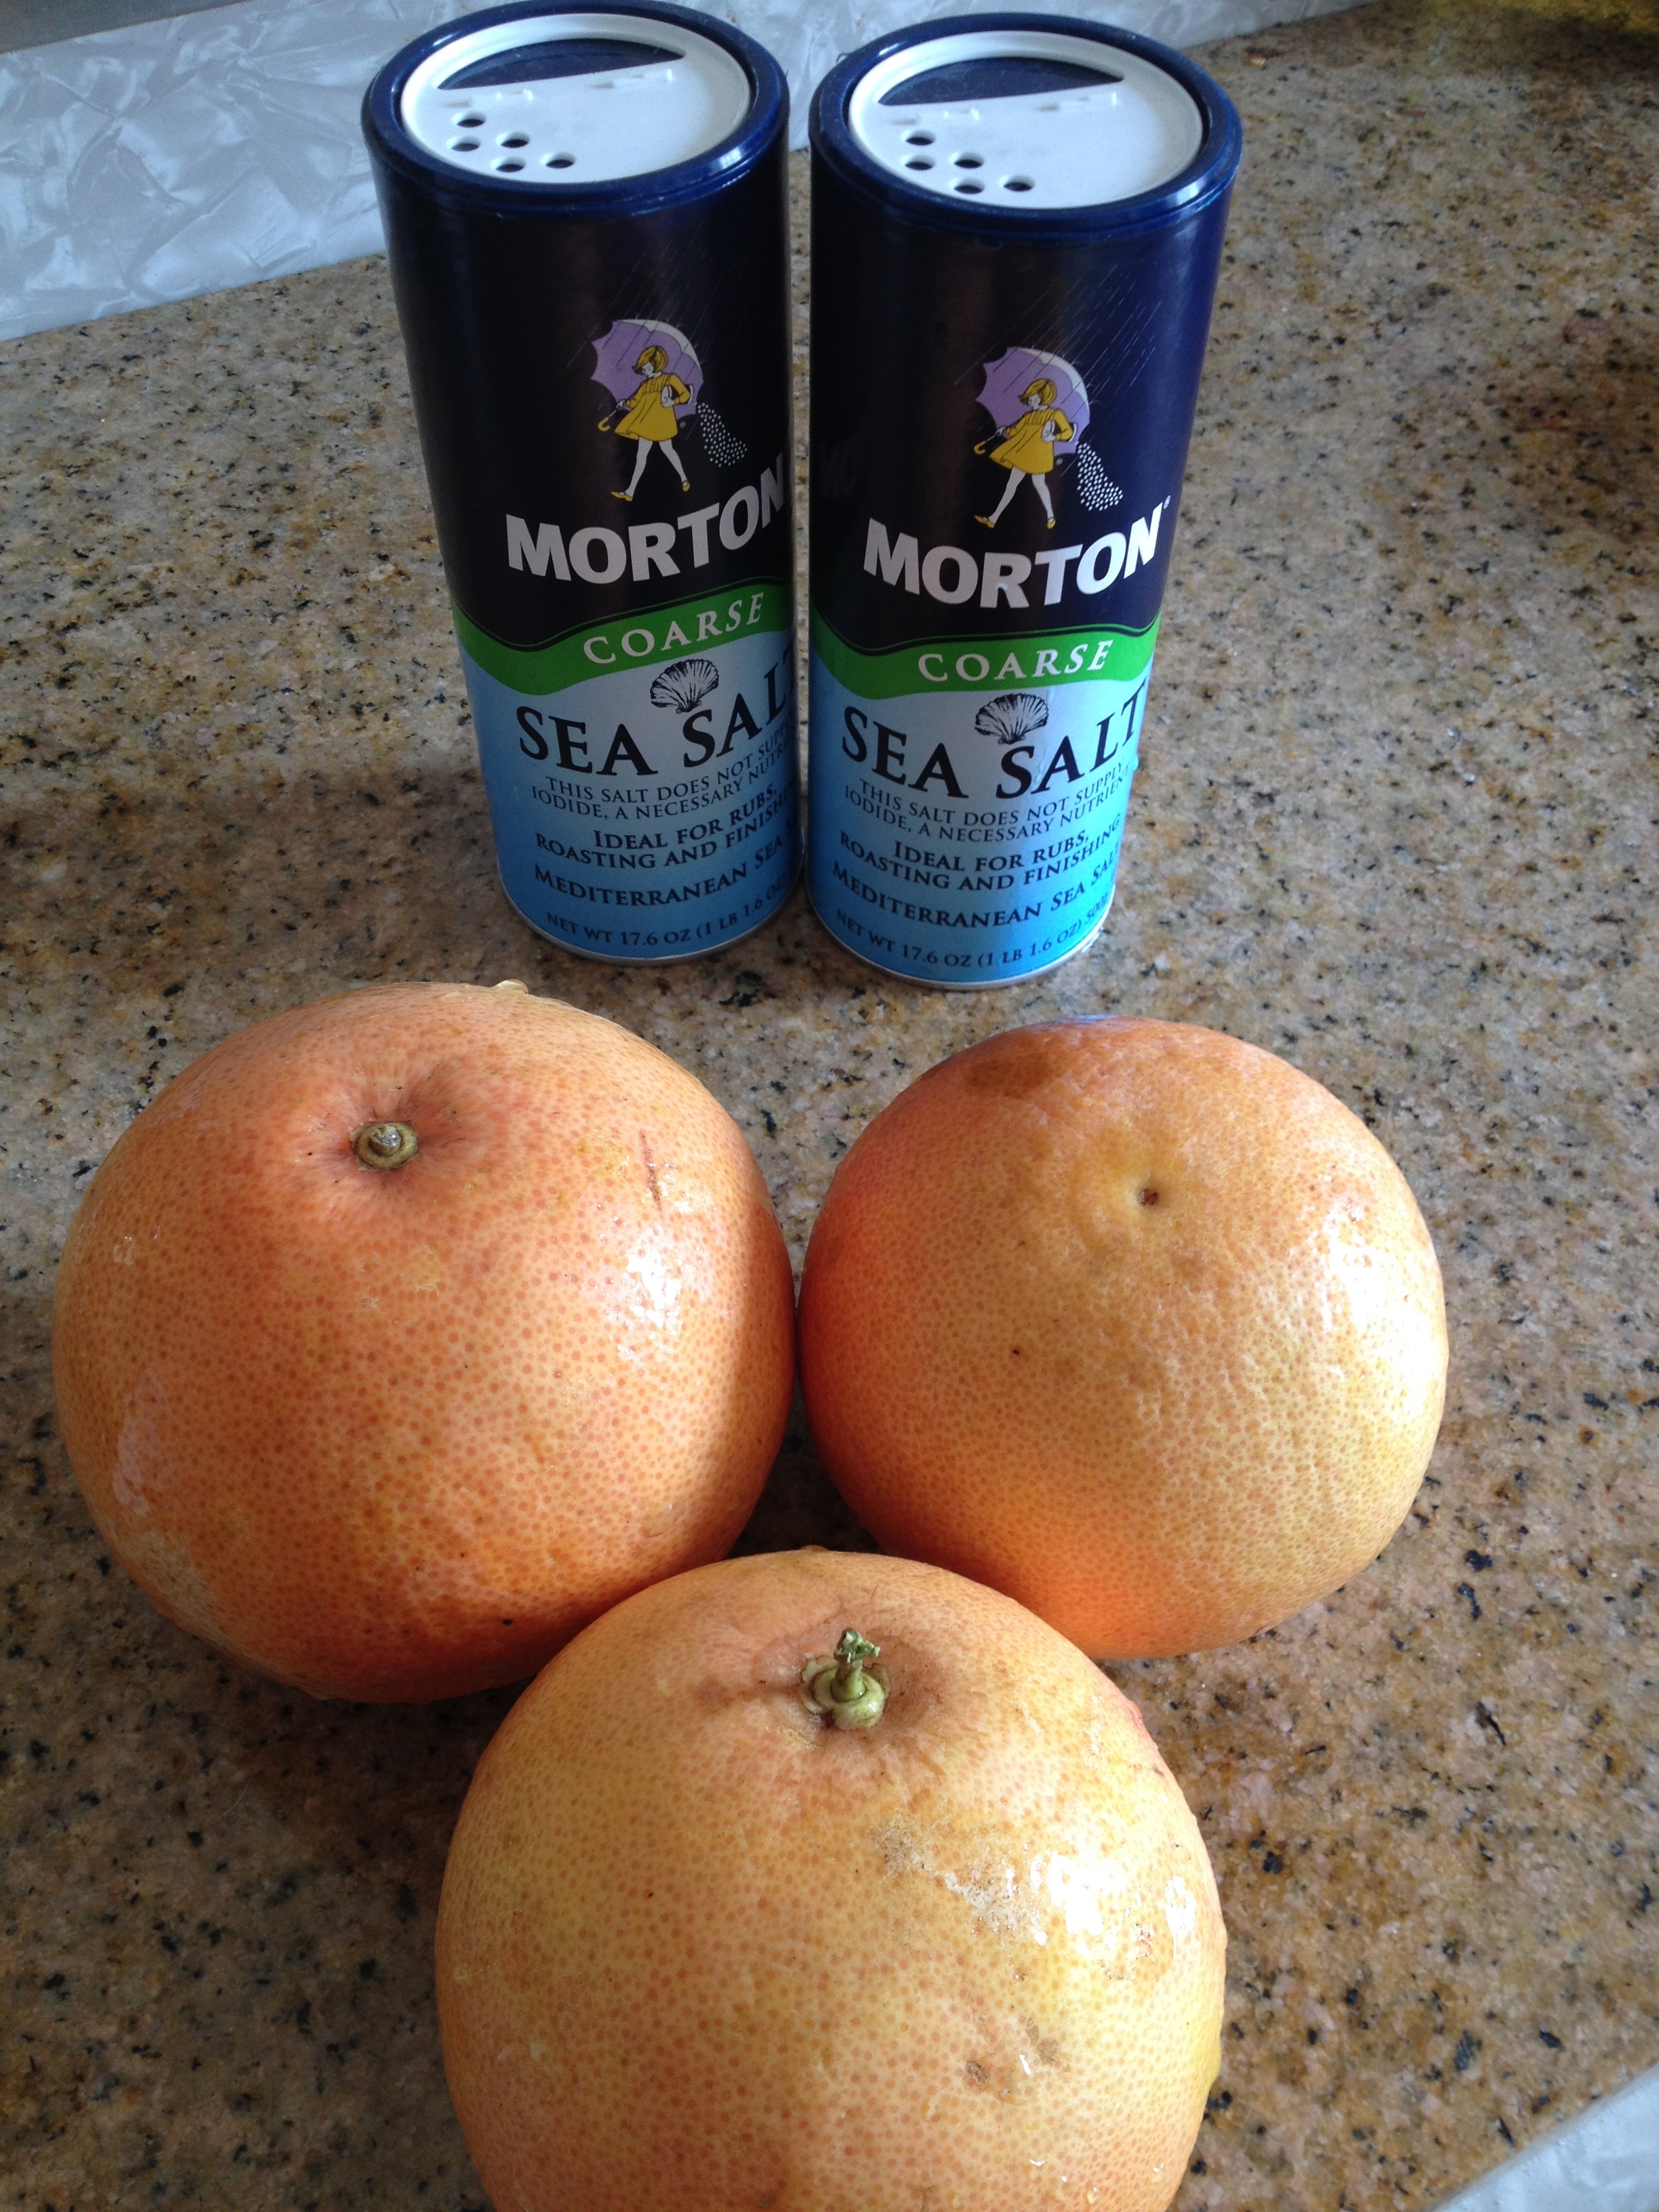
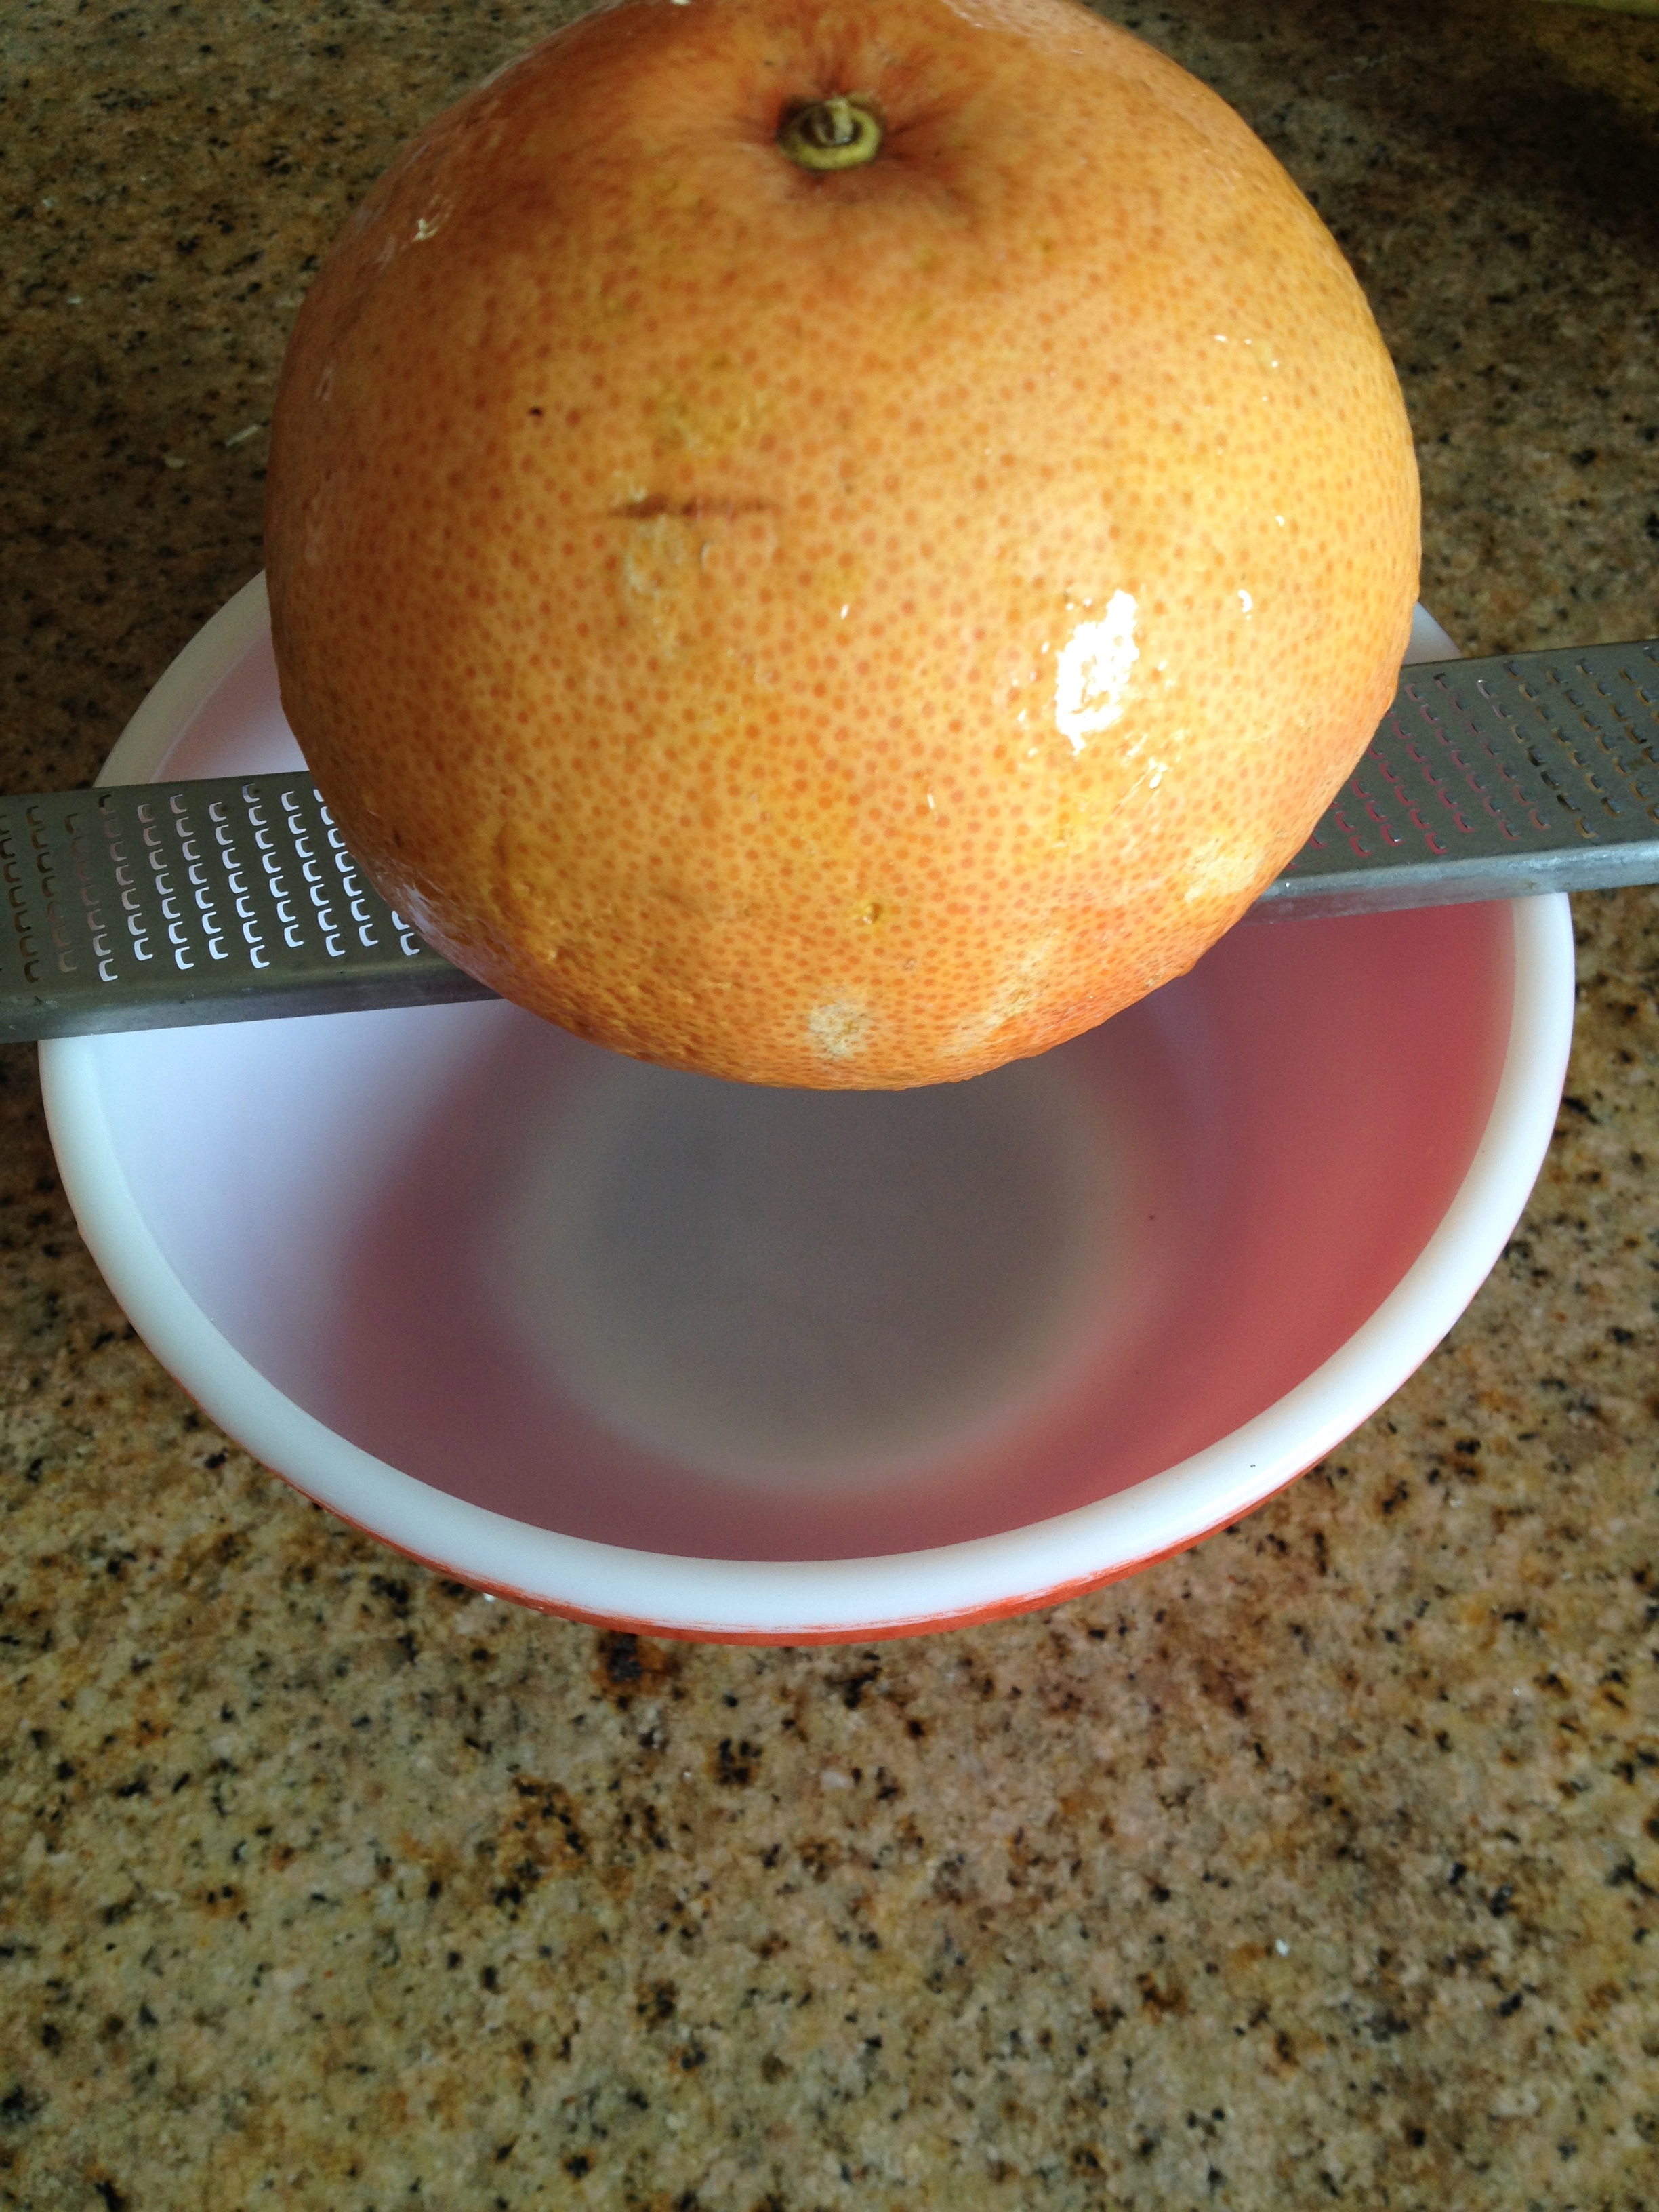
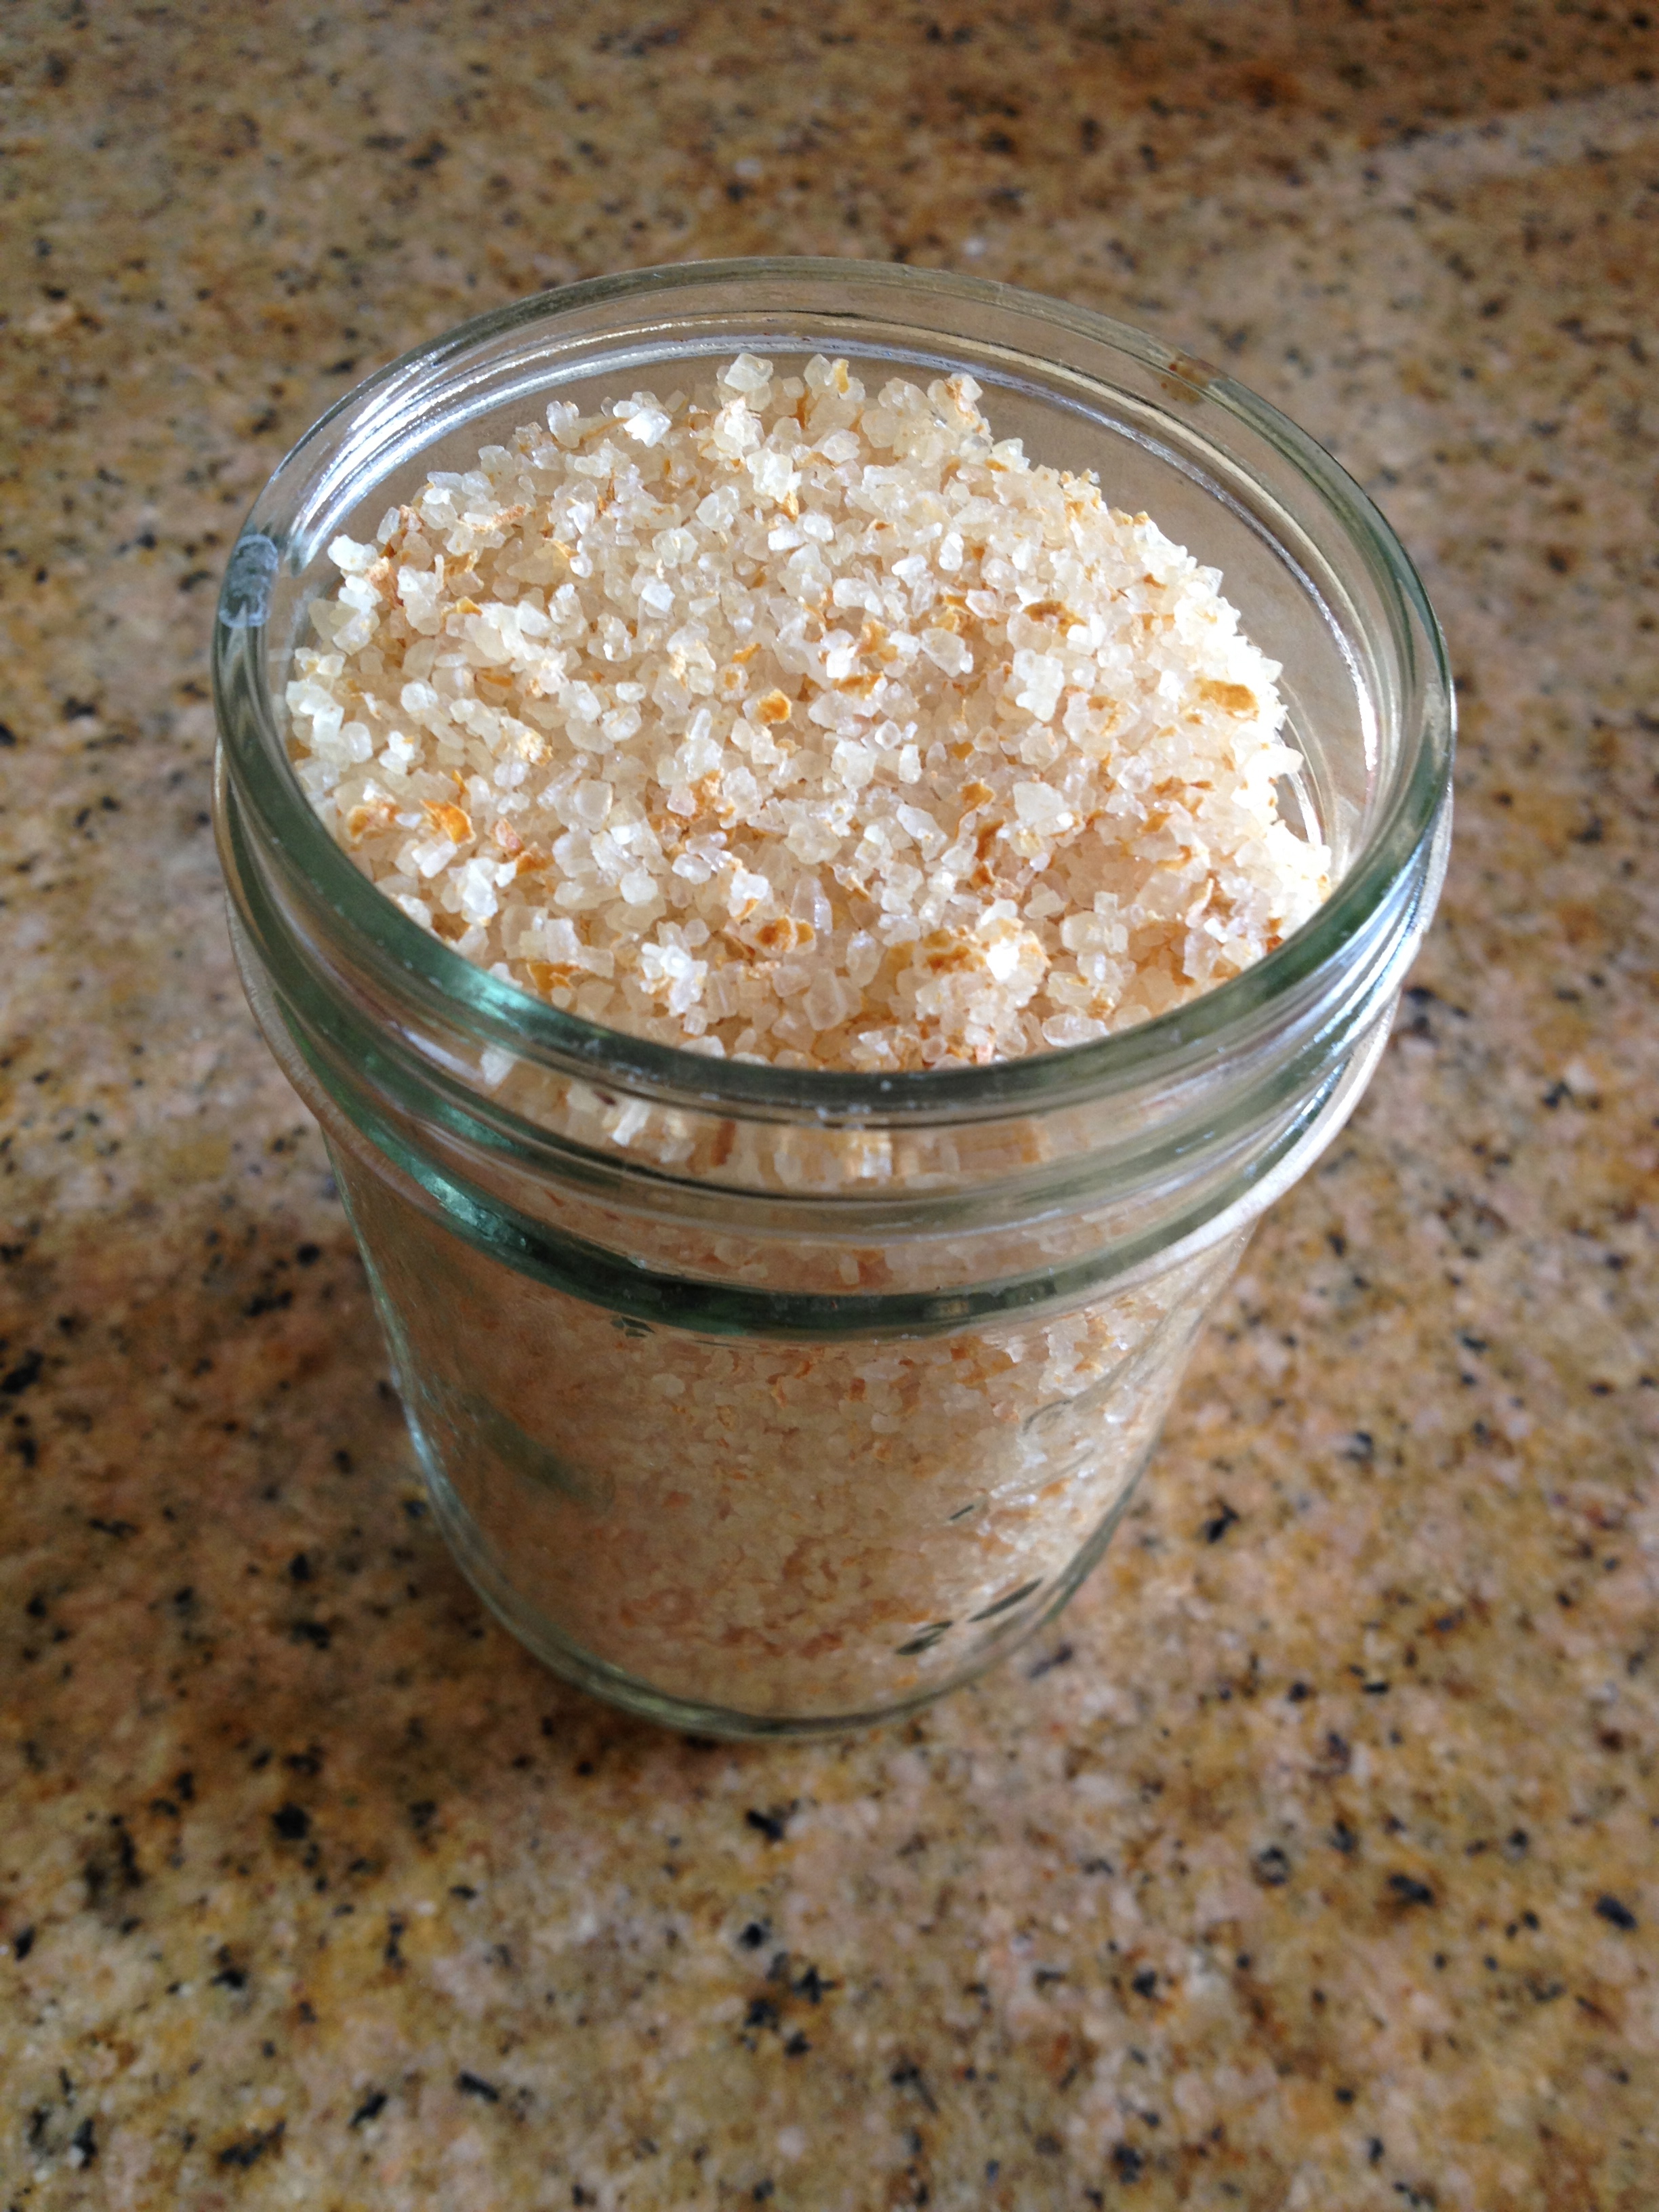
A friend of mine has a birthday coming up so I thought I’d make her some Citrus Salt for cooking today too. Infused with fresh grapefruit from my friend Lori M.’s trees, these finishing salts boast a bright flavor that elevates everything from chocolate to pastas, salads and roasted vegetables. And of course, I wrapped it up real cute so it’s as good to look at as it is to use! You can literally use any citrus- orange, lemon or even lime.
Grapefruit Citrus Salt – makes one jar
Ingredients:
– 1 cup of course sea salt (I used Morton’s)
-zest from 2 grapefruits
-old jars
Directions:
1. Preheat oven to 200.
2. In a bowl, zest the grapefruit and then add the salt, mixing well.
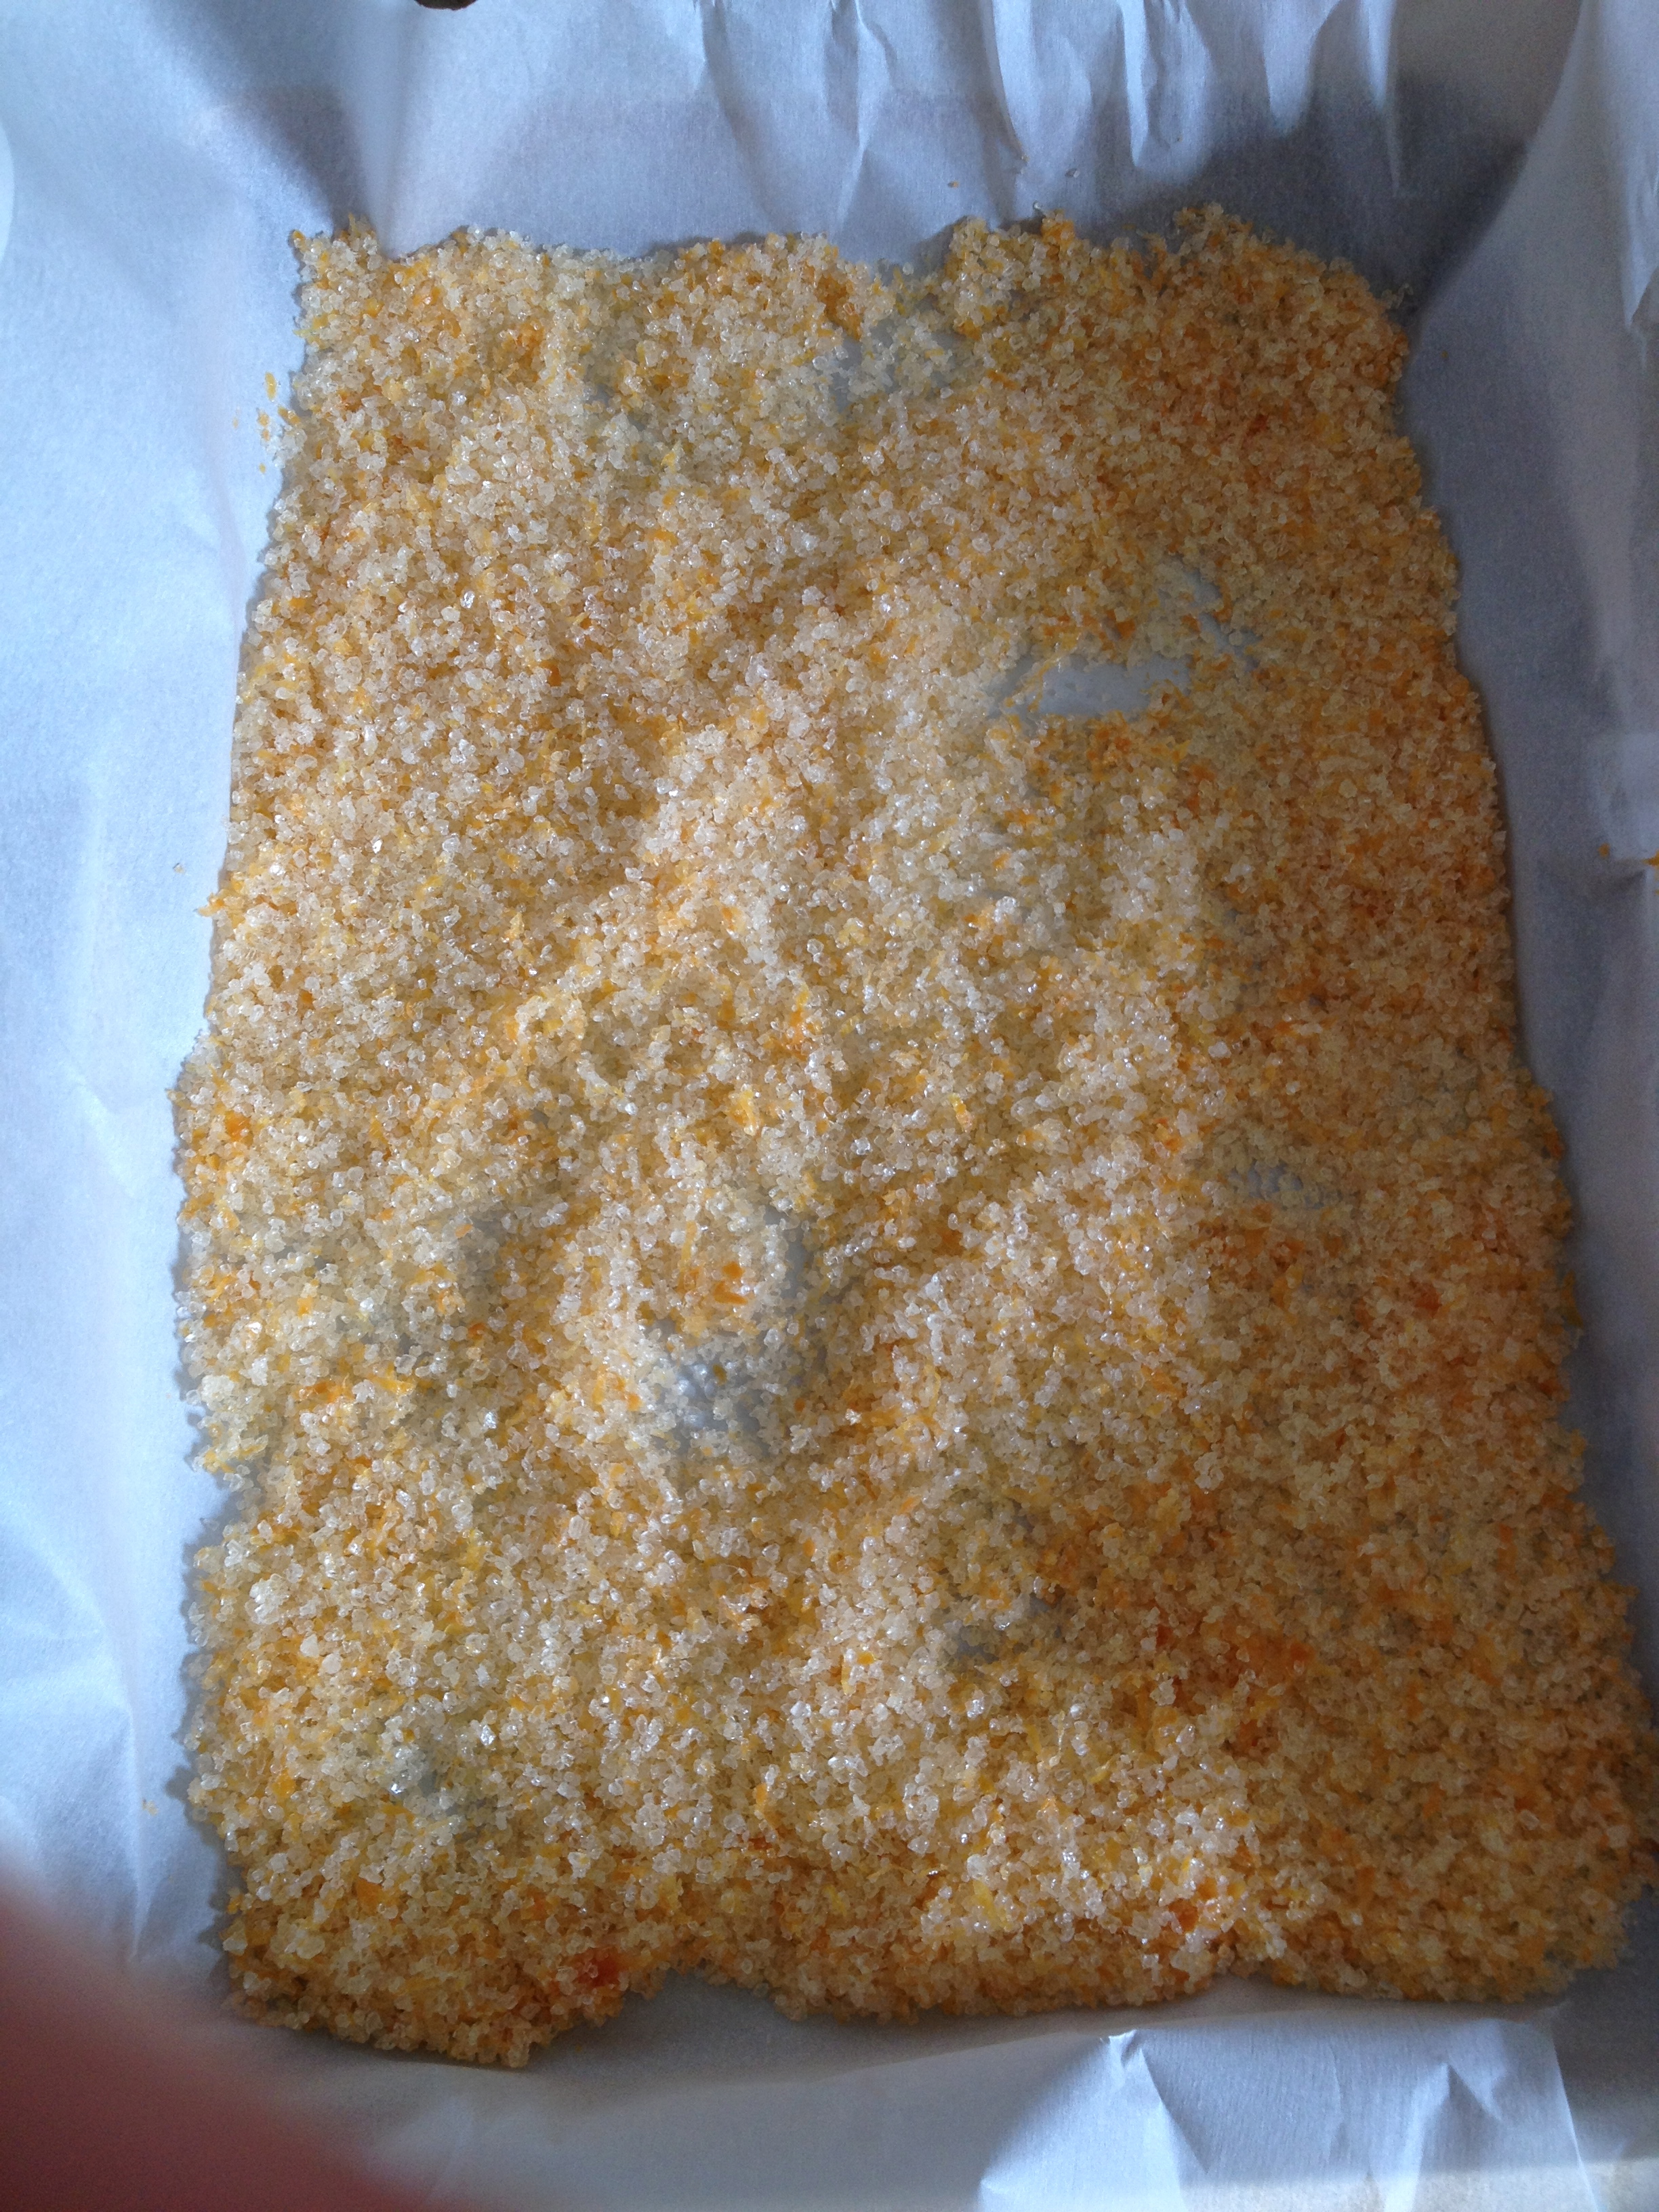
3. Spread mixture on a parchment-lined baking sheet and bake until citrus is dry, about 45 minutes.
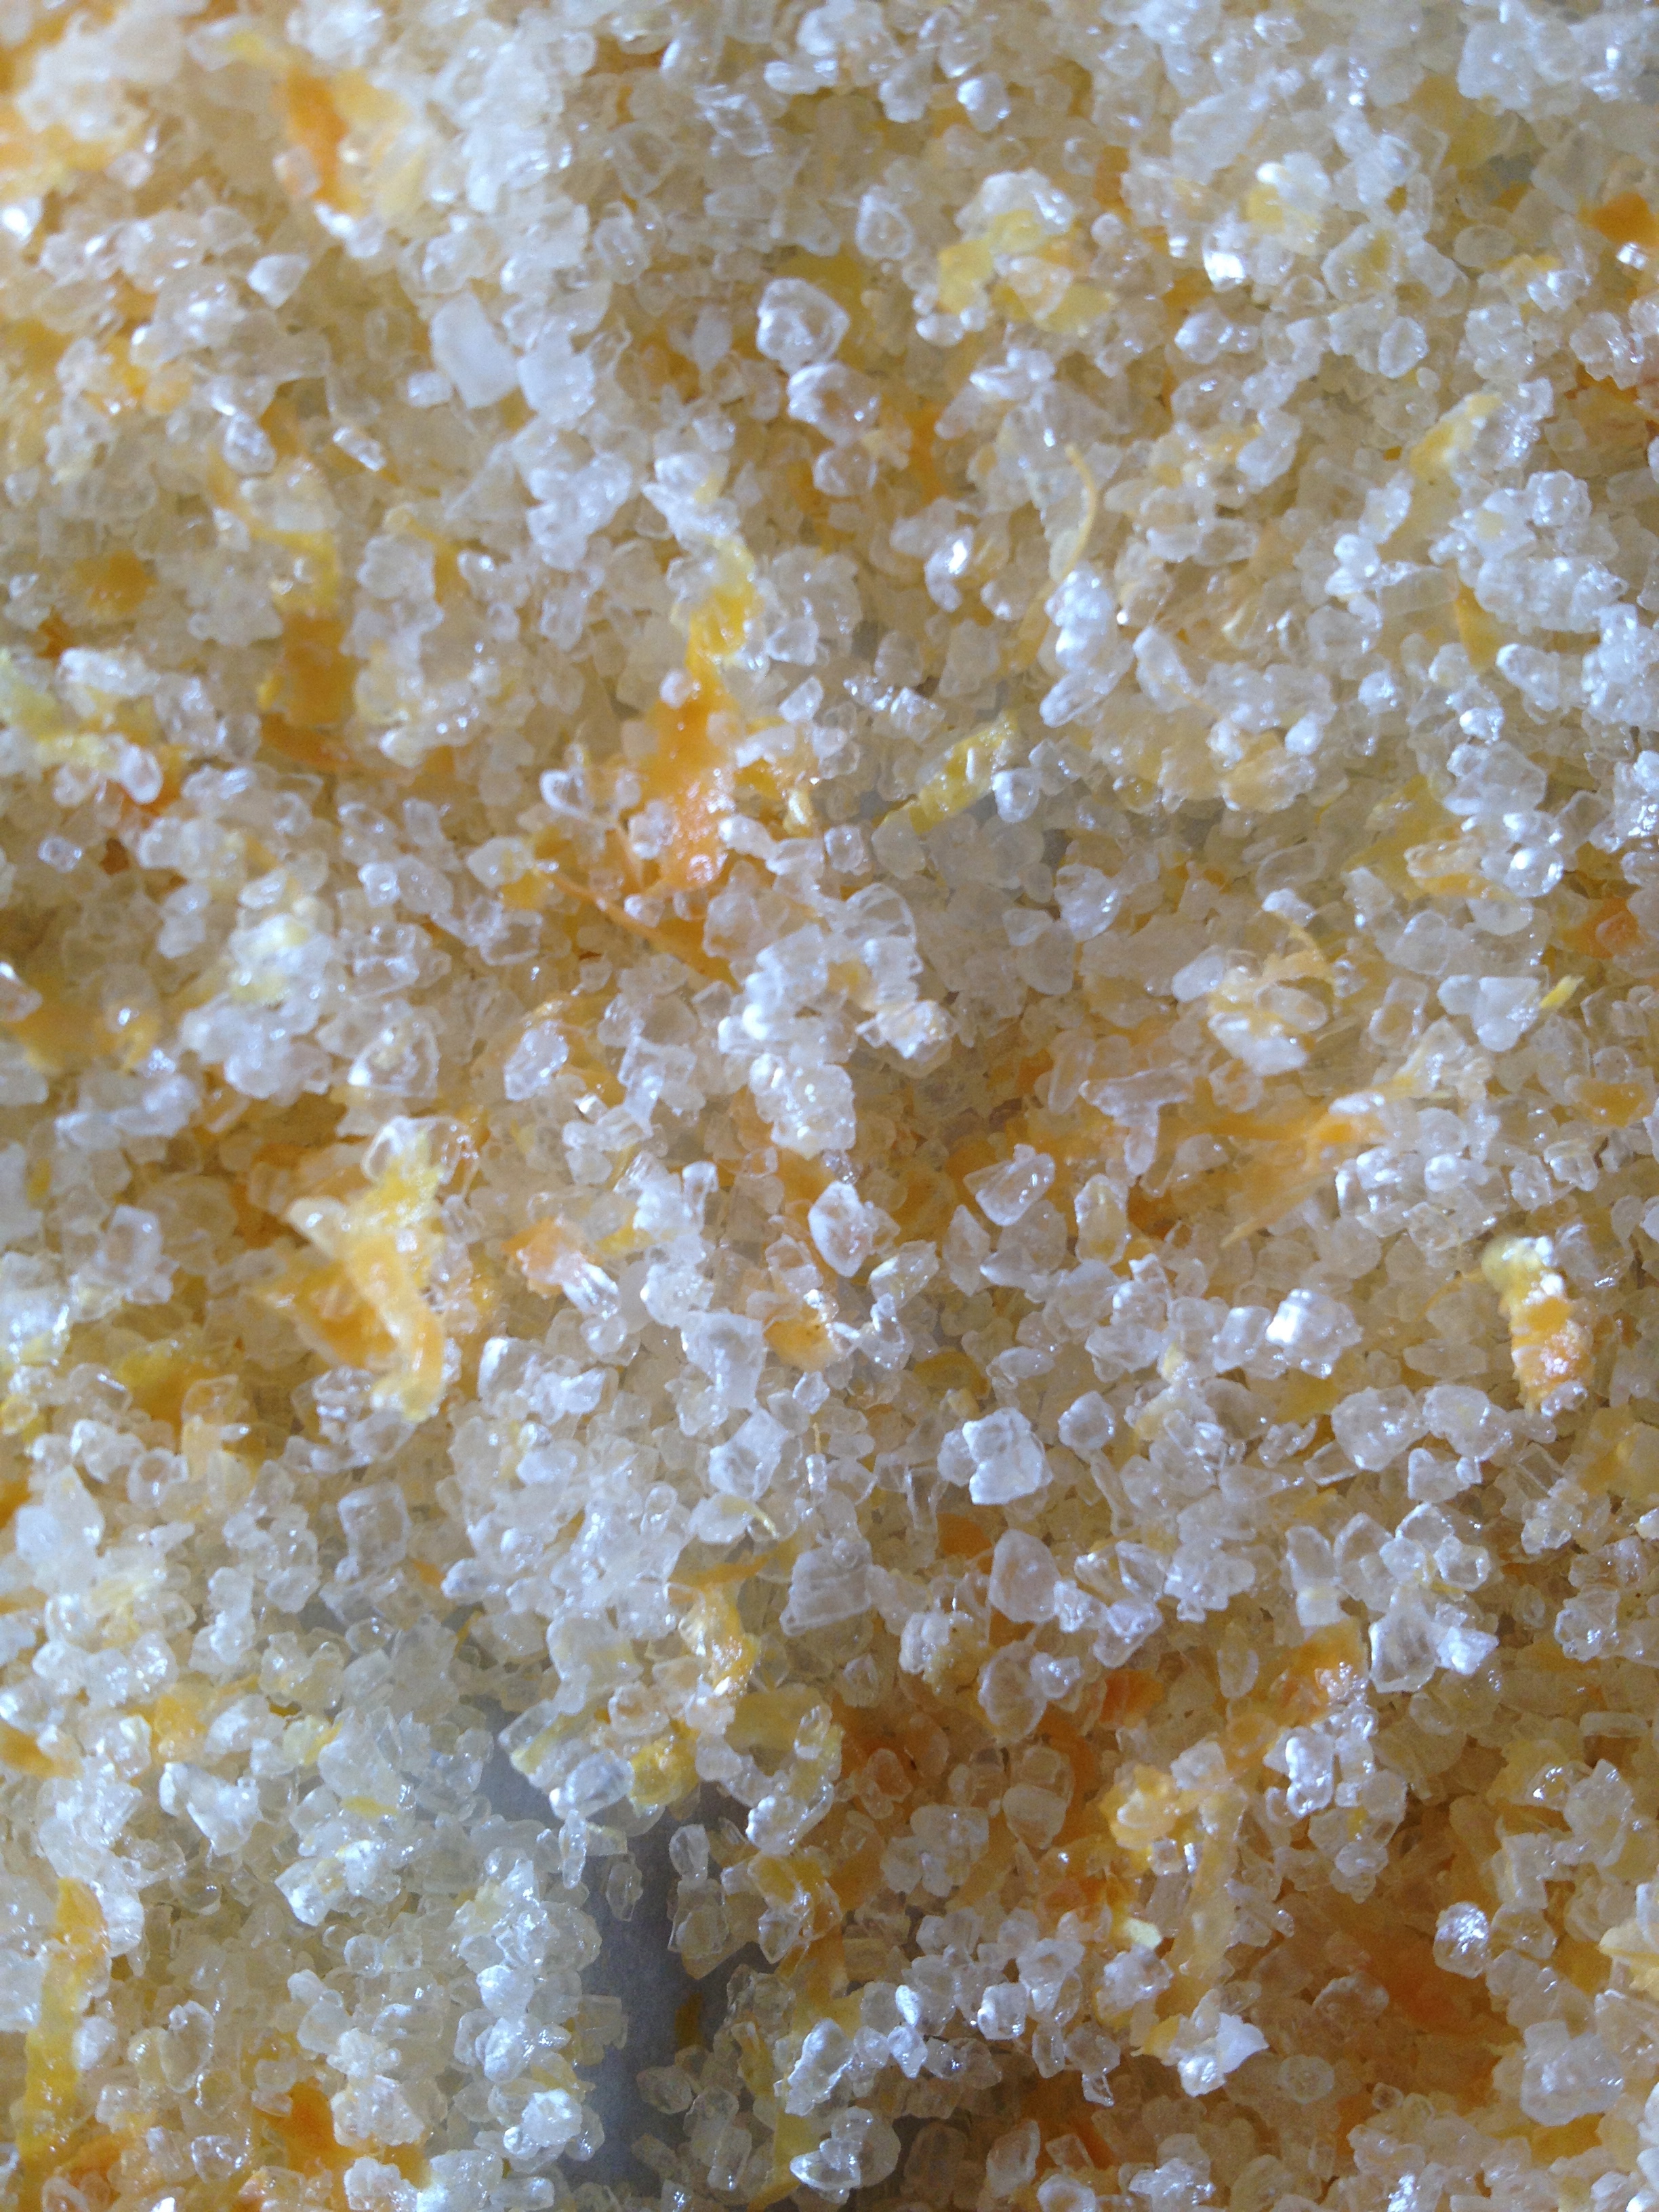

4. Let cool completely before storing in old jars. Makes for a fun gift!

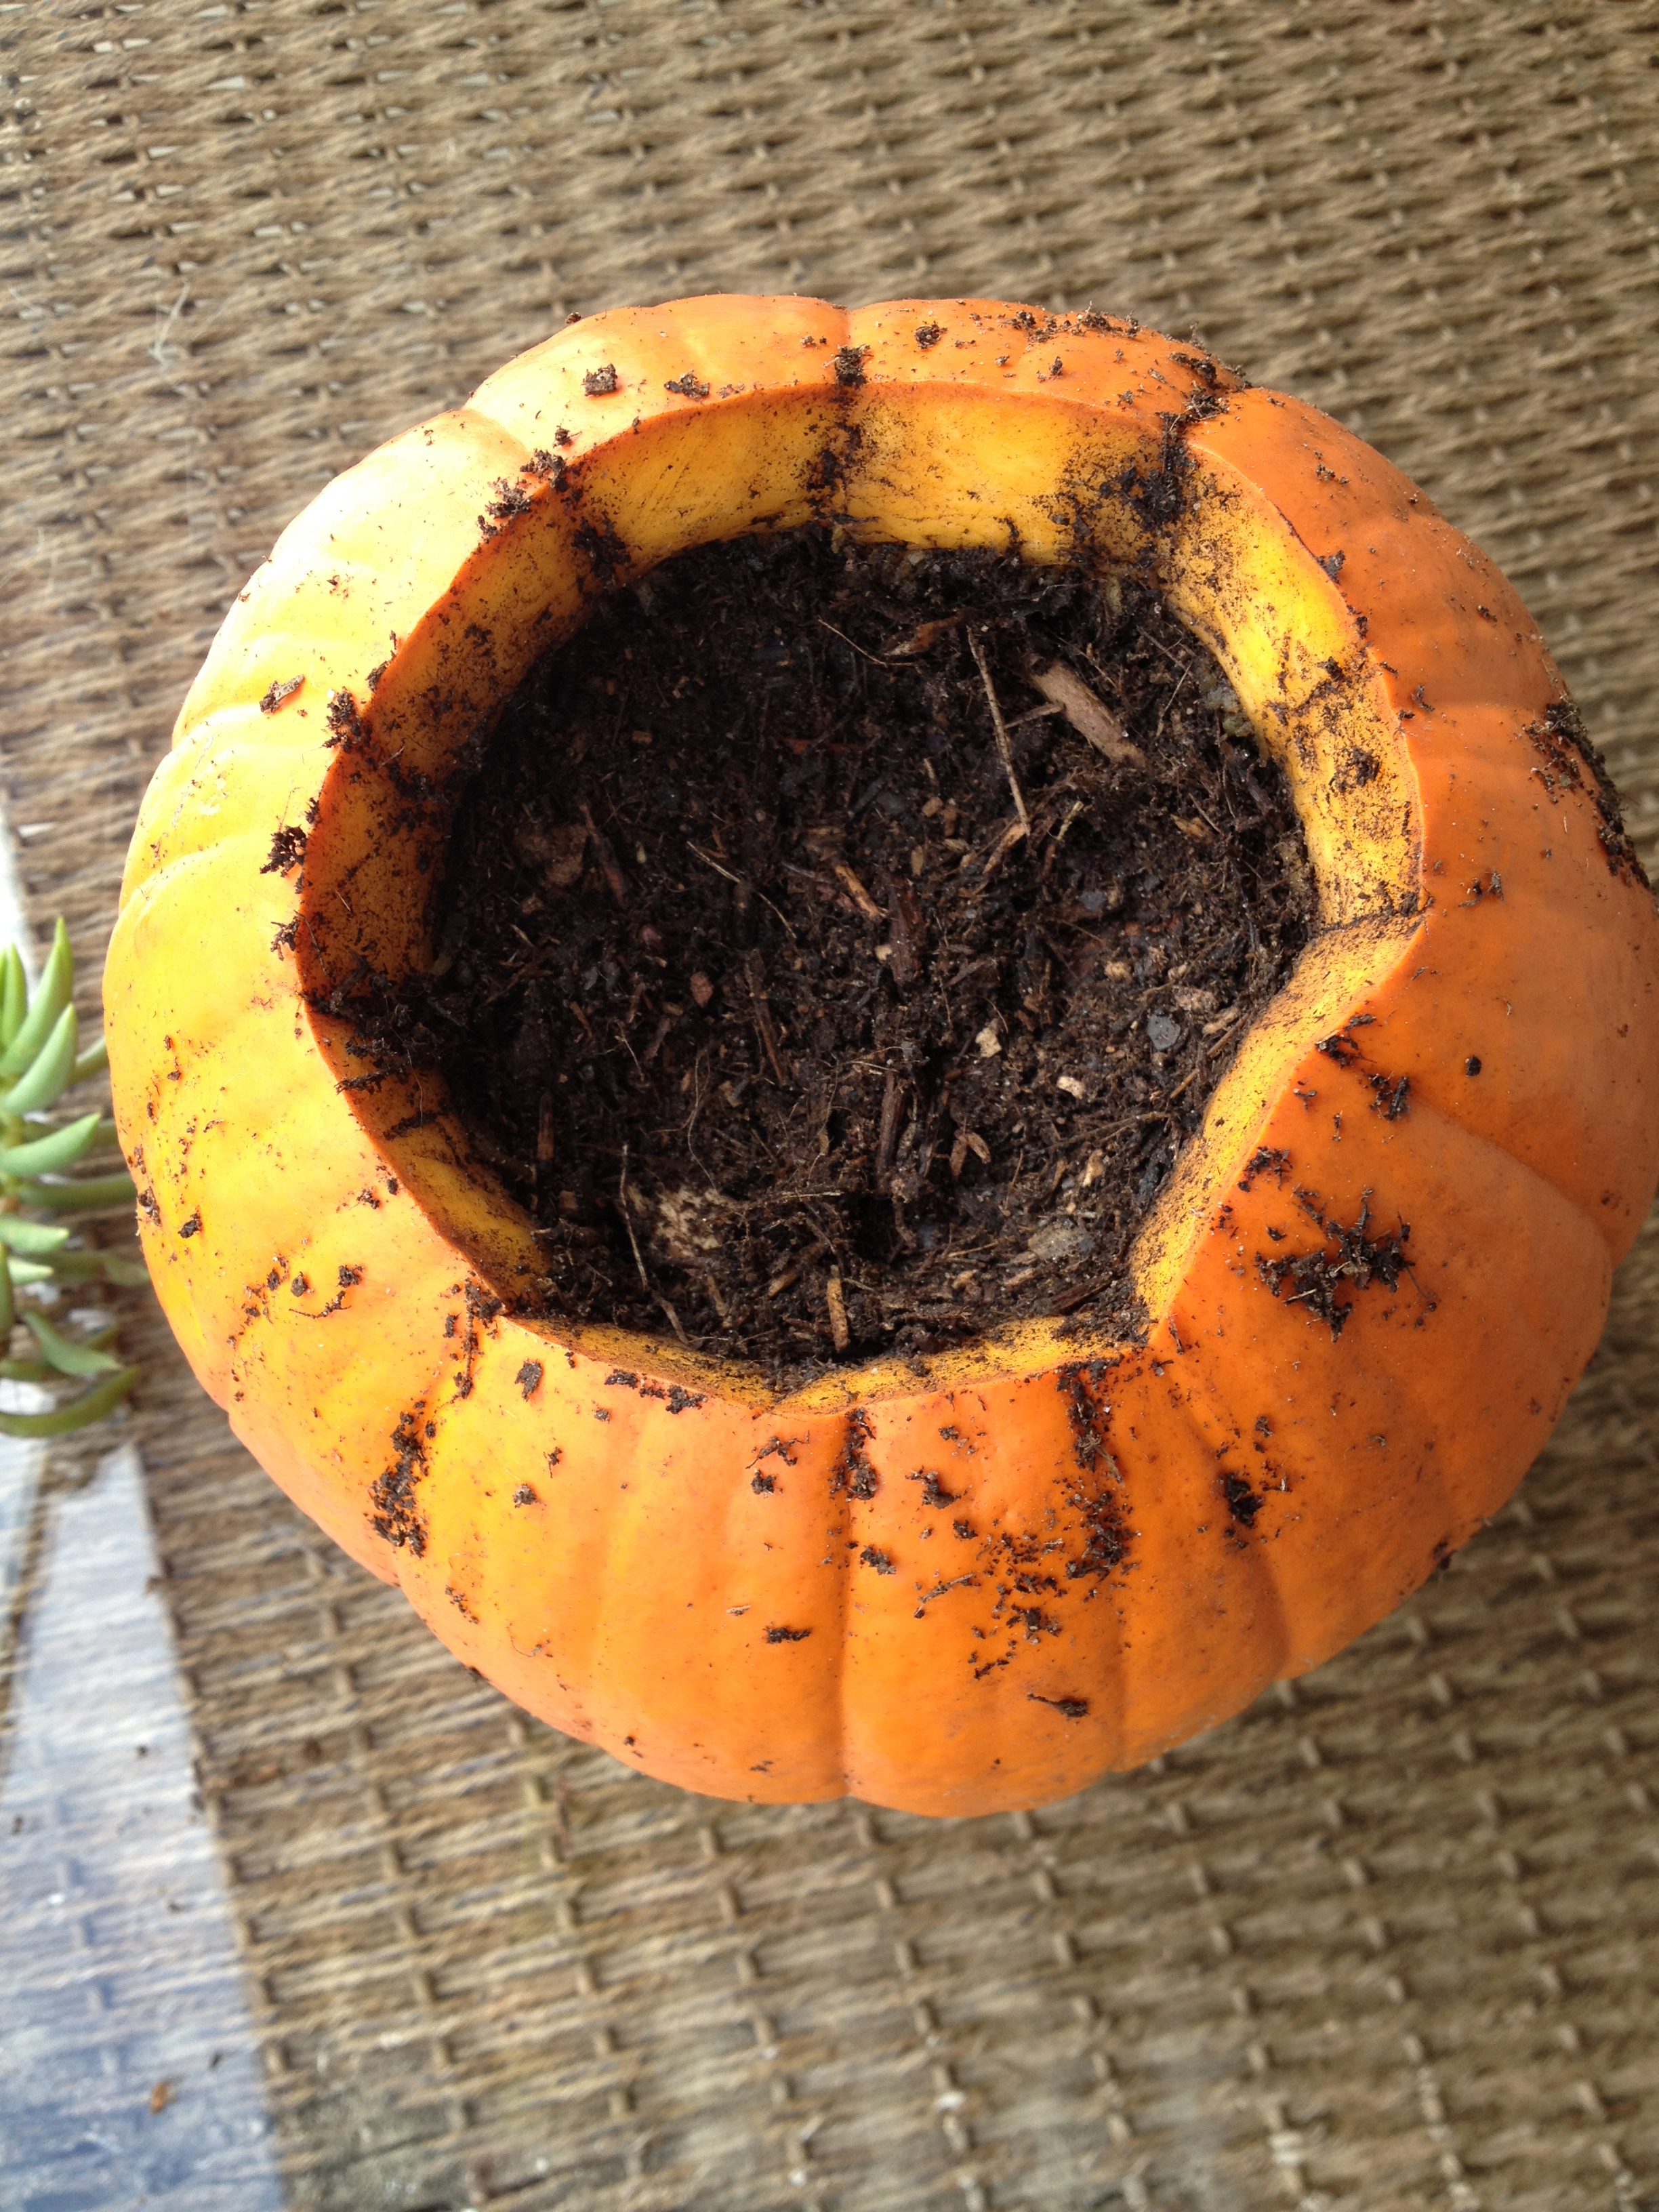
While I was at it today, I also make a centerpiece for my table using a pumpkin my friend Lori W. brought me yesterday and pieces of succulents from the plants in my yard. This is so easy to do and quick to make that I think I’m make more for my Thanksgiving table later on next month. Take the seeds out of the pumpkin first and then add soil to it. Cut off pieces from different succulents (or buy one) and place in the pumpkin, adding more soil to fill to top. Easy peesy!


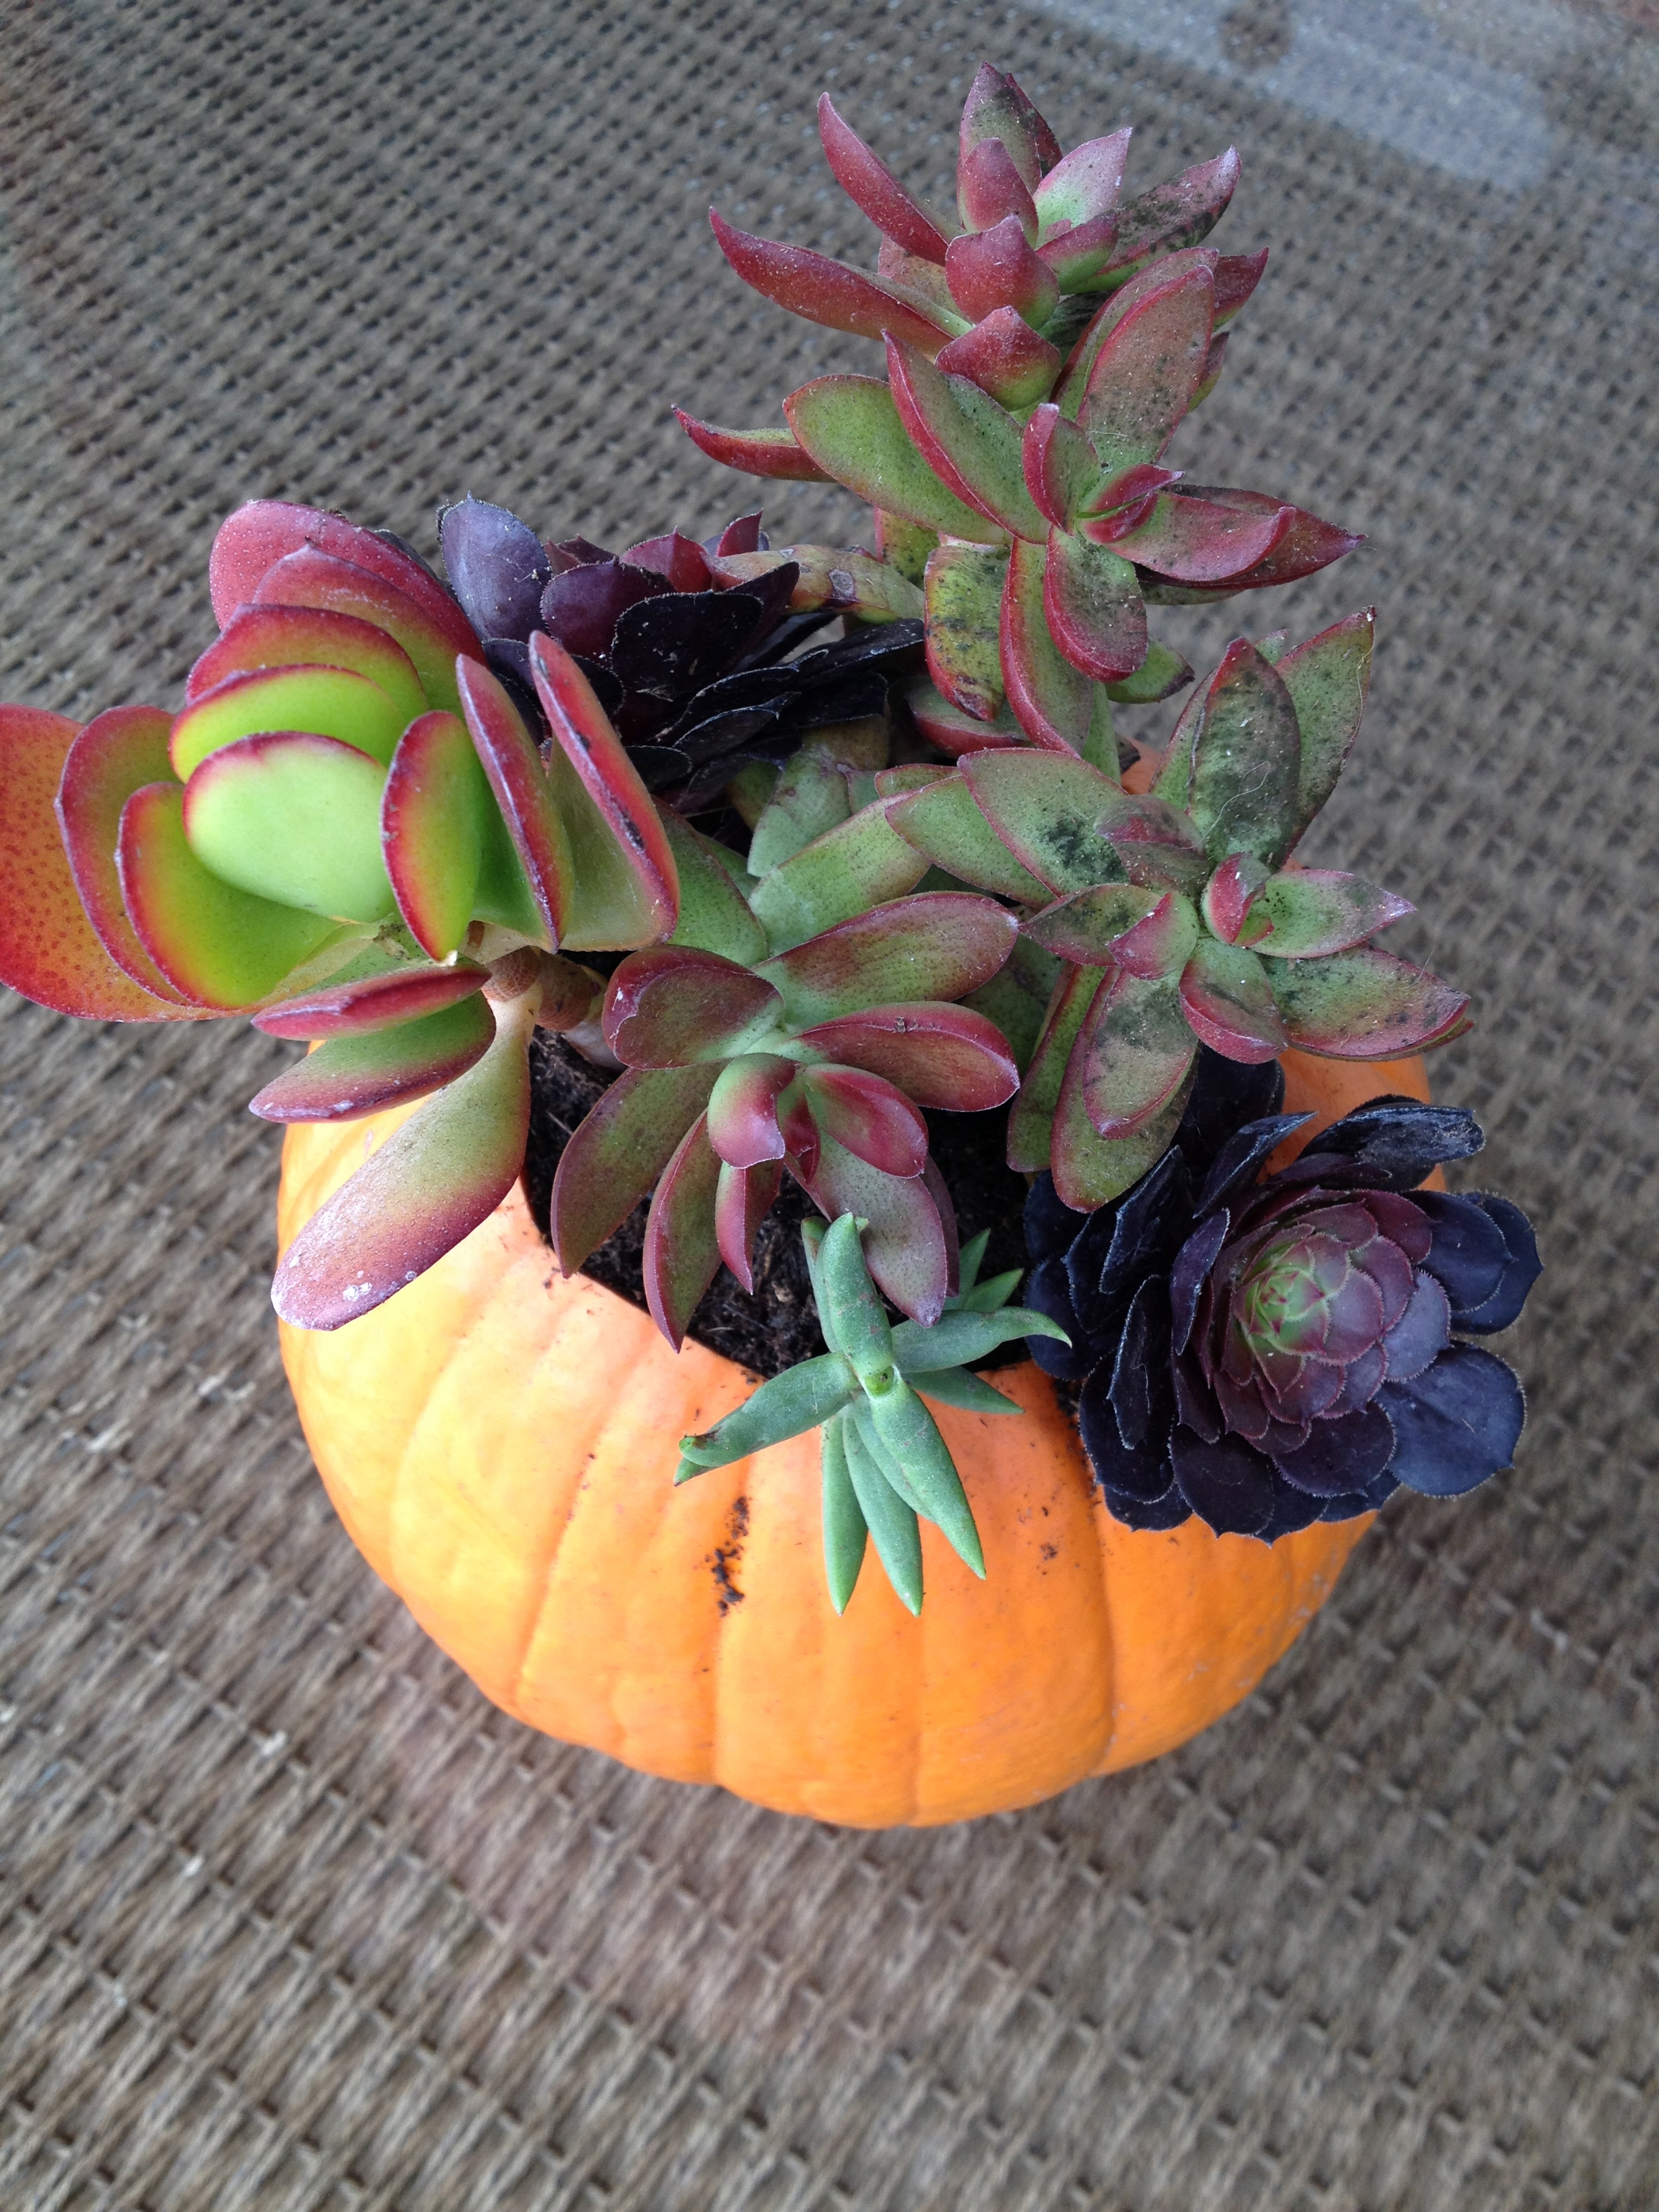
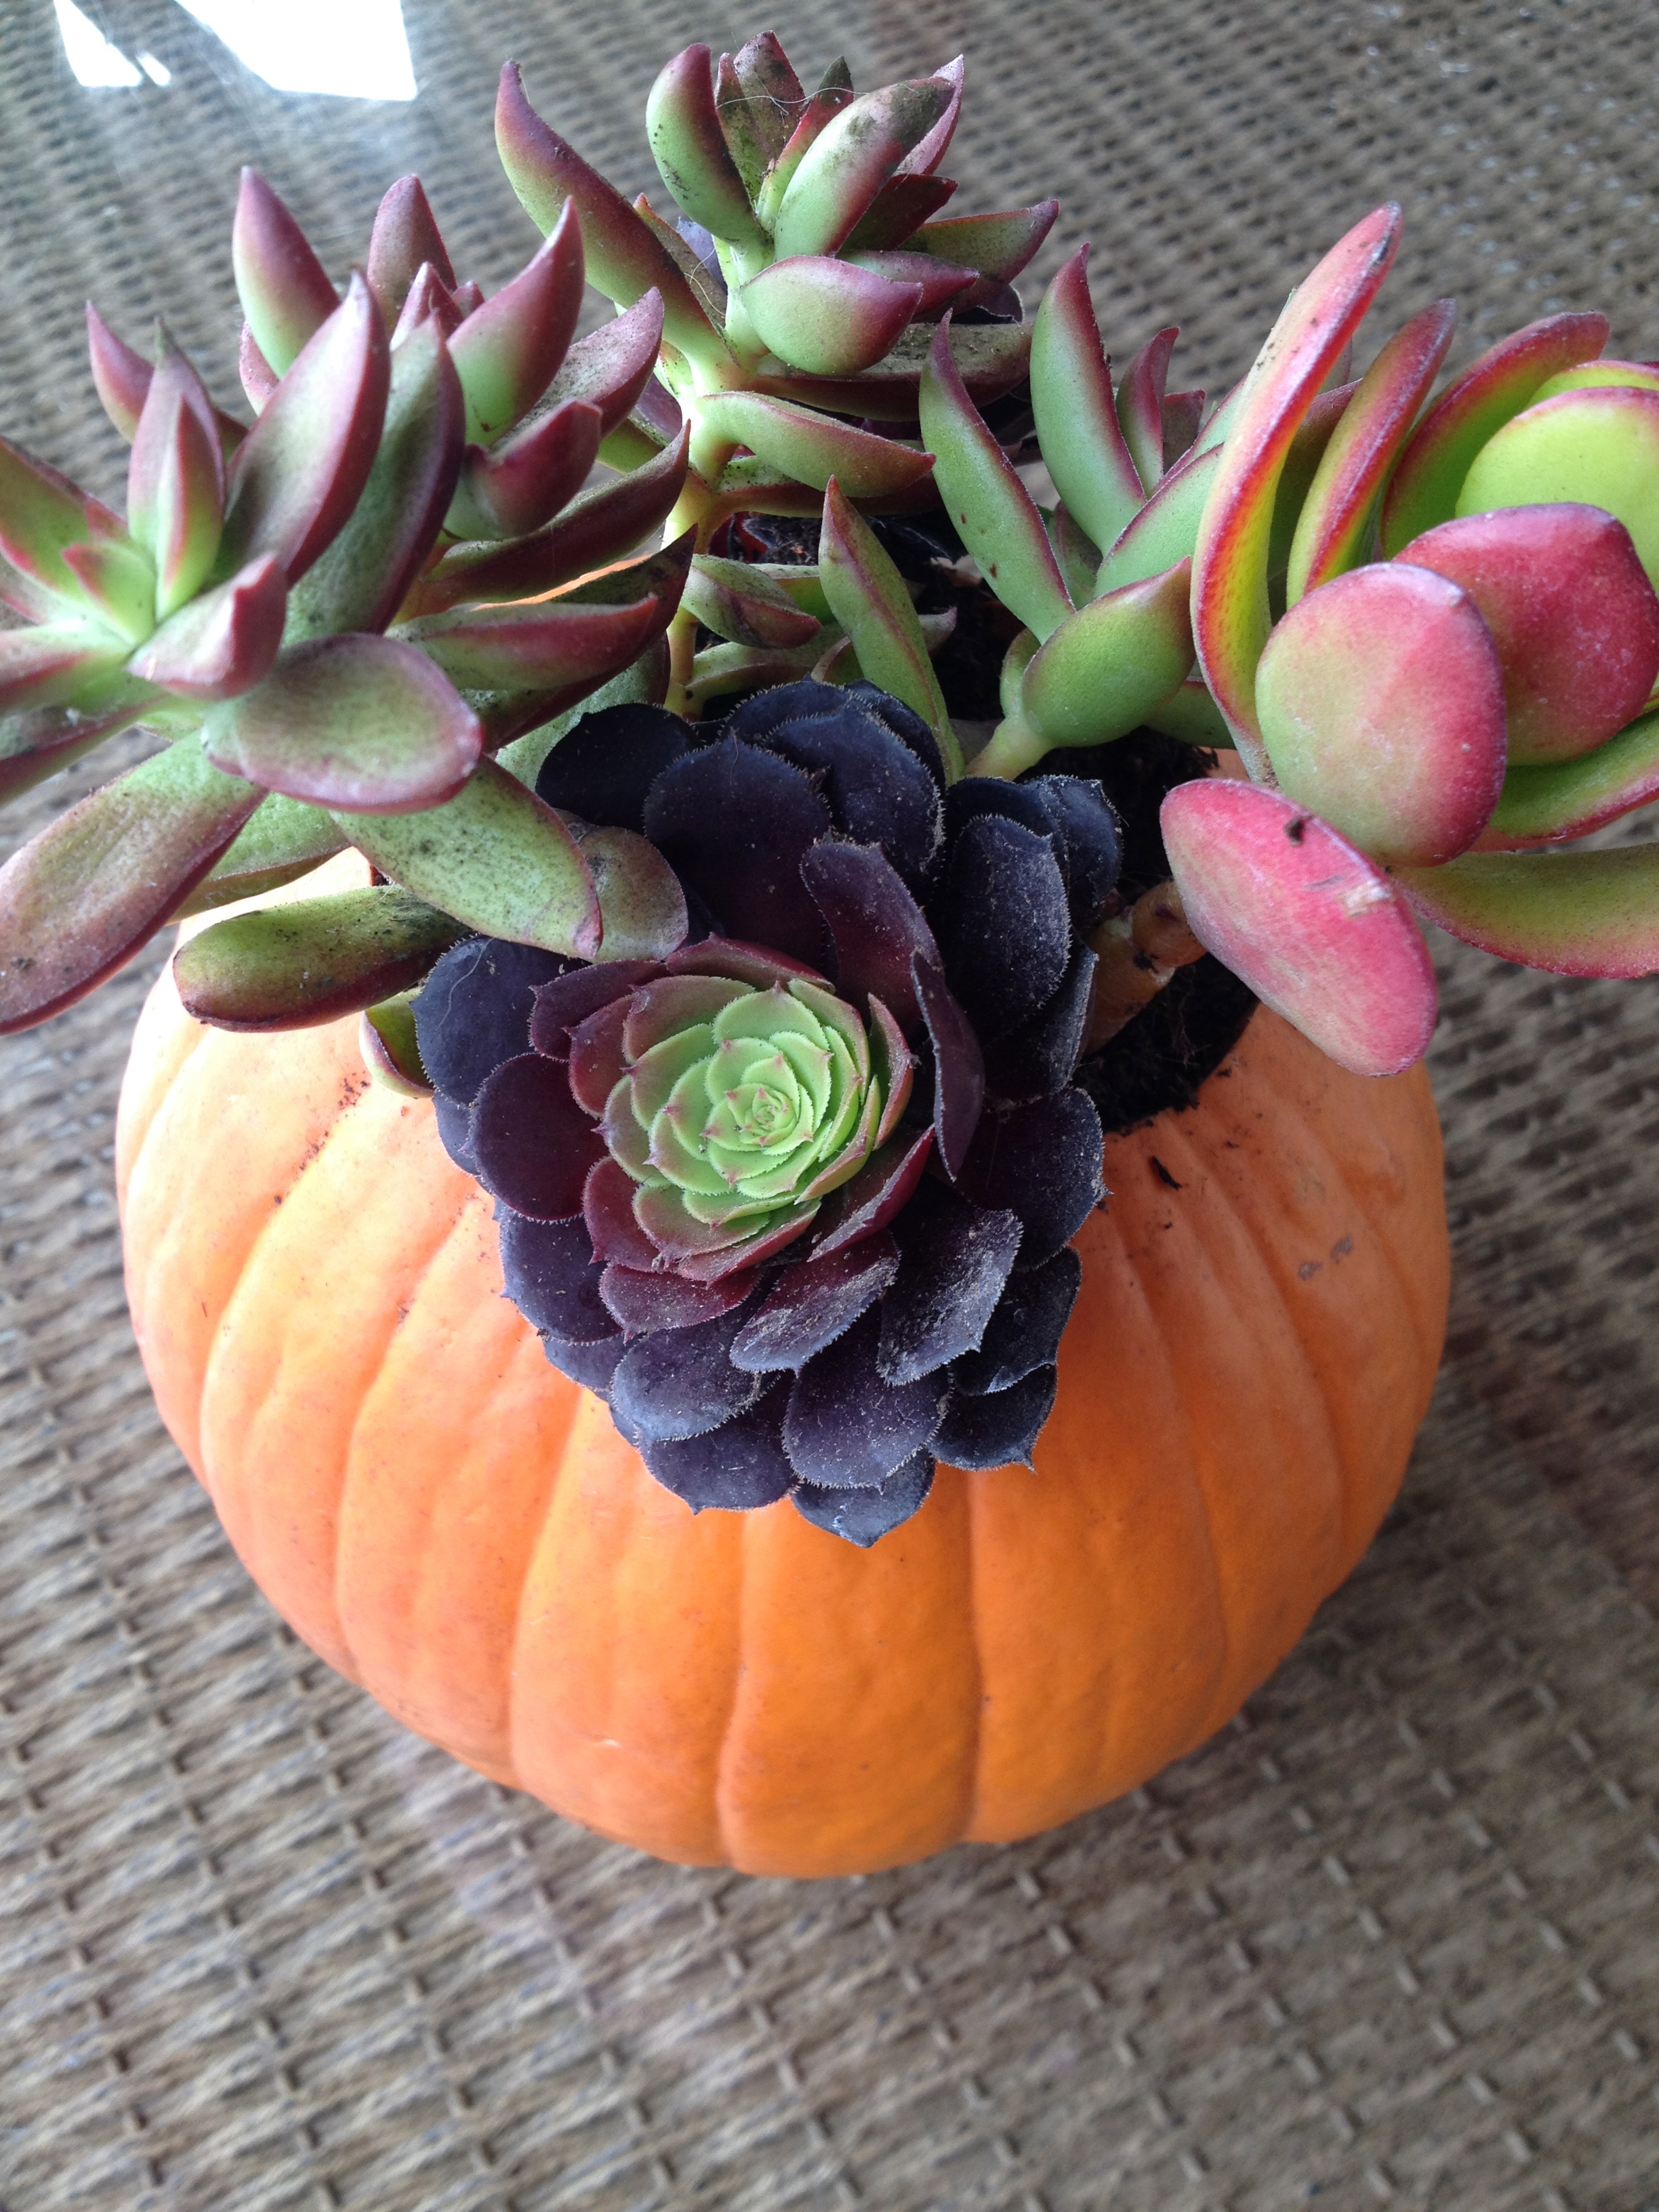
Just call me Martha!

Speaking of Thanksgiving, check out this cupcake kit I picked up today! Love it!
________________________________________
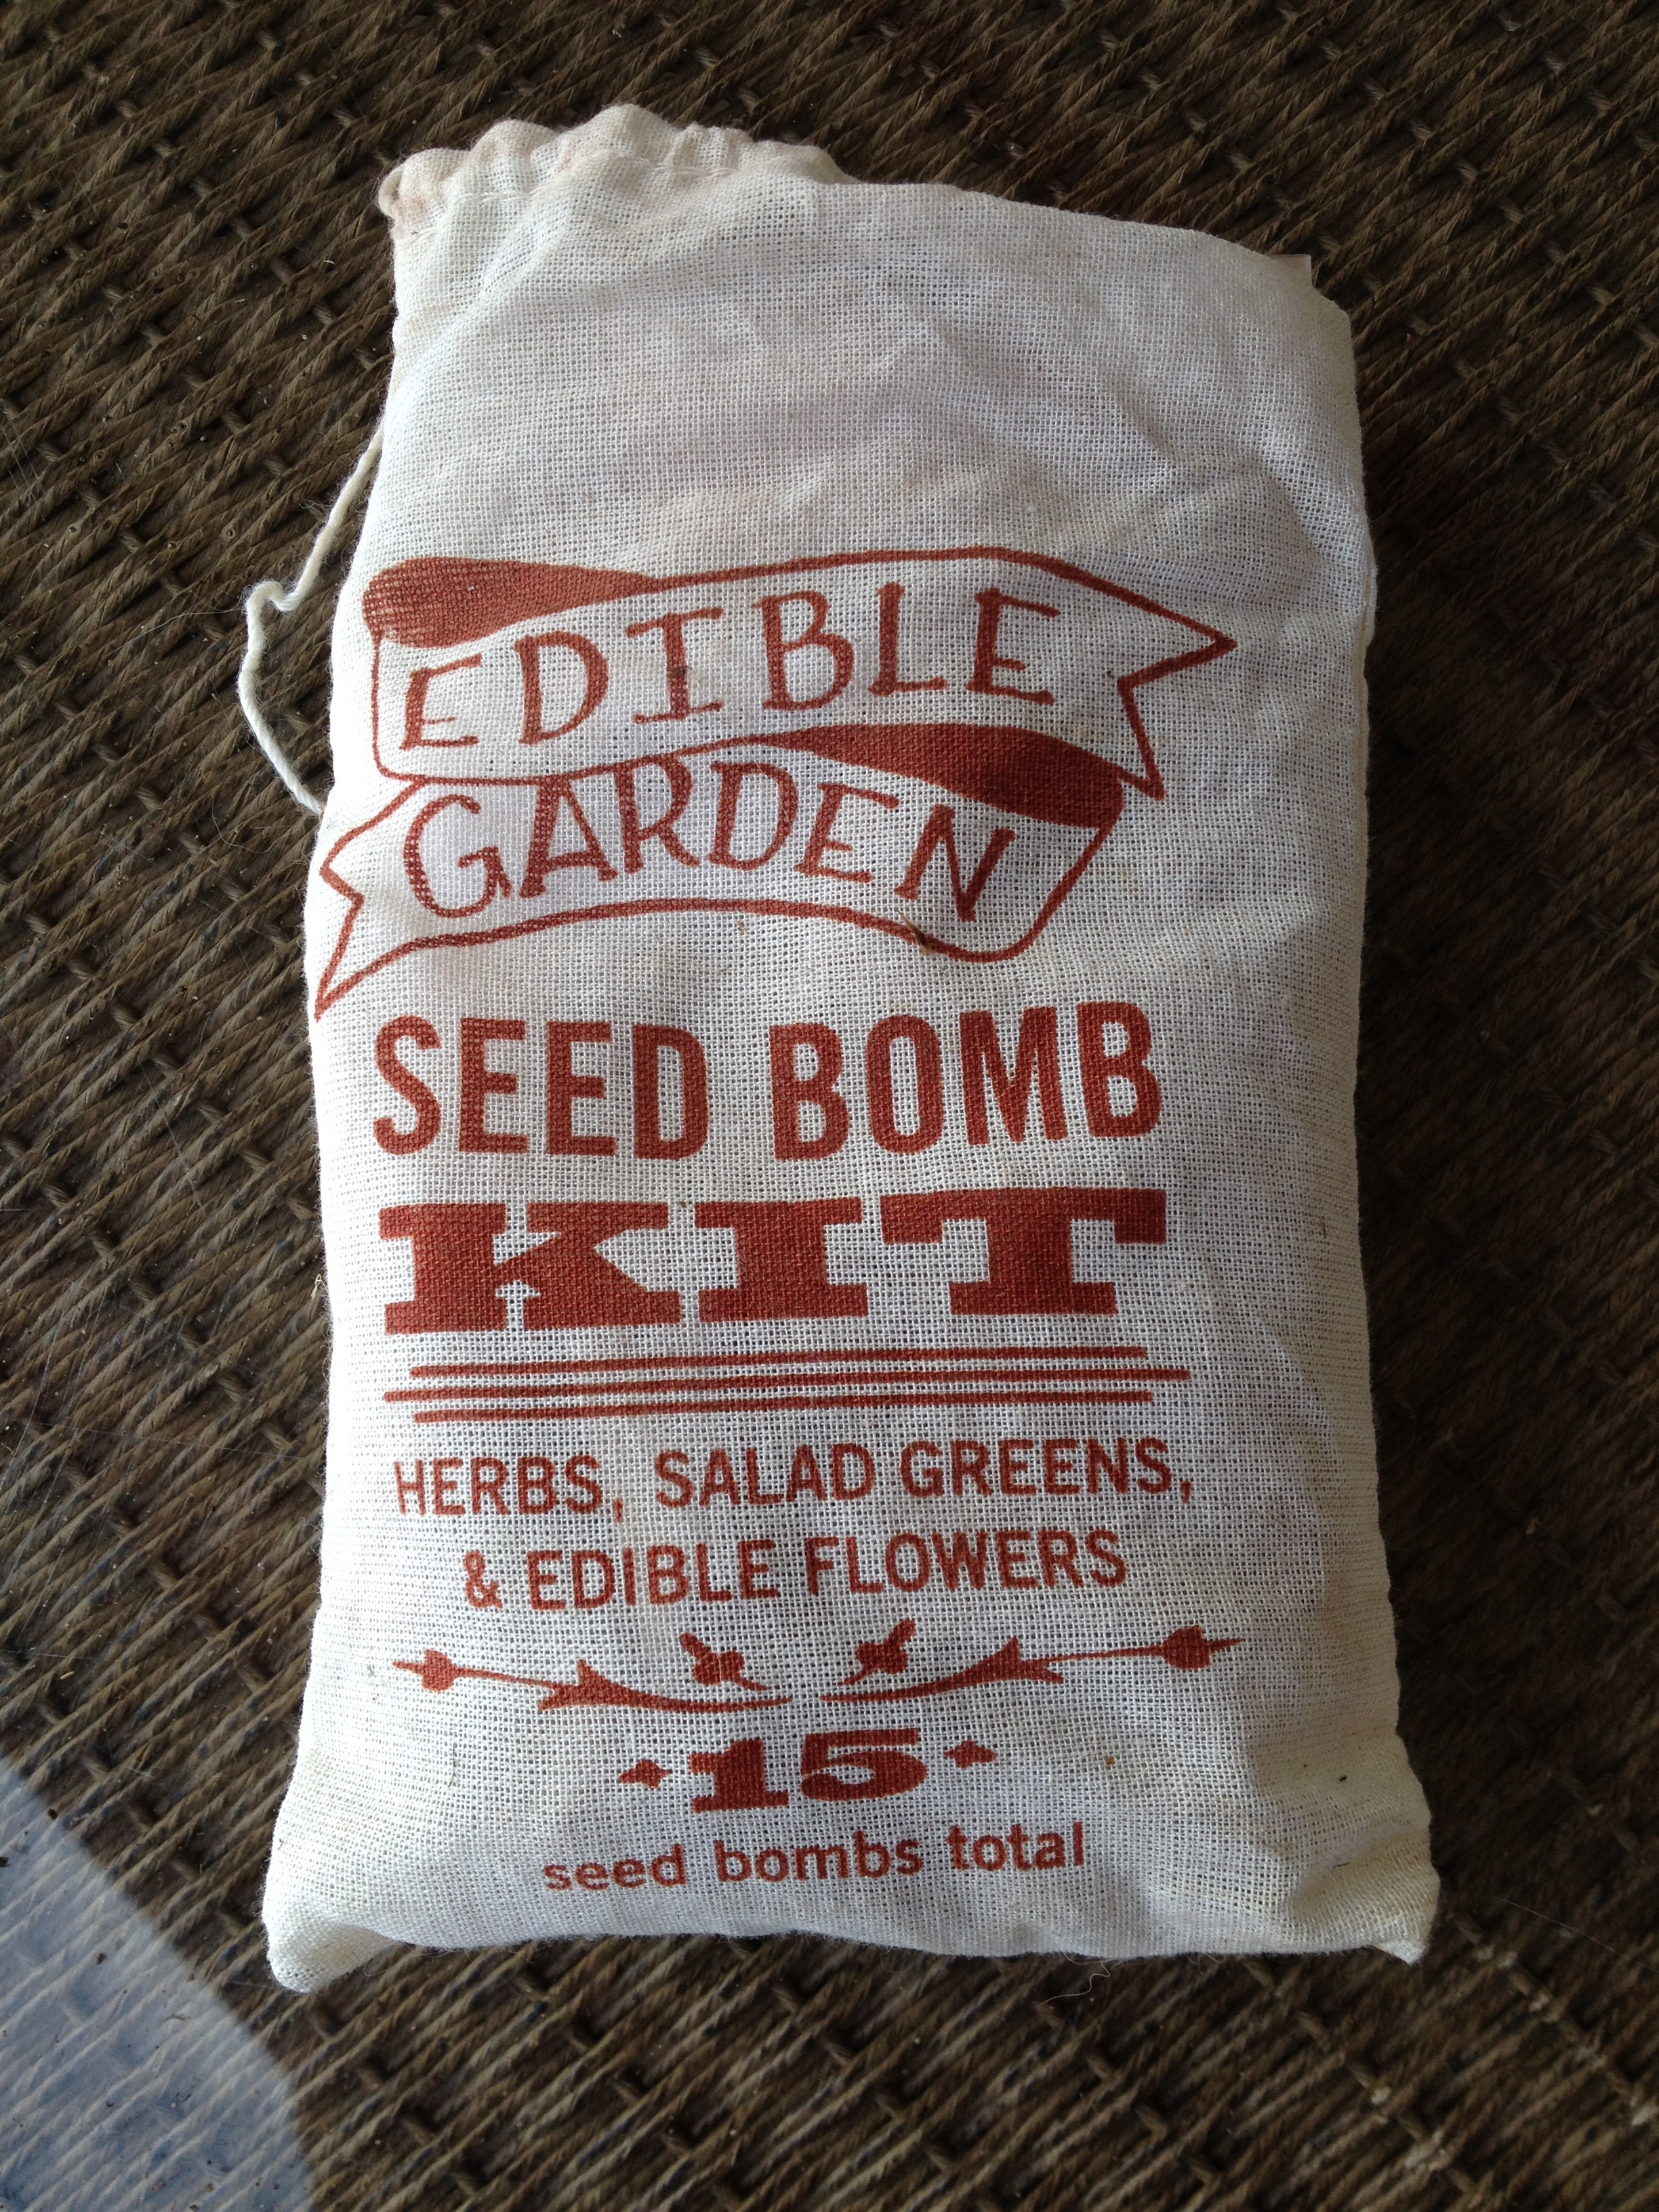
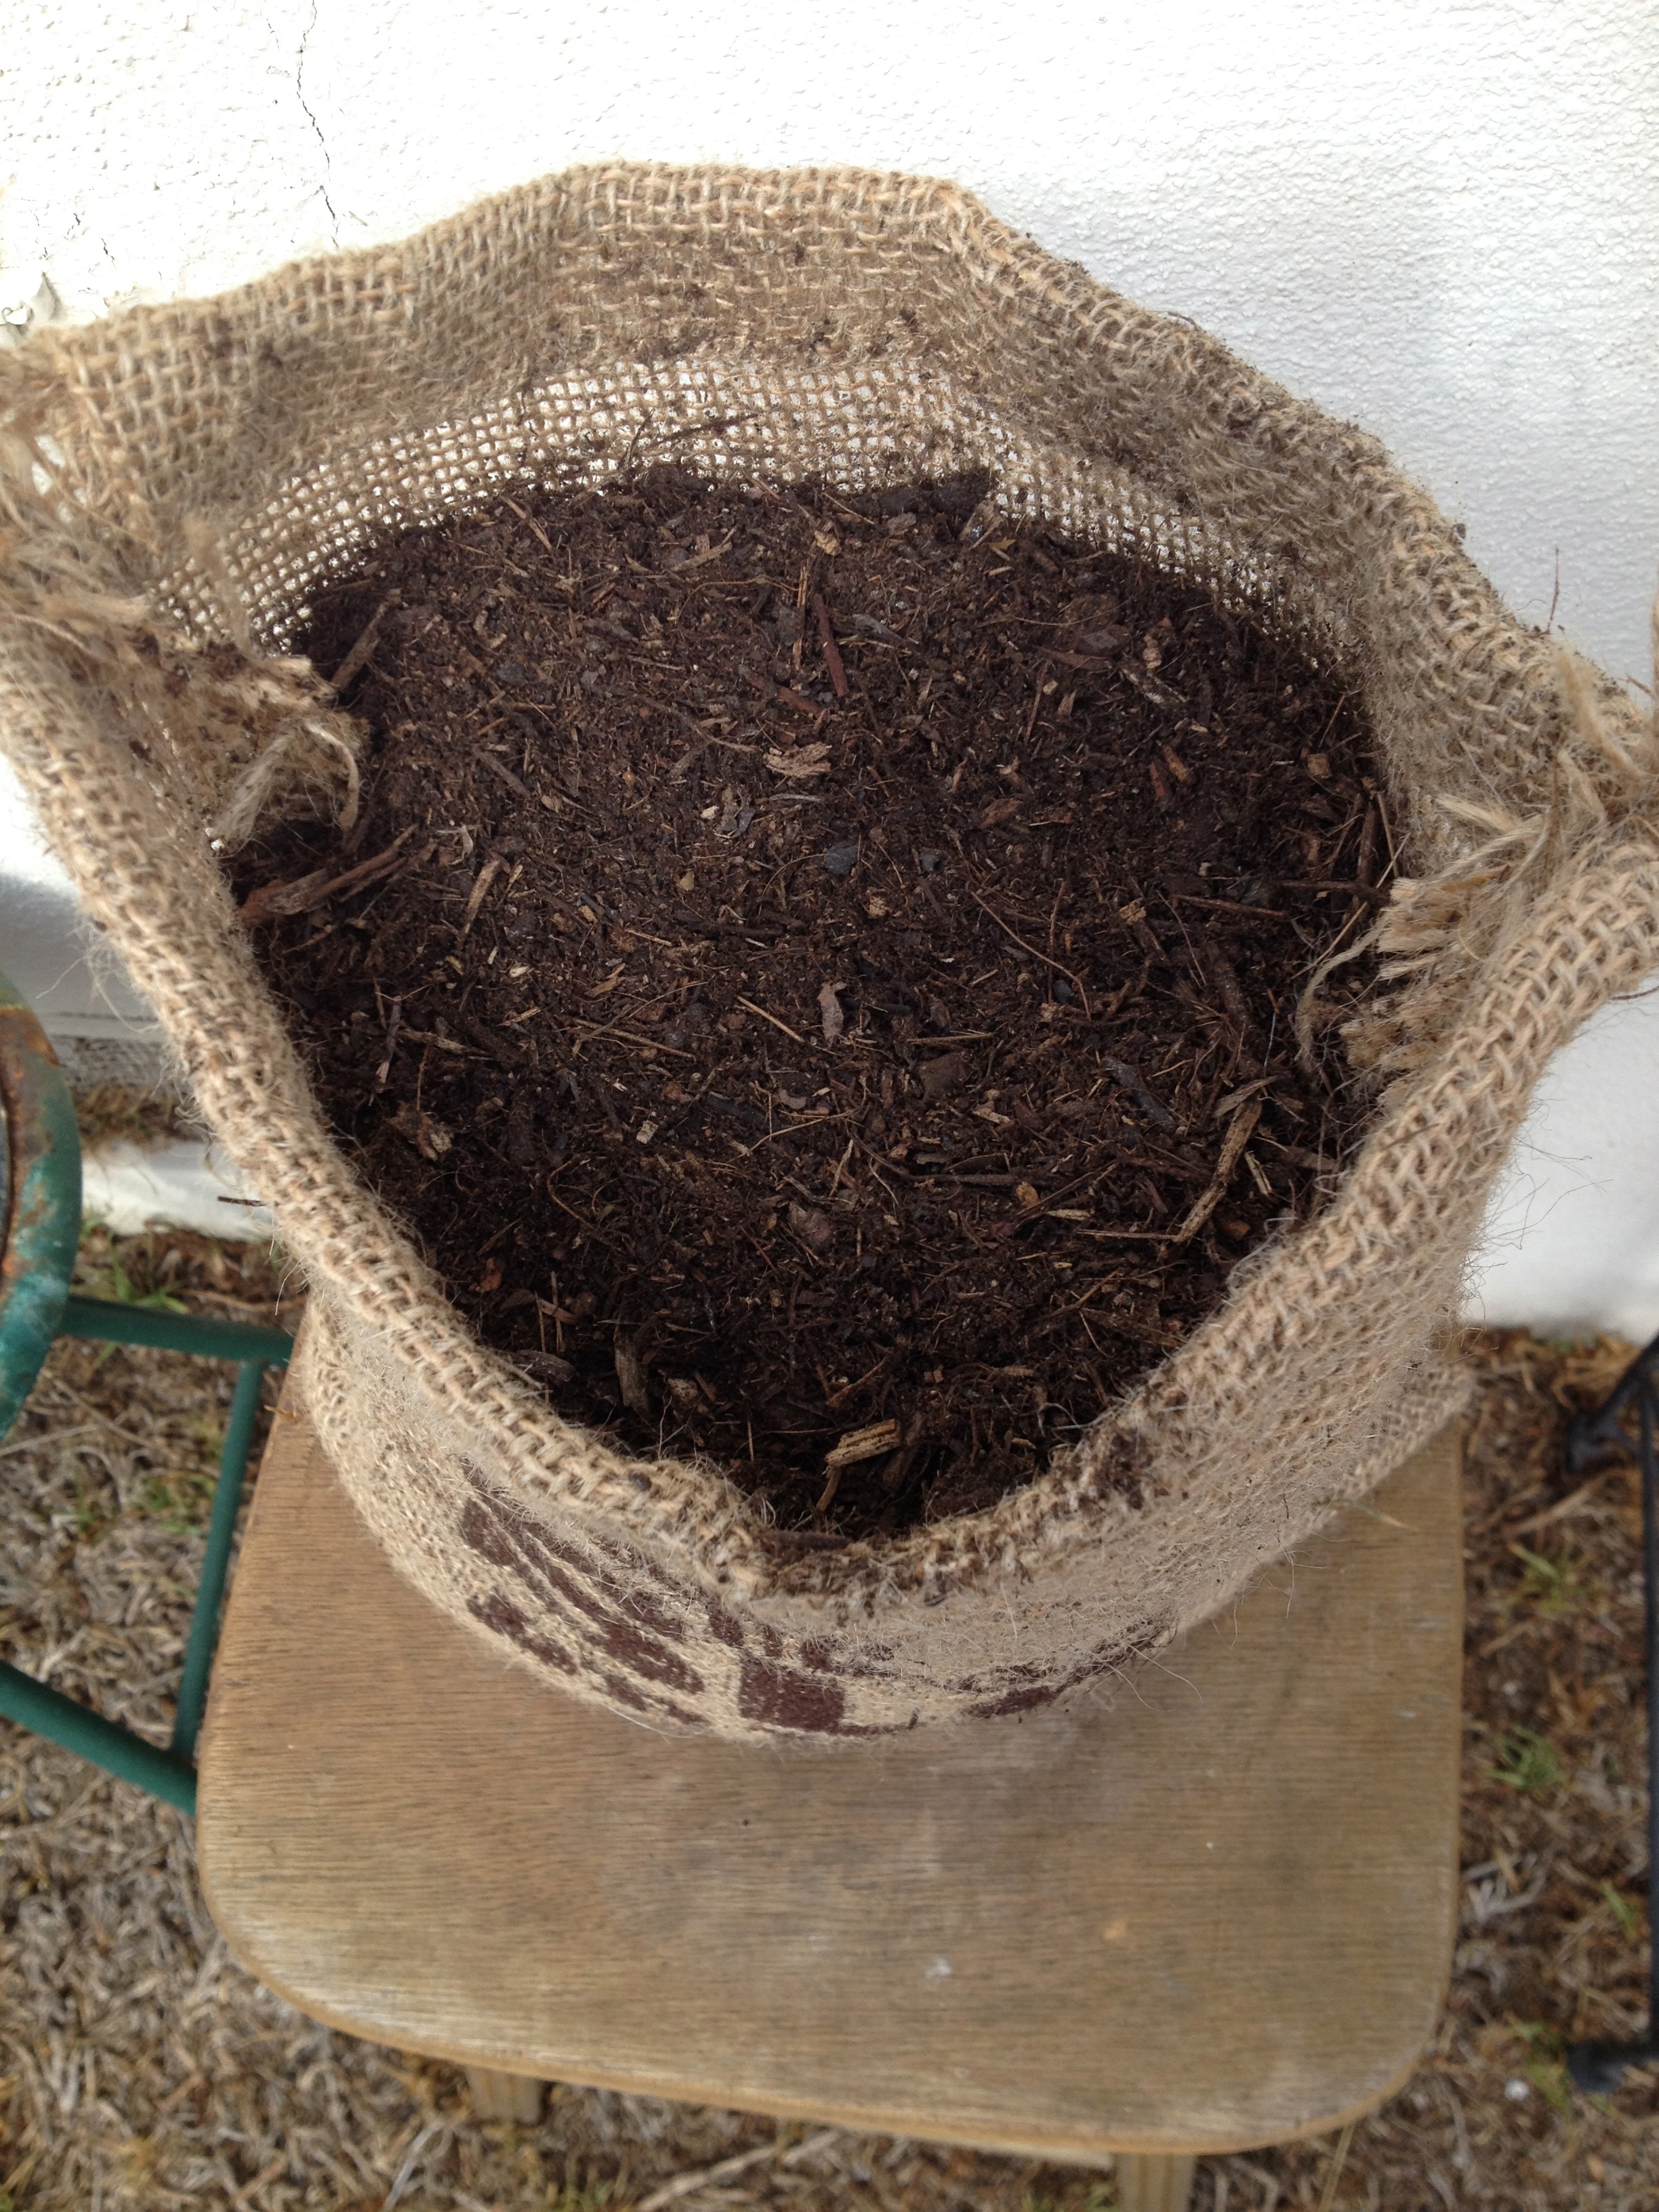
Oh! And last DIY thing! Check out the planter I made out of this burlap bag from SLO Brew that I picked up for free at last weekend’s Oyster Fest. All I did was add soil and some of these Seed Bombs, a gift from my sister-in-law, from Restoration Hardware.. who knew they carried seeds? I planted a variety of edible flowers including marigold, calendula and nasturtium. These make for a nice garnish or presentation on any dish and best of all, you can eat them!


I’m currently waiting for Andy, and his food truck, to get home from the Pismo Beach Jazz Jubilee by the Sea that he’s been working at this weekend. We may go out for dinner tonight…how very Chicago of us! If only we could bring our favorite restaurants here, we’d be in heaven! Until then, the Yummy Yogini will have to recreate those restaurant dishes based purely on memory!
Check out my new recipe page while you’re at it… you can find everything I’ve posted (so far) here!